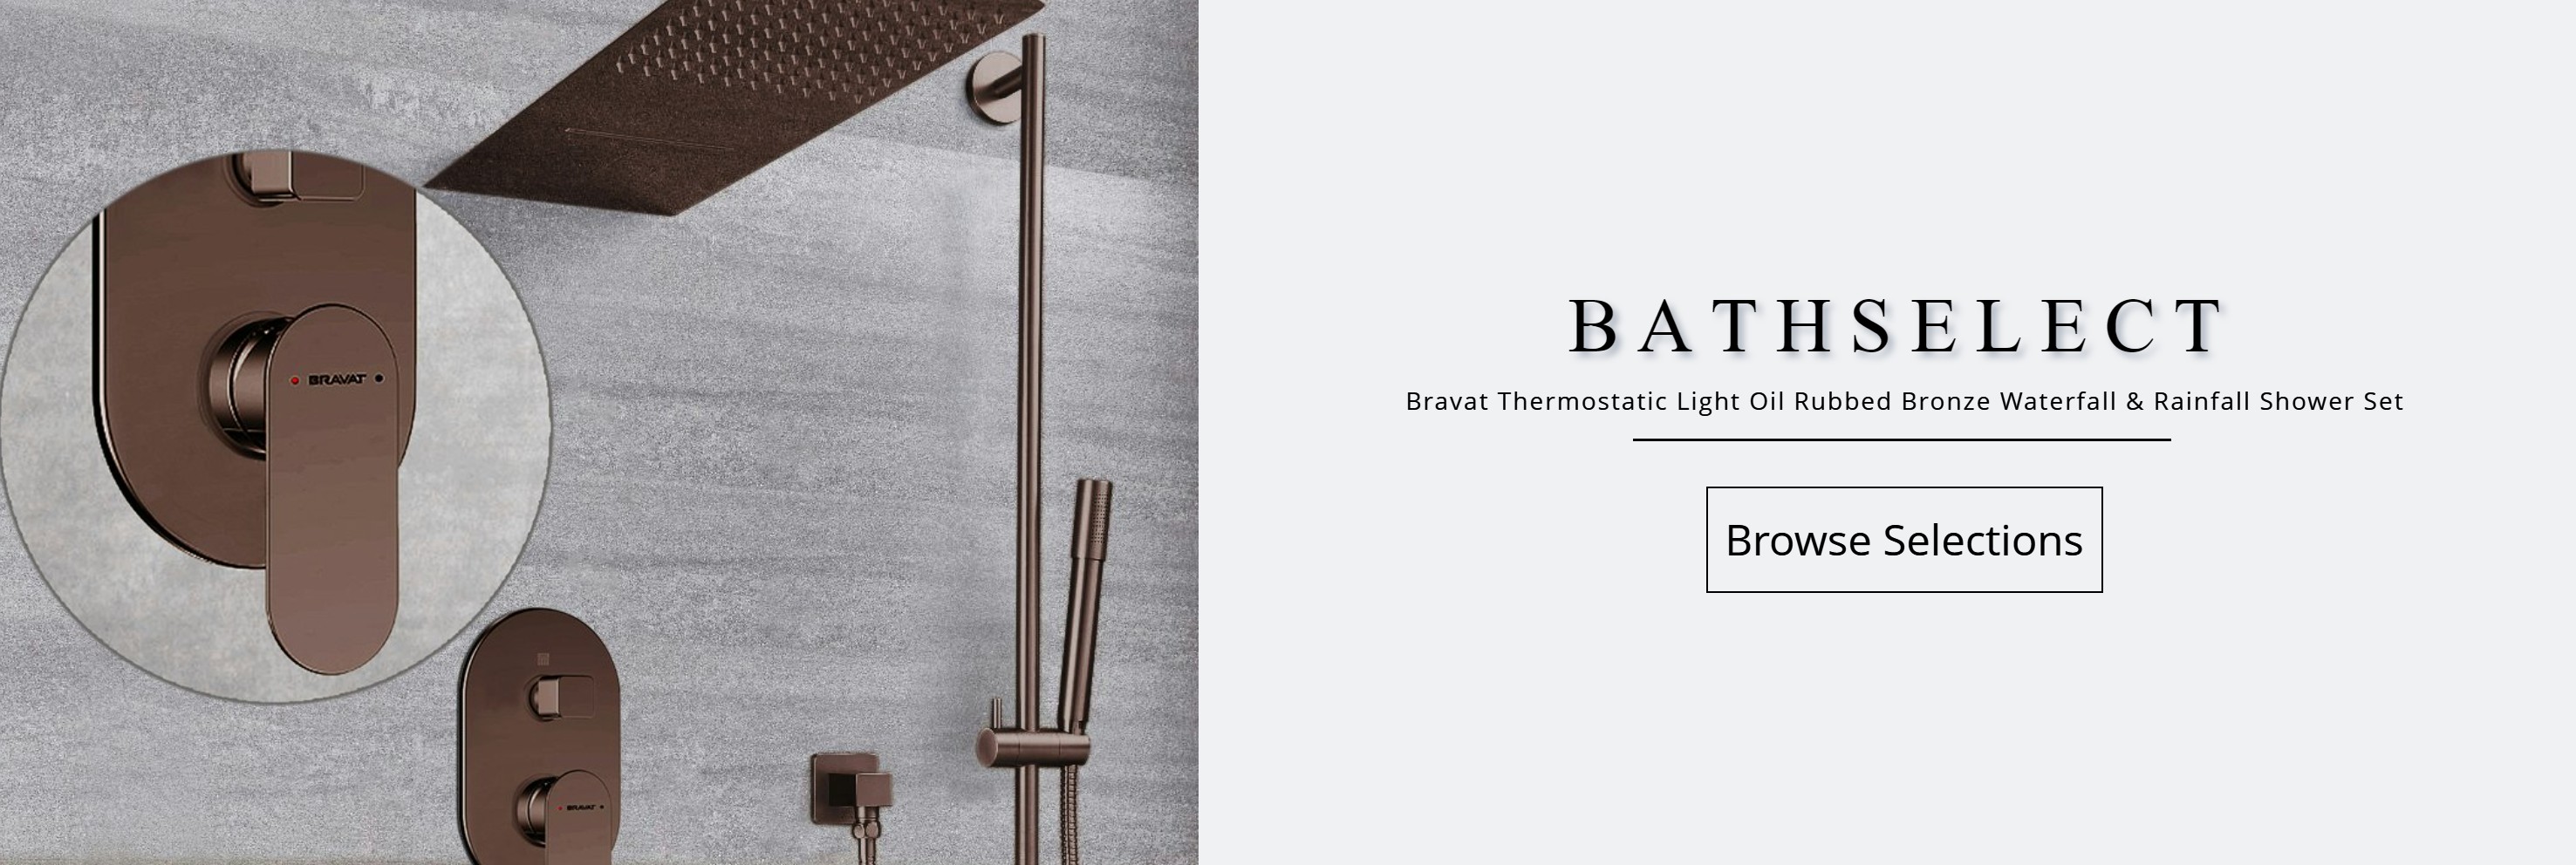
Bravat Thermostatic Light Oil Rubbed Bronze Waterfall & Rainfall Shower SetTheBravat Thermostatic Light Oil Rubbed Bronze Waterfall & Rainfall Shower Set is one of the most trendiest finishes across decor styles in the bathroom. It has a contemporary style with a beautiful Light Oil Rubbed Bronze finish. This has an elegant design and elevates the appeal of your decor made from the highest quality and for great tastes. It comes super seal technology inside, capable of delivering superior performance with a solid construction for long durability that will upgrade your bathroom with a modern and cool look for a long period of time.
Bravat Thermostatic Light Oil Rubbed Bronze Waterfall & Rainfall Shower Set Features:
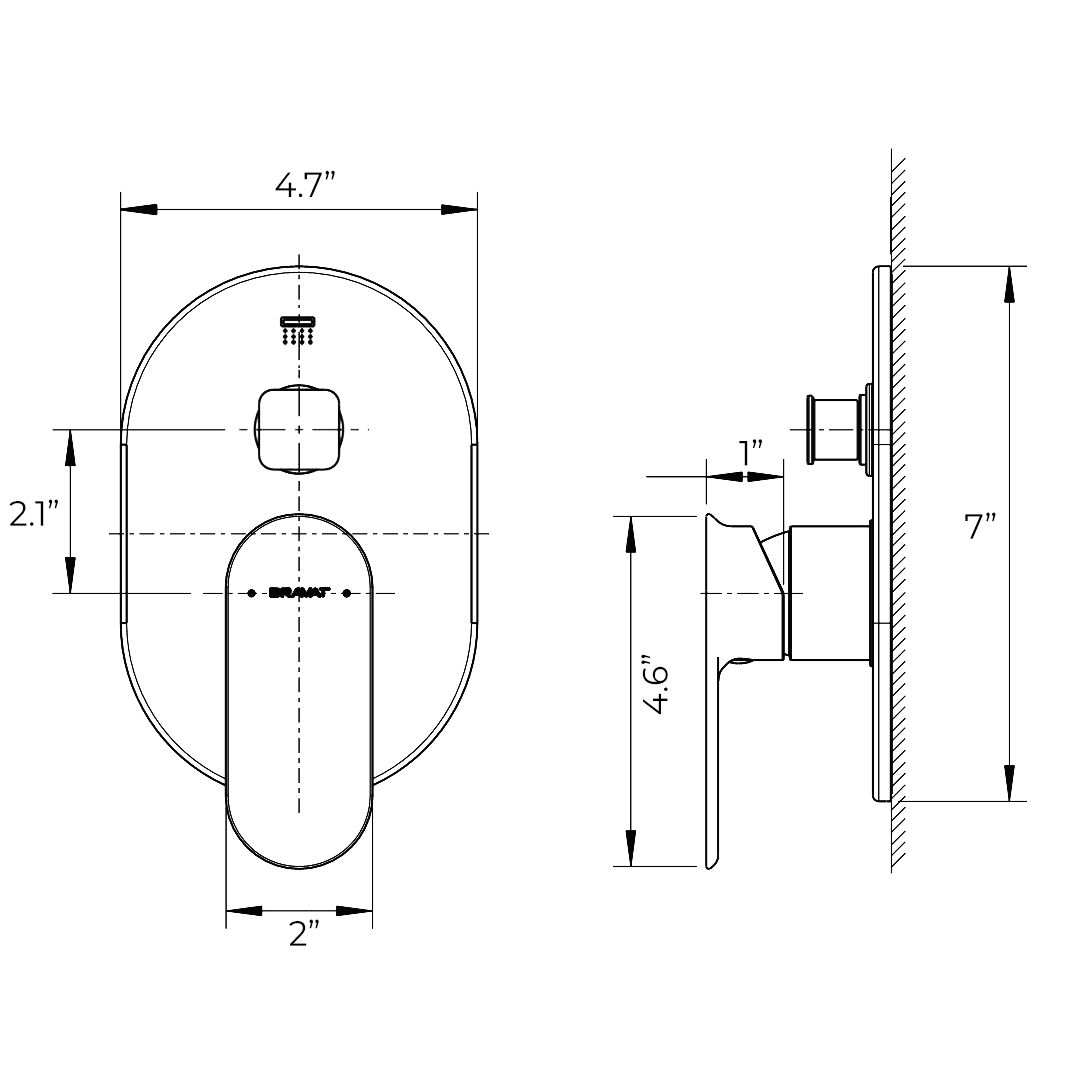
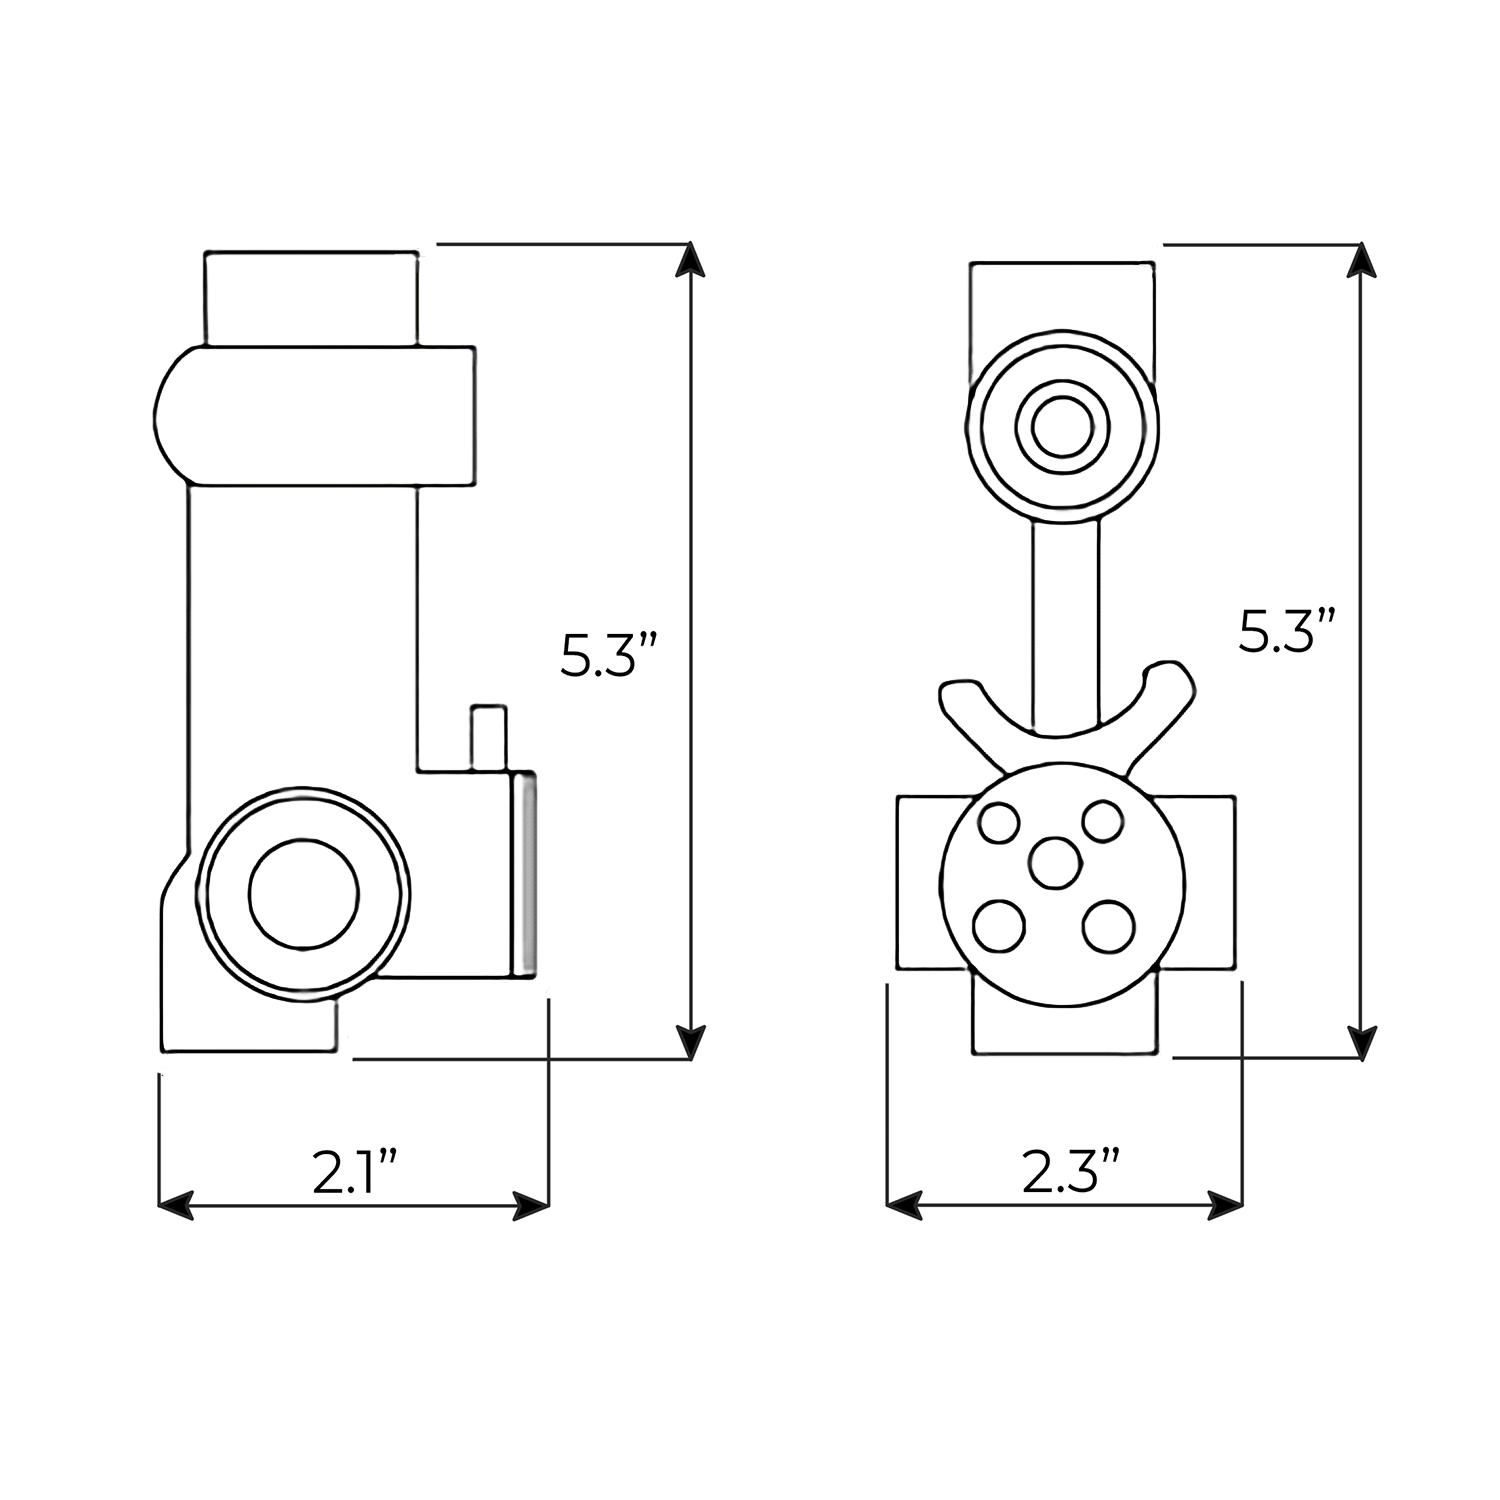
Brand Name: BathSelectModel Number: BS1060Type: Shower Set & Shower MixerStyle: ContemporaryType: Fixed Support TypeSurface Finish: LightOil Rubbed BronzeInstallation Type: Wall MountControl Type: Single Holder Dual ControlSize: 7.91"-11.85" (201-300mm)Surface Treatment: PolishedValve Core Material: CeramicBath Shower Type: In-Wall Shower MixerValve Type: Ceramic ValveFaucet Handle Material: Zinc AlloyMixer Body Material: BrassValve Included: YesEmbedment Depth: 2.16" (55mm)Valve Panel Dimension: 6.29"x6.29" (160x160mm)Connector: G1/2"B (Standard) |  |
BathSelect® Manufacturer Warranty Information
- Before you begin, please read the installation instructions below. Observe all local building and safety codes.
- Unpack and inspect the product for any shipping damages. If you find damages, do not install.
- Please note all showers must be installed by a professional and certified plumber otherwise warranty may be voided.
|
shower
|
shower
|
|
Shower Head Installation
Thermostatic Mixer
|
Step 1
|
mixer
|
Step 2
|
|
Step 3
|
|
|
|
|
mixer
|
|
|
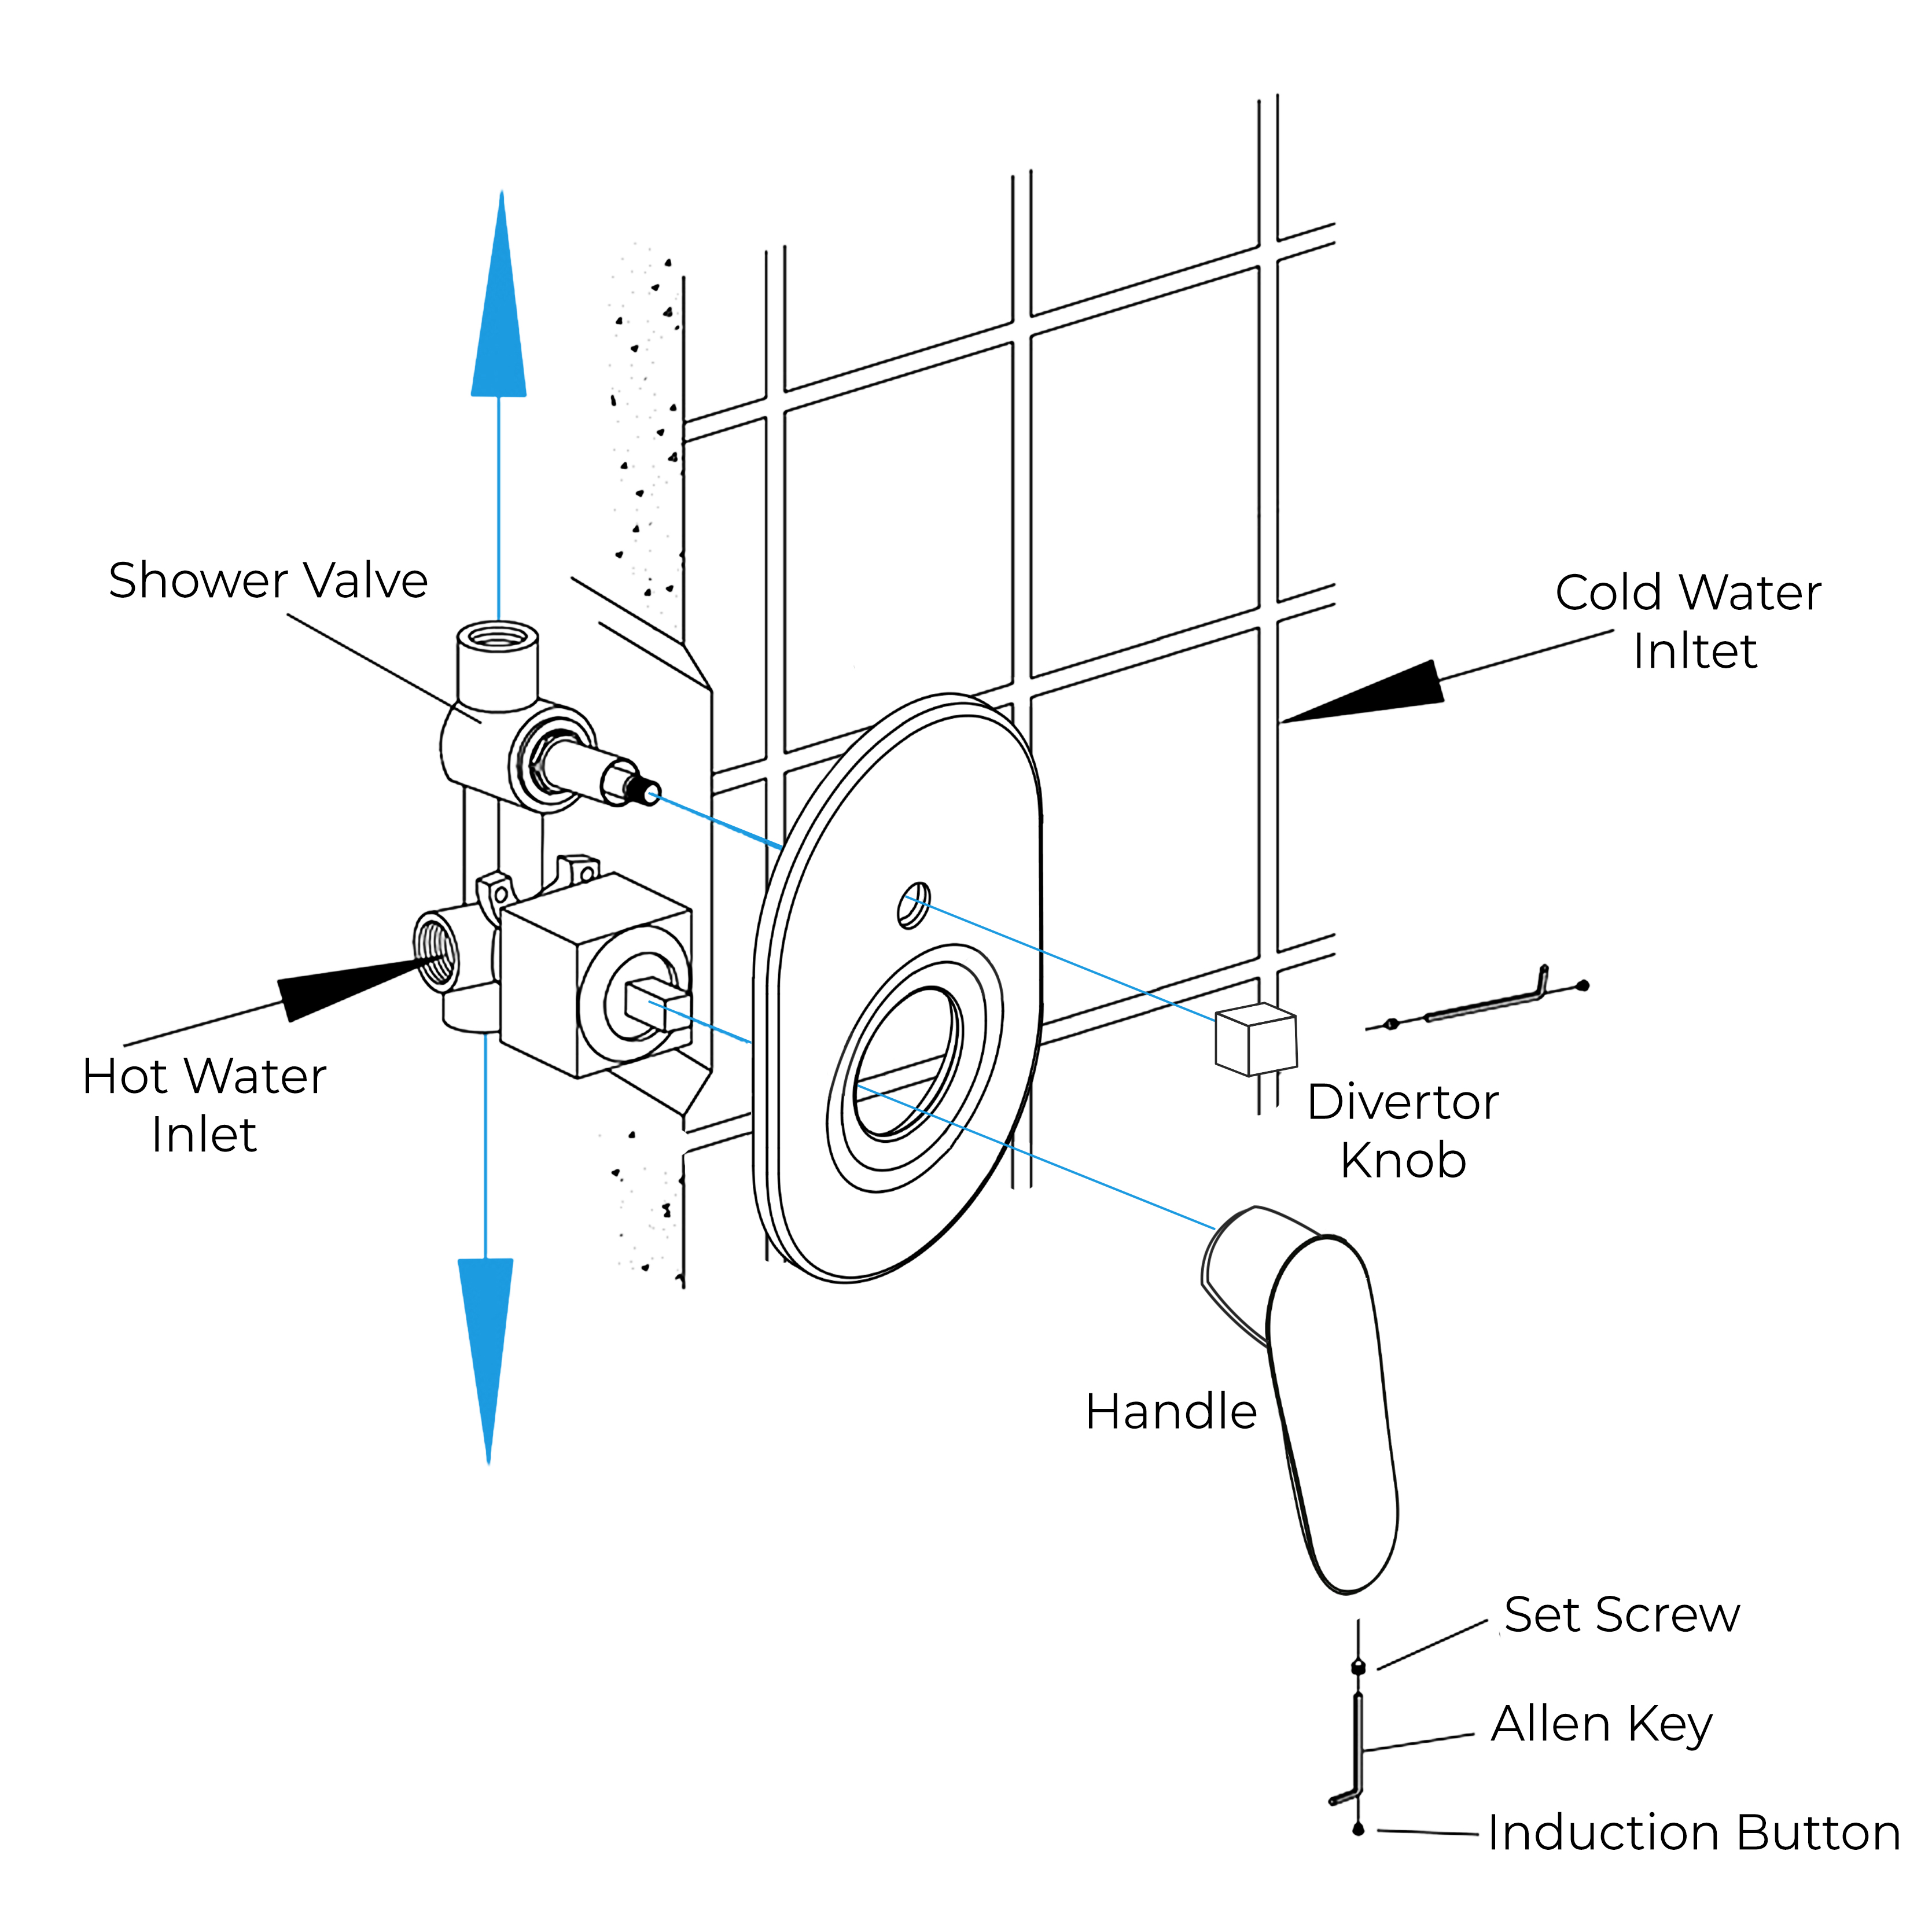
1) Fix the shower valve into the wall with screws. Use a level to ensure that the valve is straight and level. (Important: Flush the water supply pipes to remove any dirt and debris before installing the valve body)
2) Wrap Teflon tape around the pipe thread. Connect hot and cold water supply lines and all the in-wall pipes(not included) as desired to the valve. Turn on the water supply and open the cartridge to check for leaks. Then, put on the protective cover.
3) Remove the protective cover when the wall finished wall is completed. Install escutcheon onto the shower valve and press it against the finished wall. Then, install the handle and diverter knob to the valve and tighten set screws with the Allen key and put on the indication button.
Hand-Held Shower Installation Instructions
Step 1
|
|
Step 2
|
- Open the closed cover of the shower holder and take out the screws.
- Drill two holes size 0.2" (6mm) on the wall according to the hole position of the shower holder.
- Use a hammer to break 2 plastic wall plug into two holes. Tighten the screws with the plastic wall plug and locking with the shower holder. Then install the closed cover.
- Connect the shower hose with the water outlet connection part and hand shower. Plug the hand shower in the shower holder.
|