The Lima LED Color Changing Two Ways Solid Brass Wall Mount Shower Head|Installation Details
Lima LED Color Changing Two Ways Solid Brass Wall Mount Shower Head In Chrome Finish
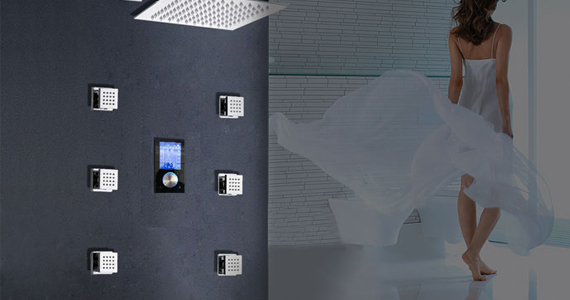
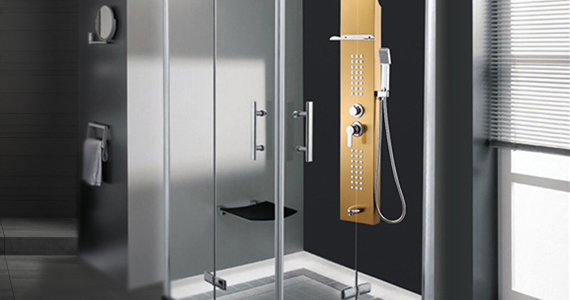
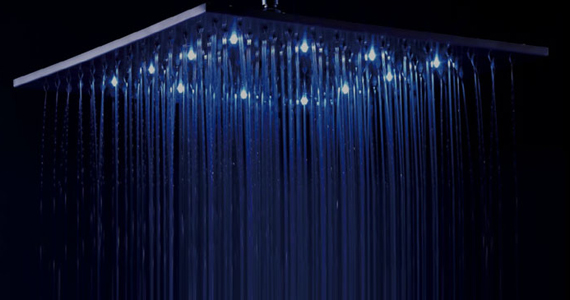
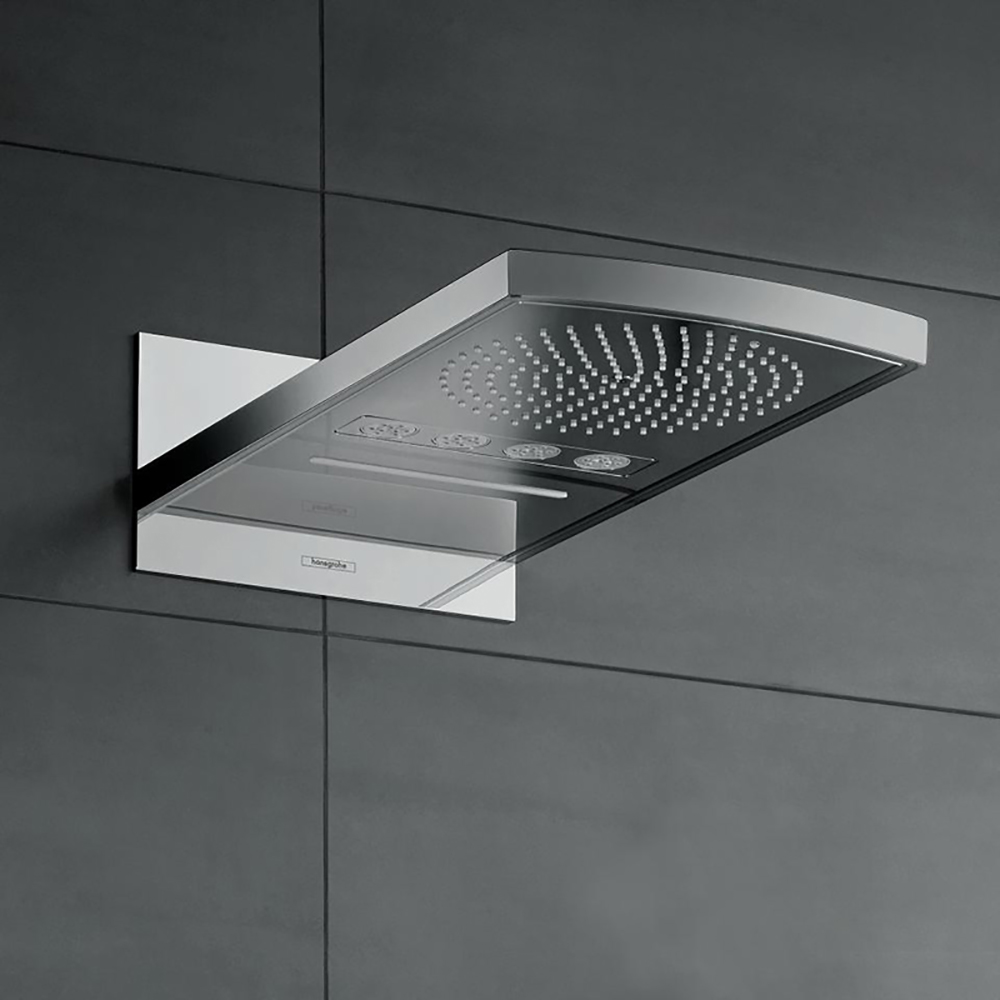
The Lima two ways wall mount shower head is constructed using solid brass and comes in chrome plated finish. It features rainfall as well as waterfall to which LED adds, especially with its changing colors. The shower head is free of any shower arm or slide bar, but it is certainly installed with such elements that ensure you a comfy bath while complementing your home décor.
Lima LED Color Changing Two Ways Solid Brass Wall Mount Shower Head In Chrome Finish Features
|
Brand Name
|
BathSelect
|
|
Style
|
Single Head
|
|
Cold/Hot Water Control Type
|
Single Holder Dual Control
|
|
Shower shape
|
Square
|
|
Shape
|
Square
|
|
Type
|
Fixed Support Type
|
|
Shower Head Feature
|
Rainfall Shower Heads, Waterfall shower head
|
|
Material
|
Brass
|
|
Installation Type
|
Wall Mount
|
|
Model Number
|
BZ-5781
|
|
Flow Rate
|
2.5 GPM
|
Features
|
Type
|
Shower Head
|
|
Features
|
Rainfall ,Waterfall,LED
|
|
Finish
|
Chrome
|
|
Material
|
Brass
|
|
Size
|
21.65"×9.05" (55×23 cm)
|
|
Shower Arm Included
|
No
|
|
Shower Hose Included
|
No
|
|
Slide Bar Included
|
No
|
|
|
BathSelect® Manufacturer Warranty Information
|
|
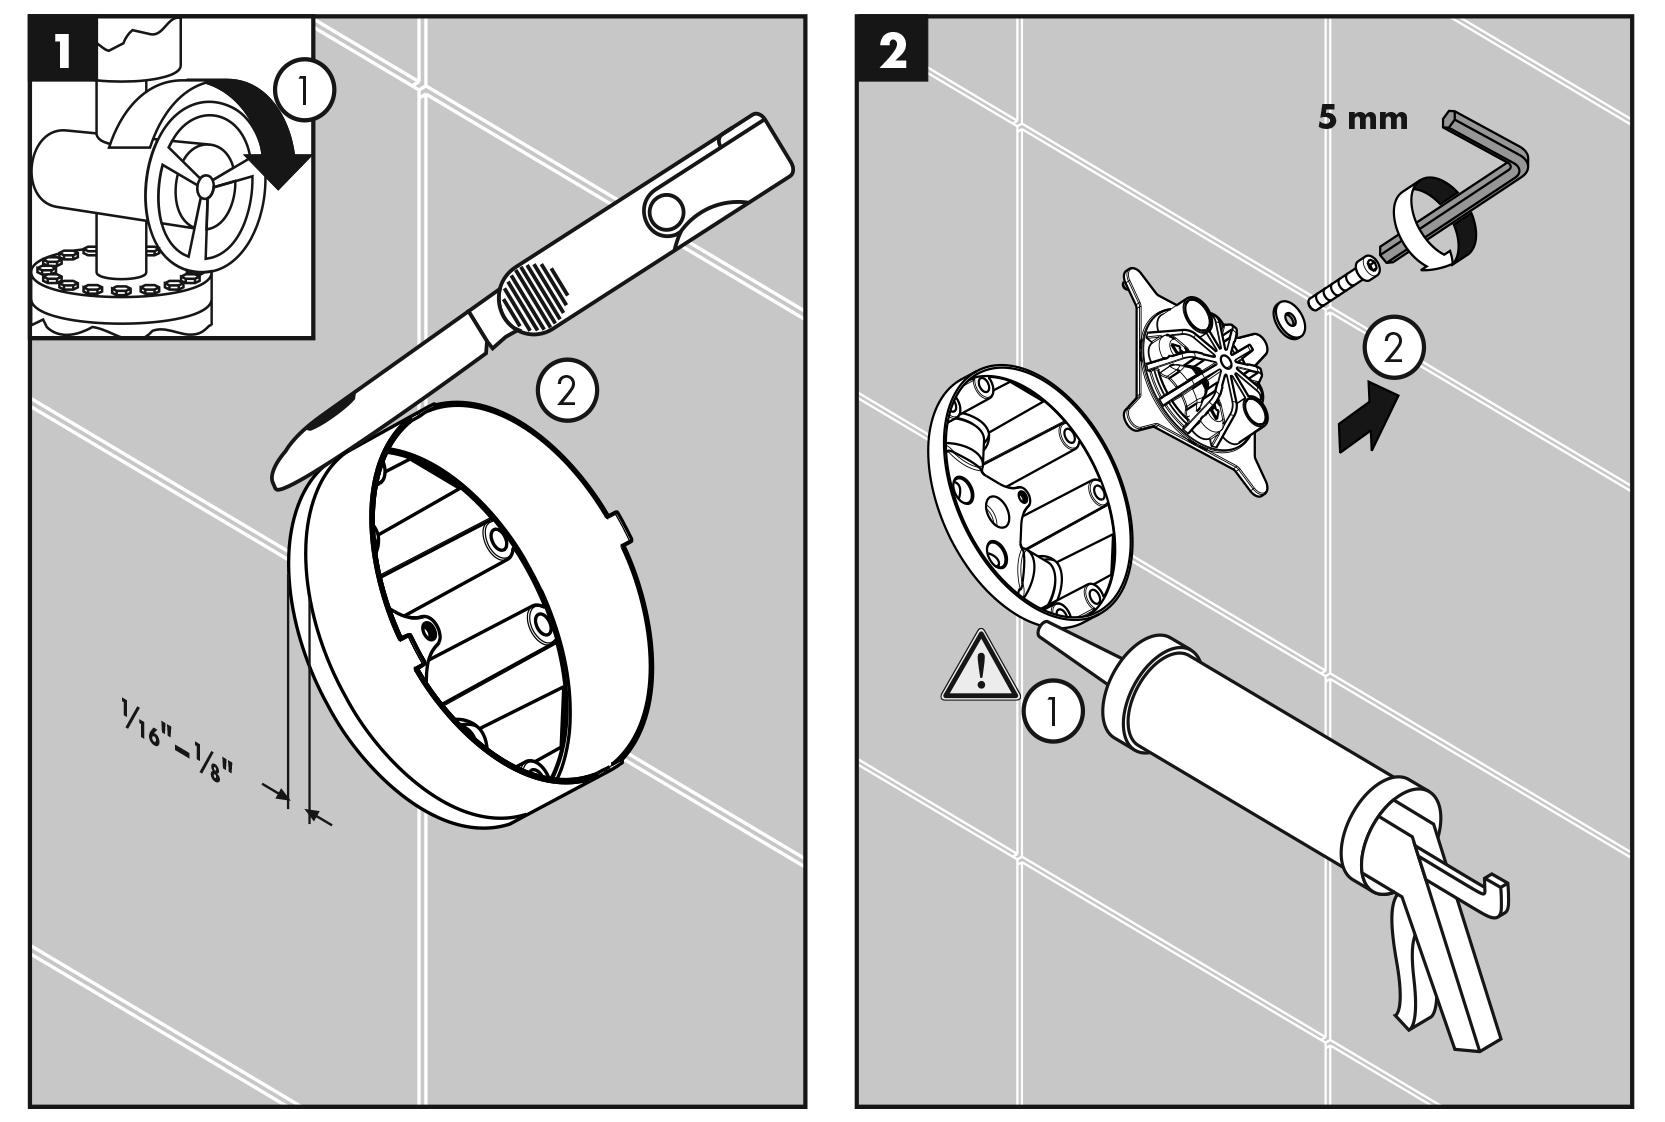
Step 1-2
Turn the water off at the main before beginning.
Cut the plaster shield so that it extends 1/16"- 1/18" (1-2 mm) outside the surface of the finished wall.
Note:
- Seal the wall around the plaster shield using a waterproof sealant.
- Failure to seal the wall may result in water damage.
Remove the flush insert.
Step 3-4
Remove the air jet.
Remove the cover.
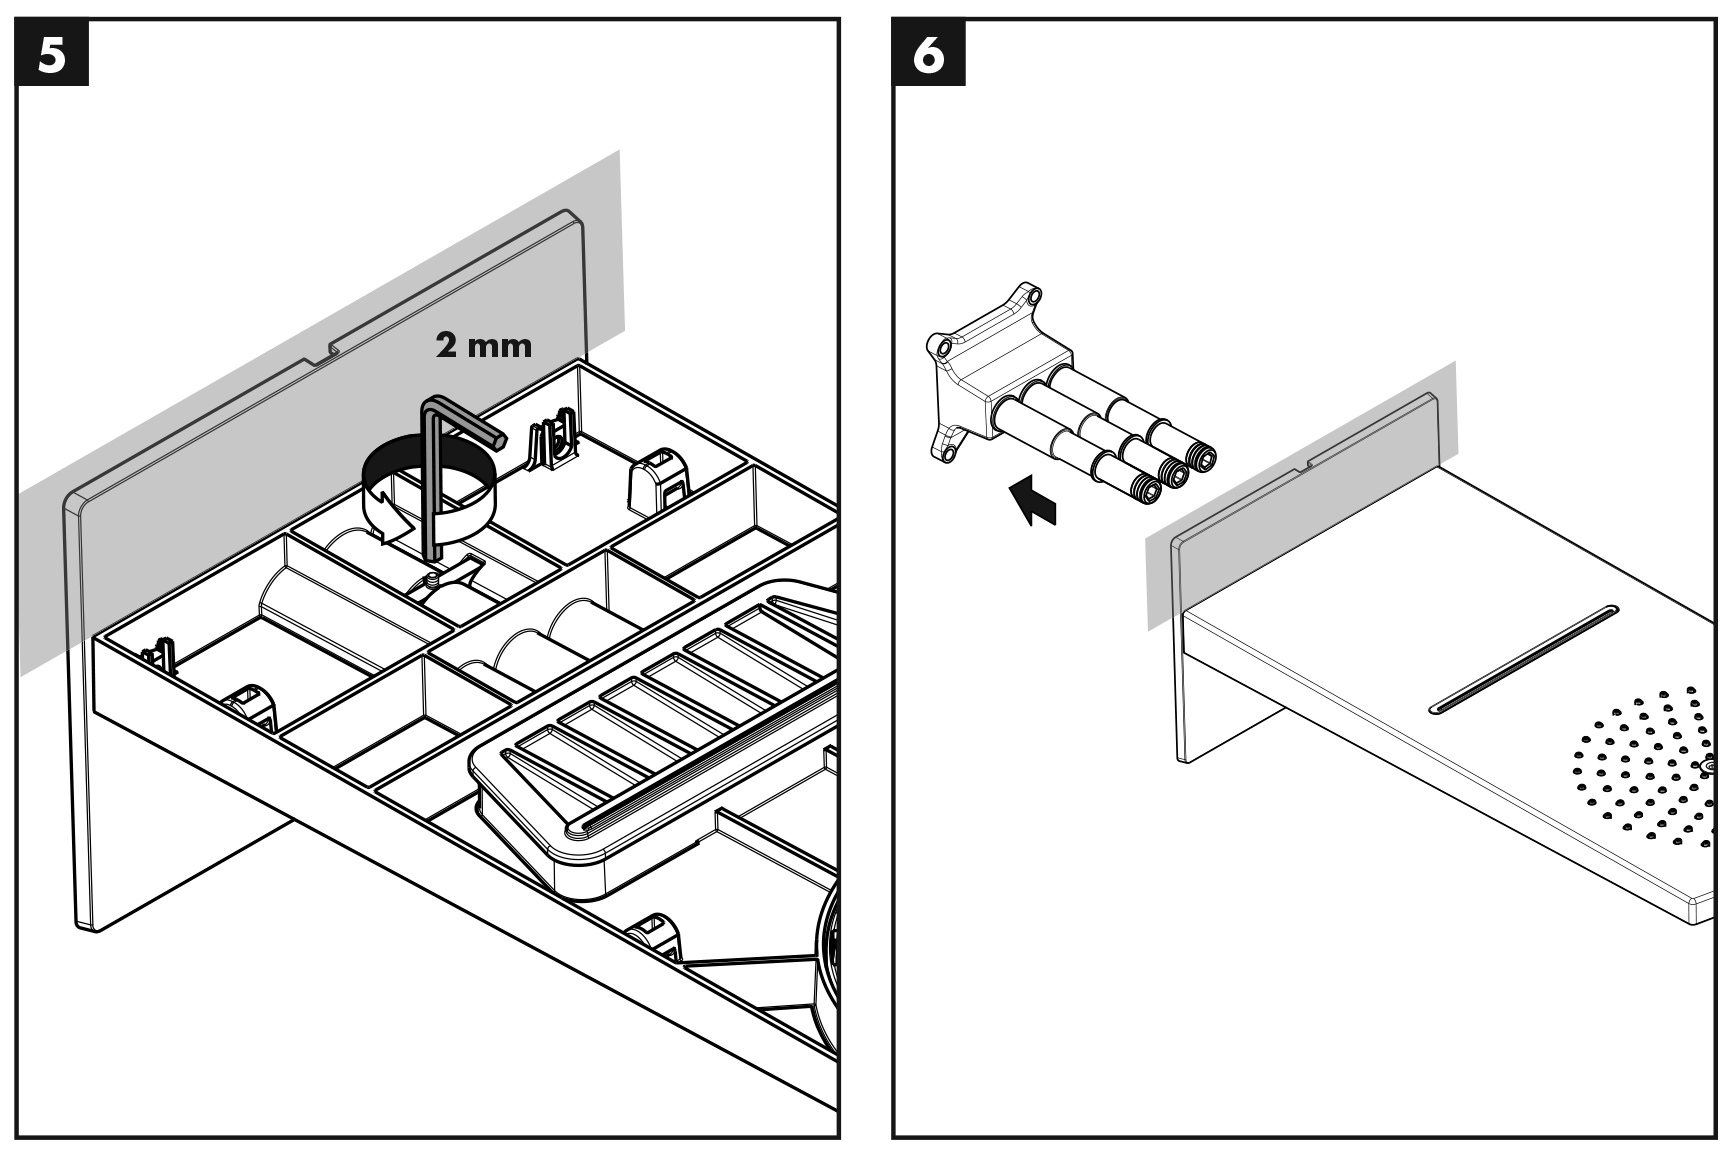
Step 5-6
Loosen the screw.
Remove the pipe assembly from the shower.
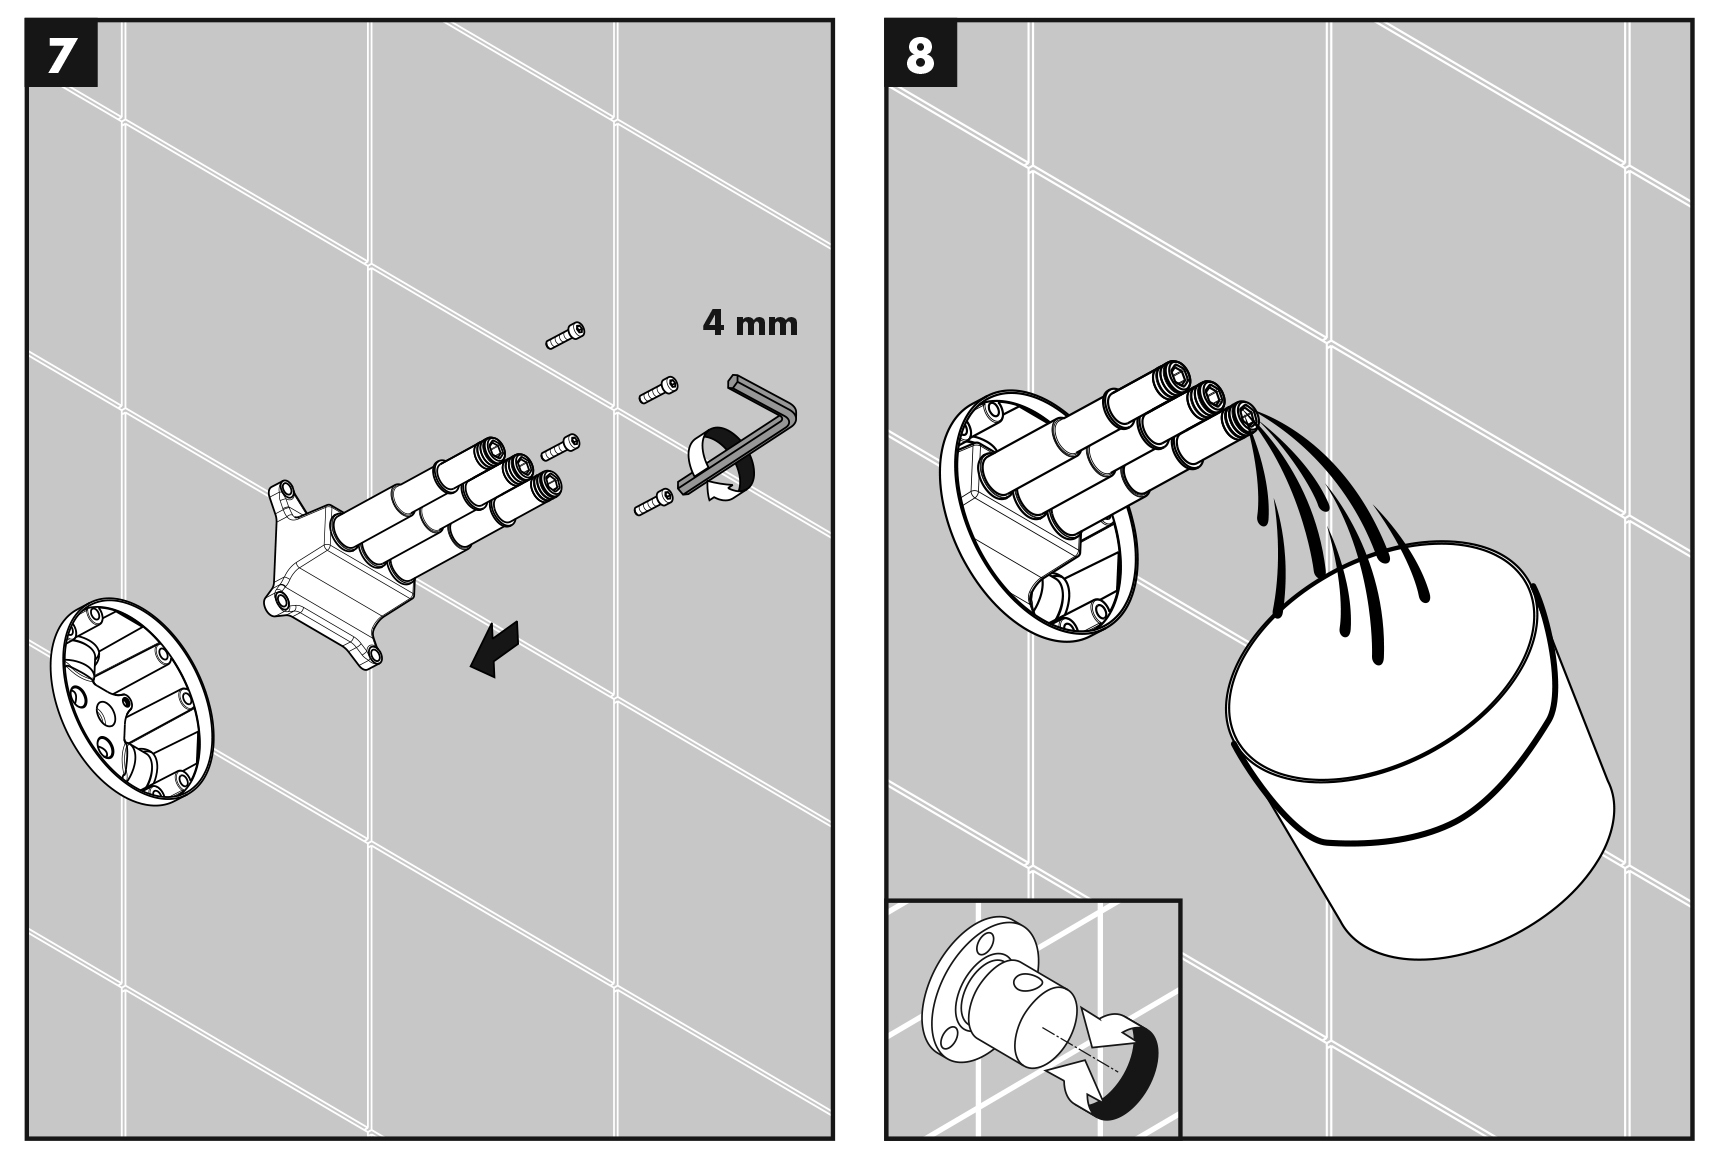
Step 7-8
Install the pipe assembly in the rough.
Turn the water on. Flush the supplies. Use the diverter so that all lines are flushed.
Turn the water off.
Step 9-10
Remove the pipe assembly.
Install the filters and the pipe assembly.
Make sure that the pipe assembly is level.
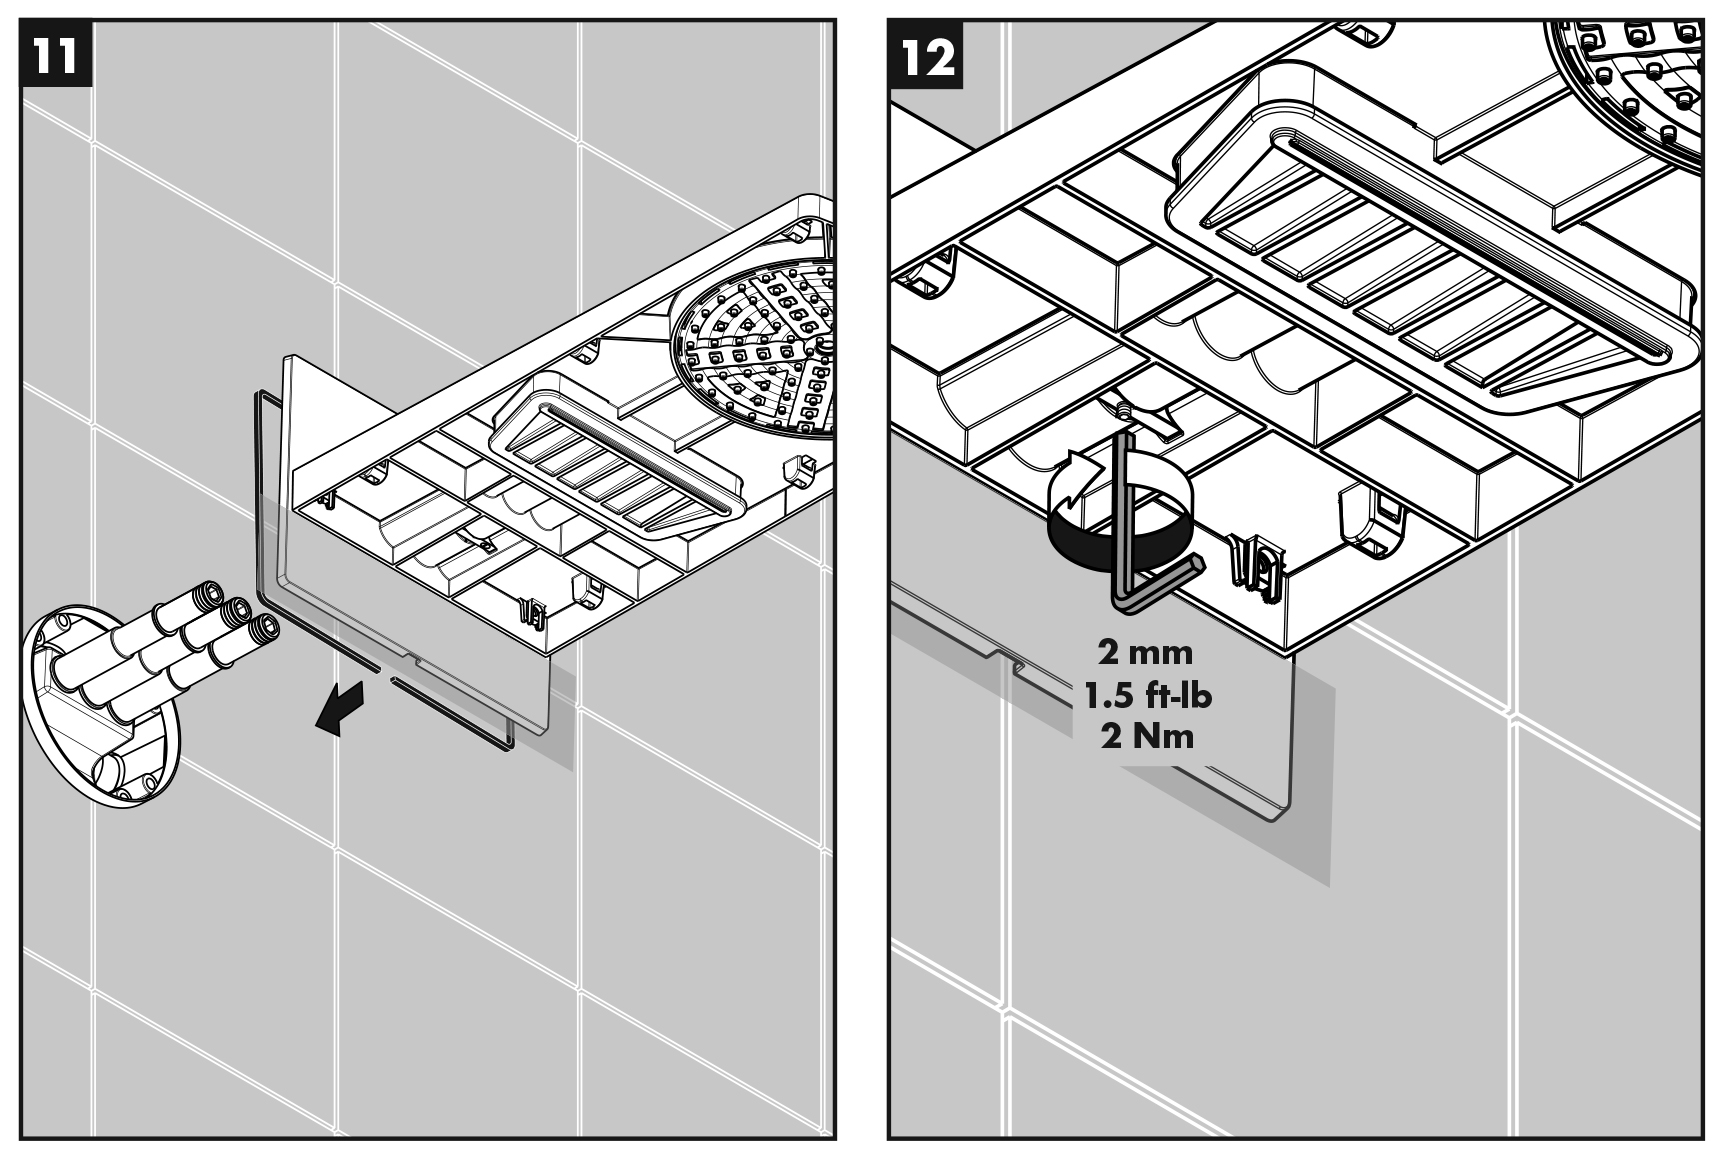
Step 11-12
Push the shower and sealing gasket over the pipe assembly.
Tighten the screw.
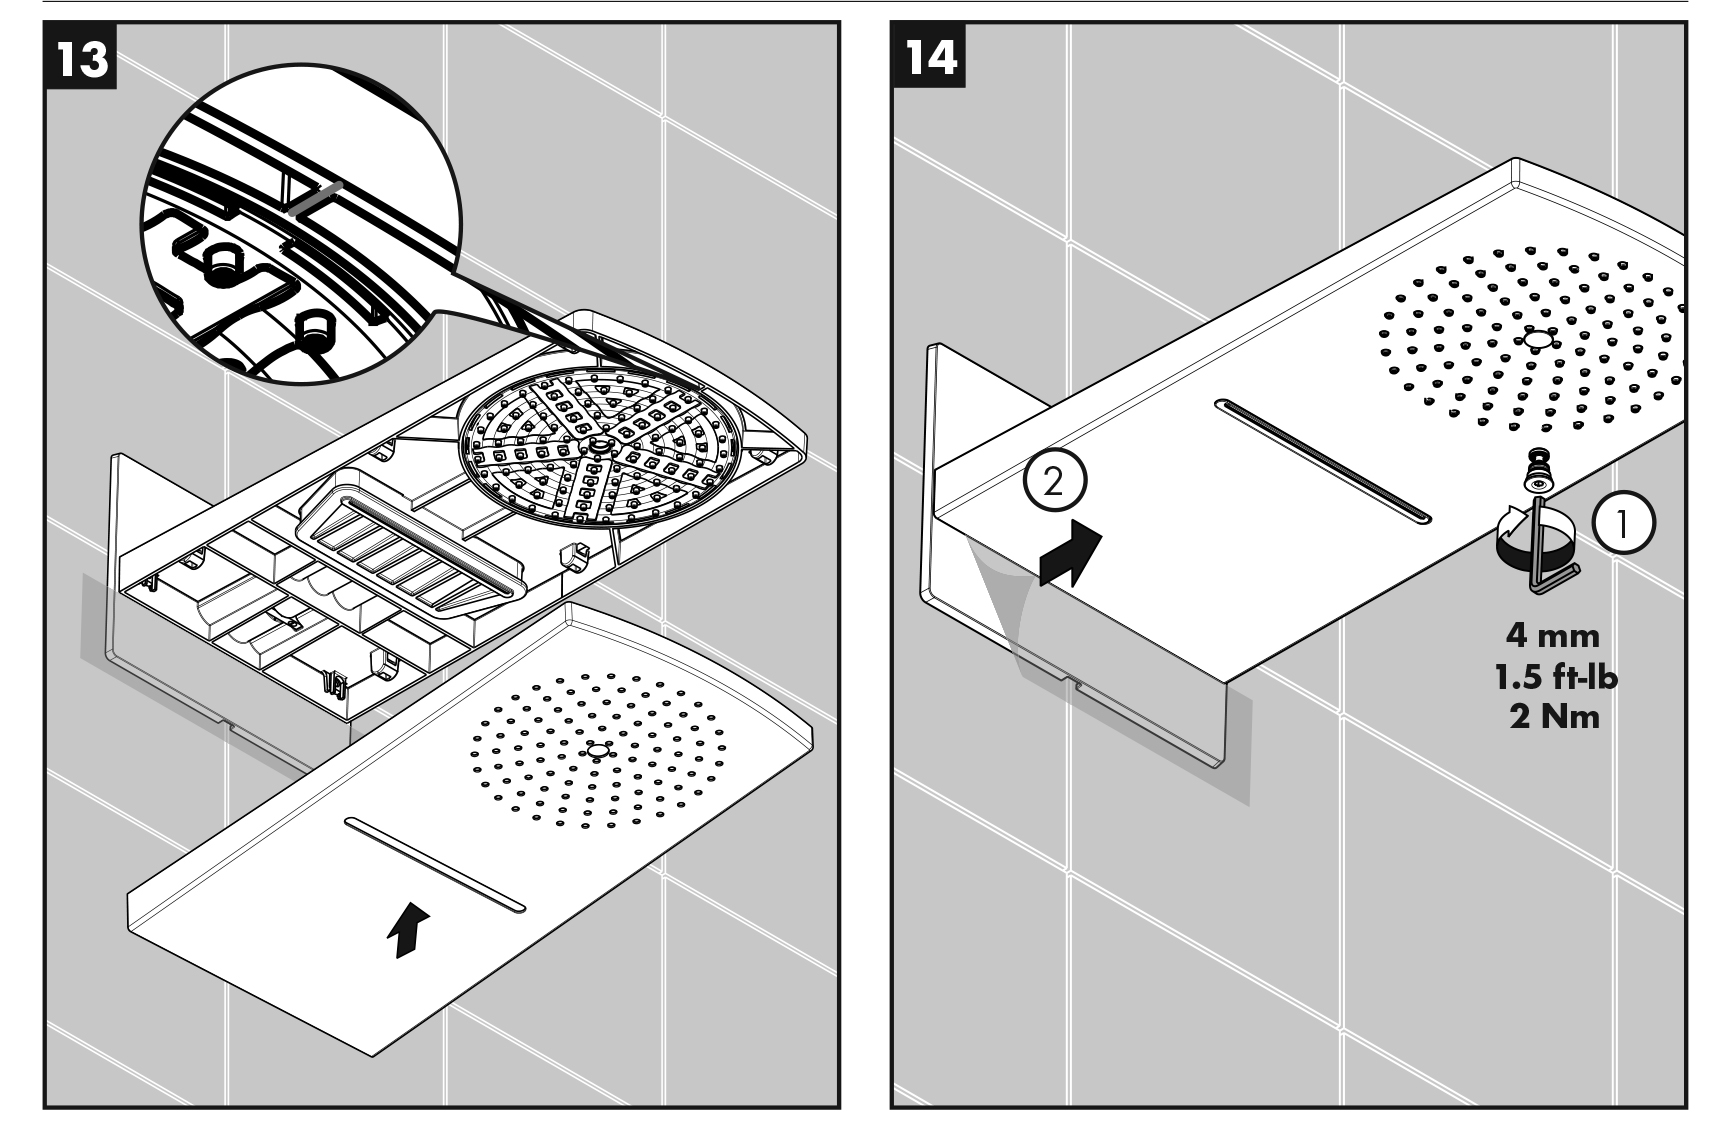
Step 13-14
Install the cover.
Install the air jet.
Remove the protective film.
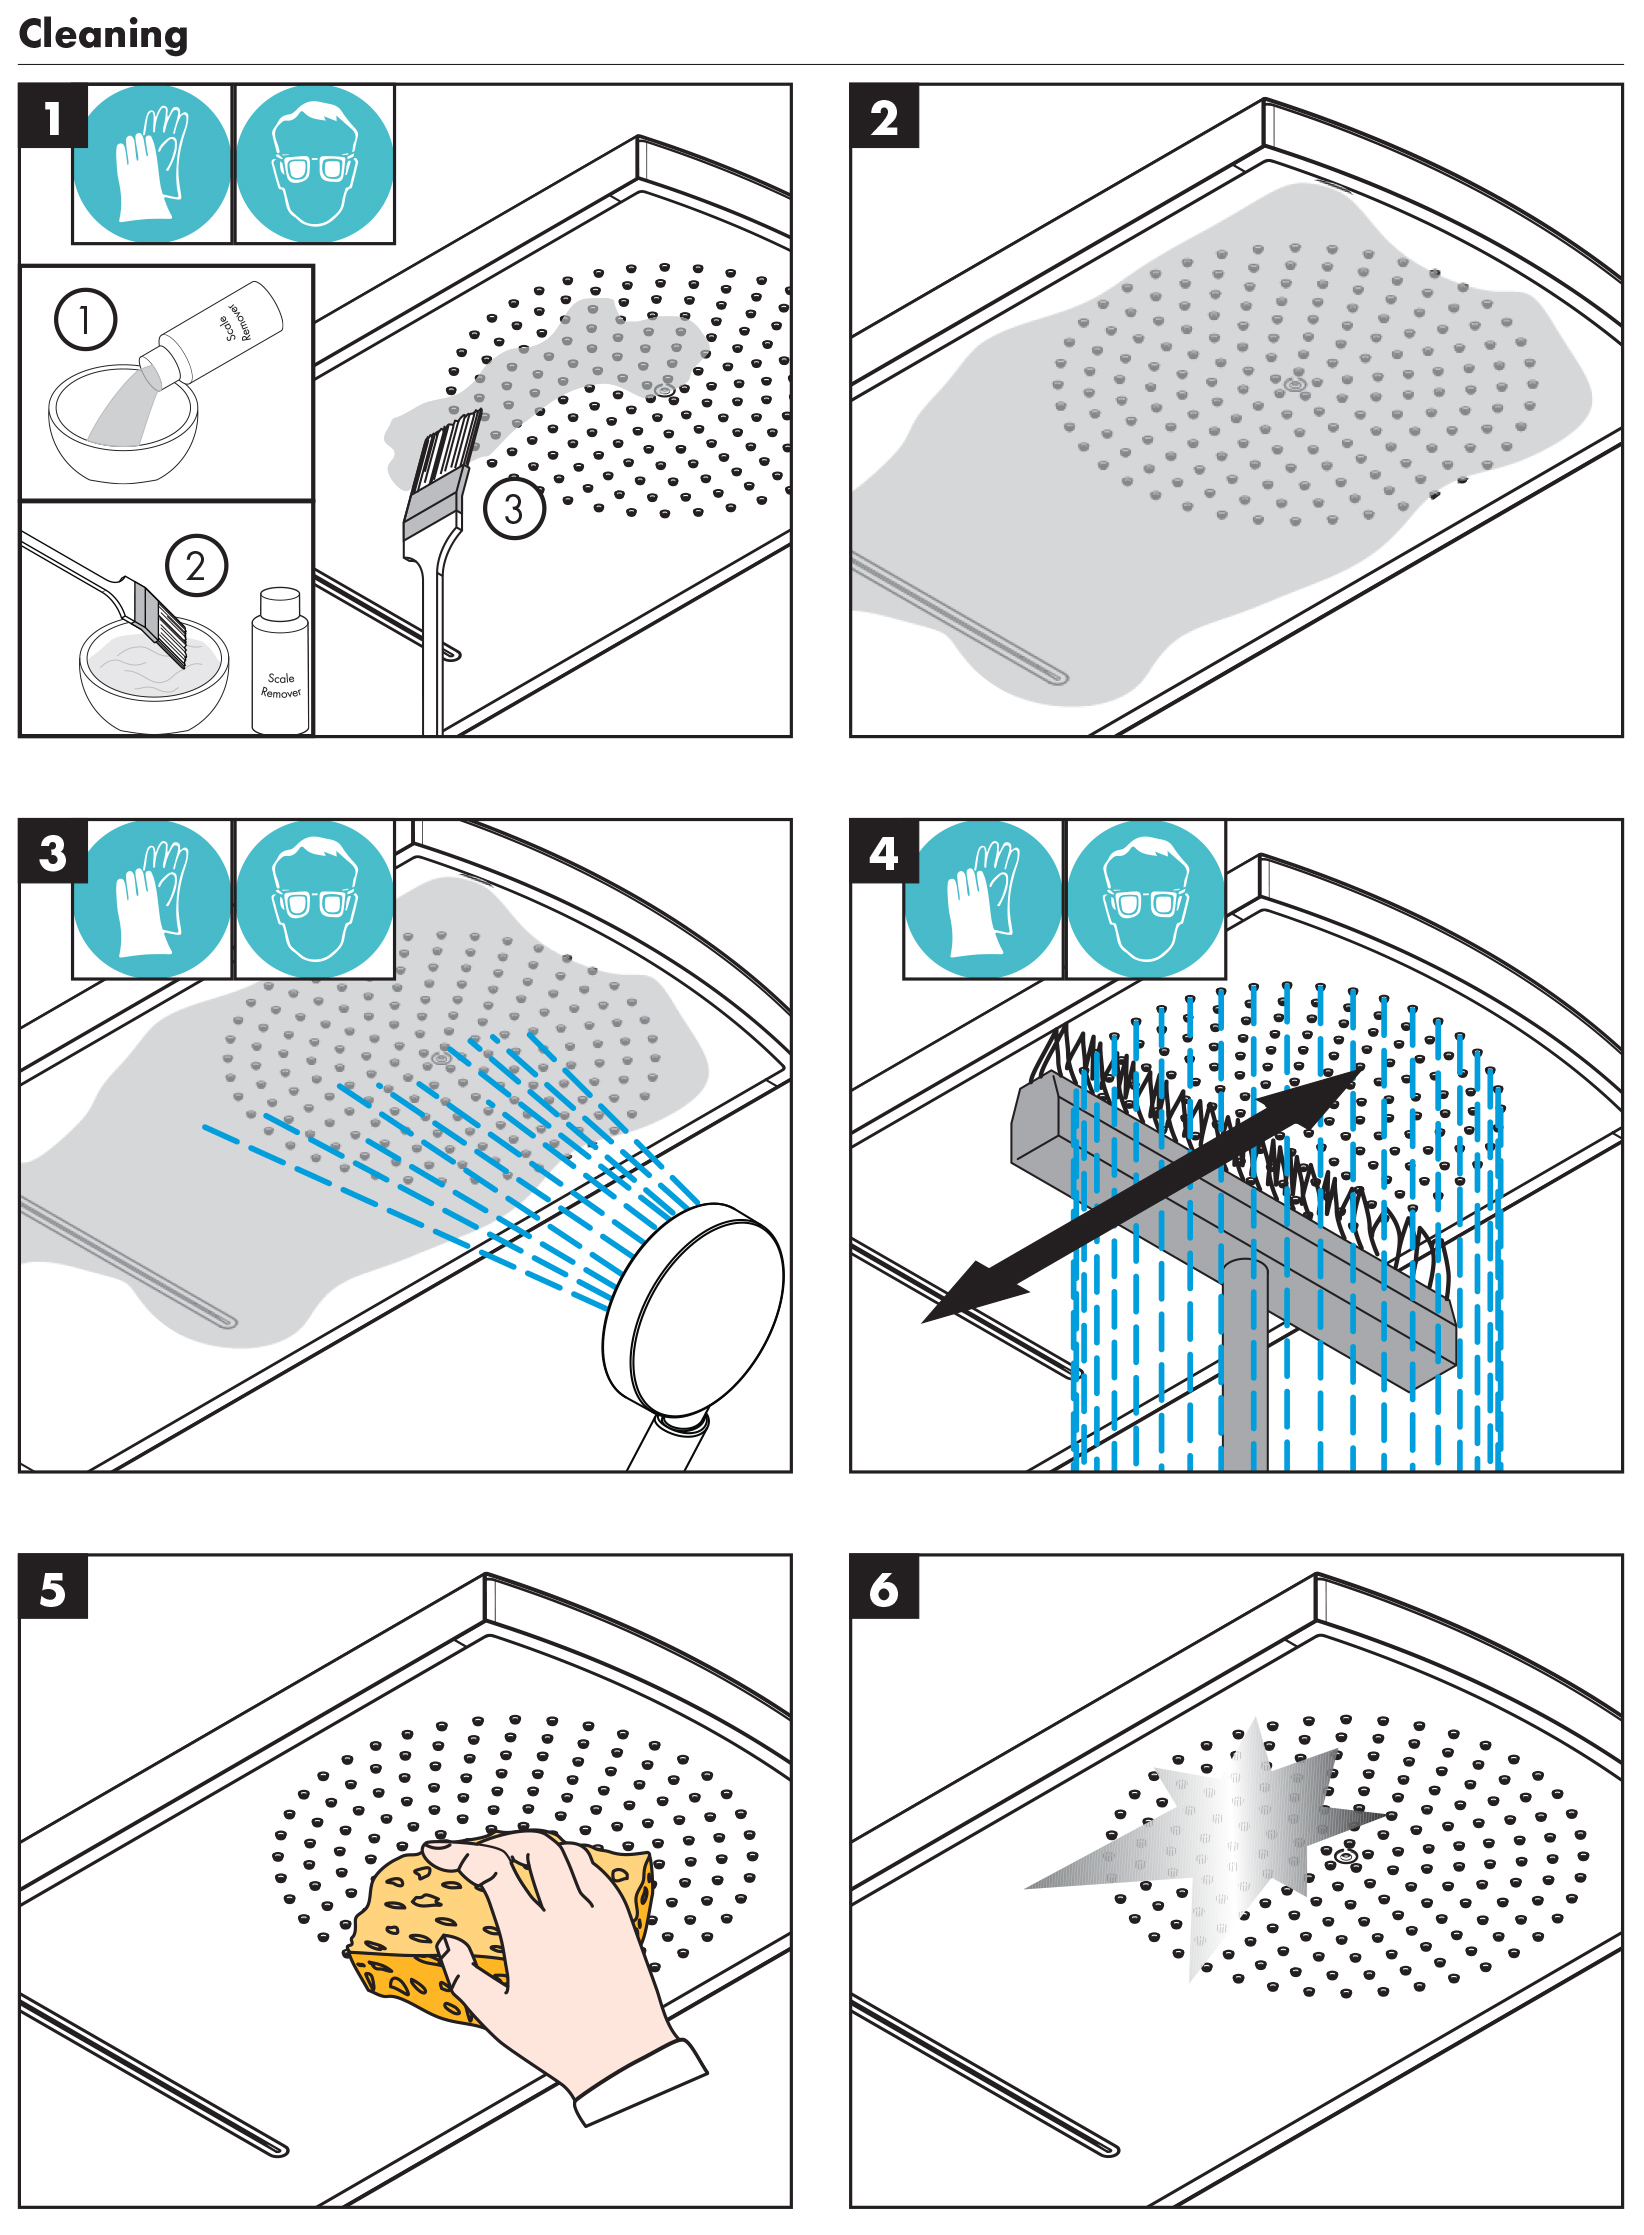
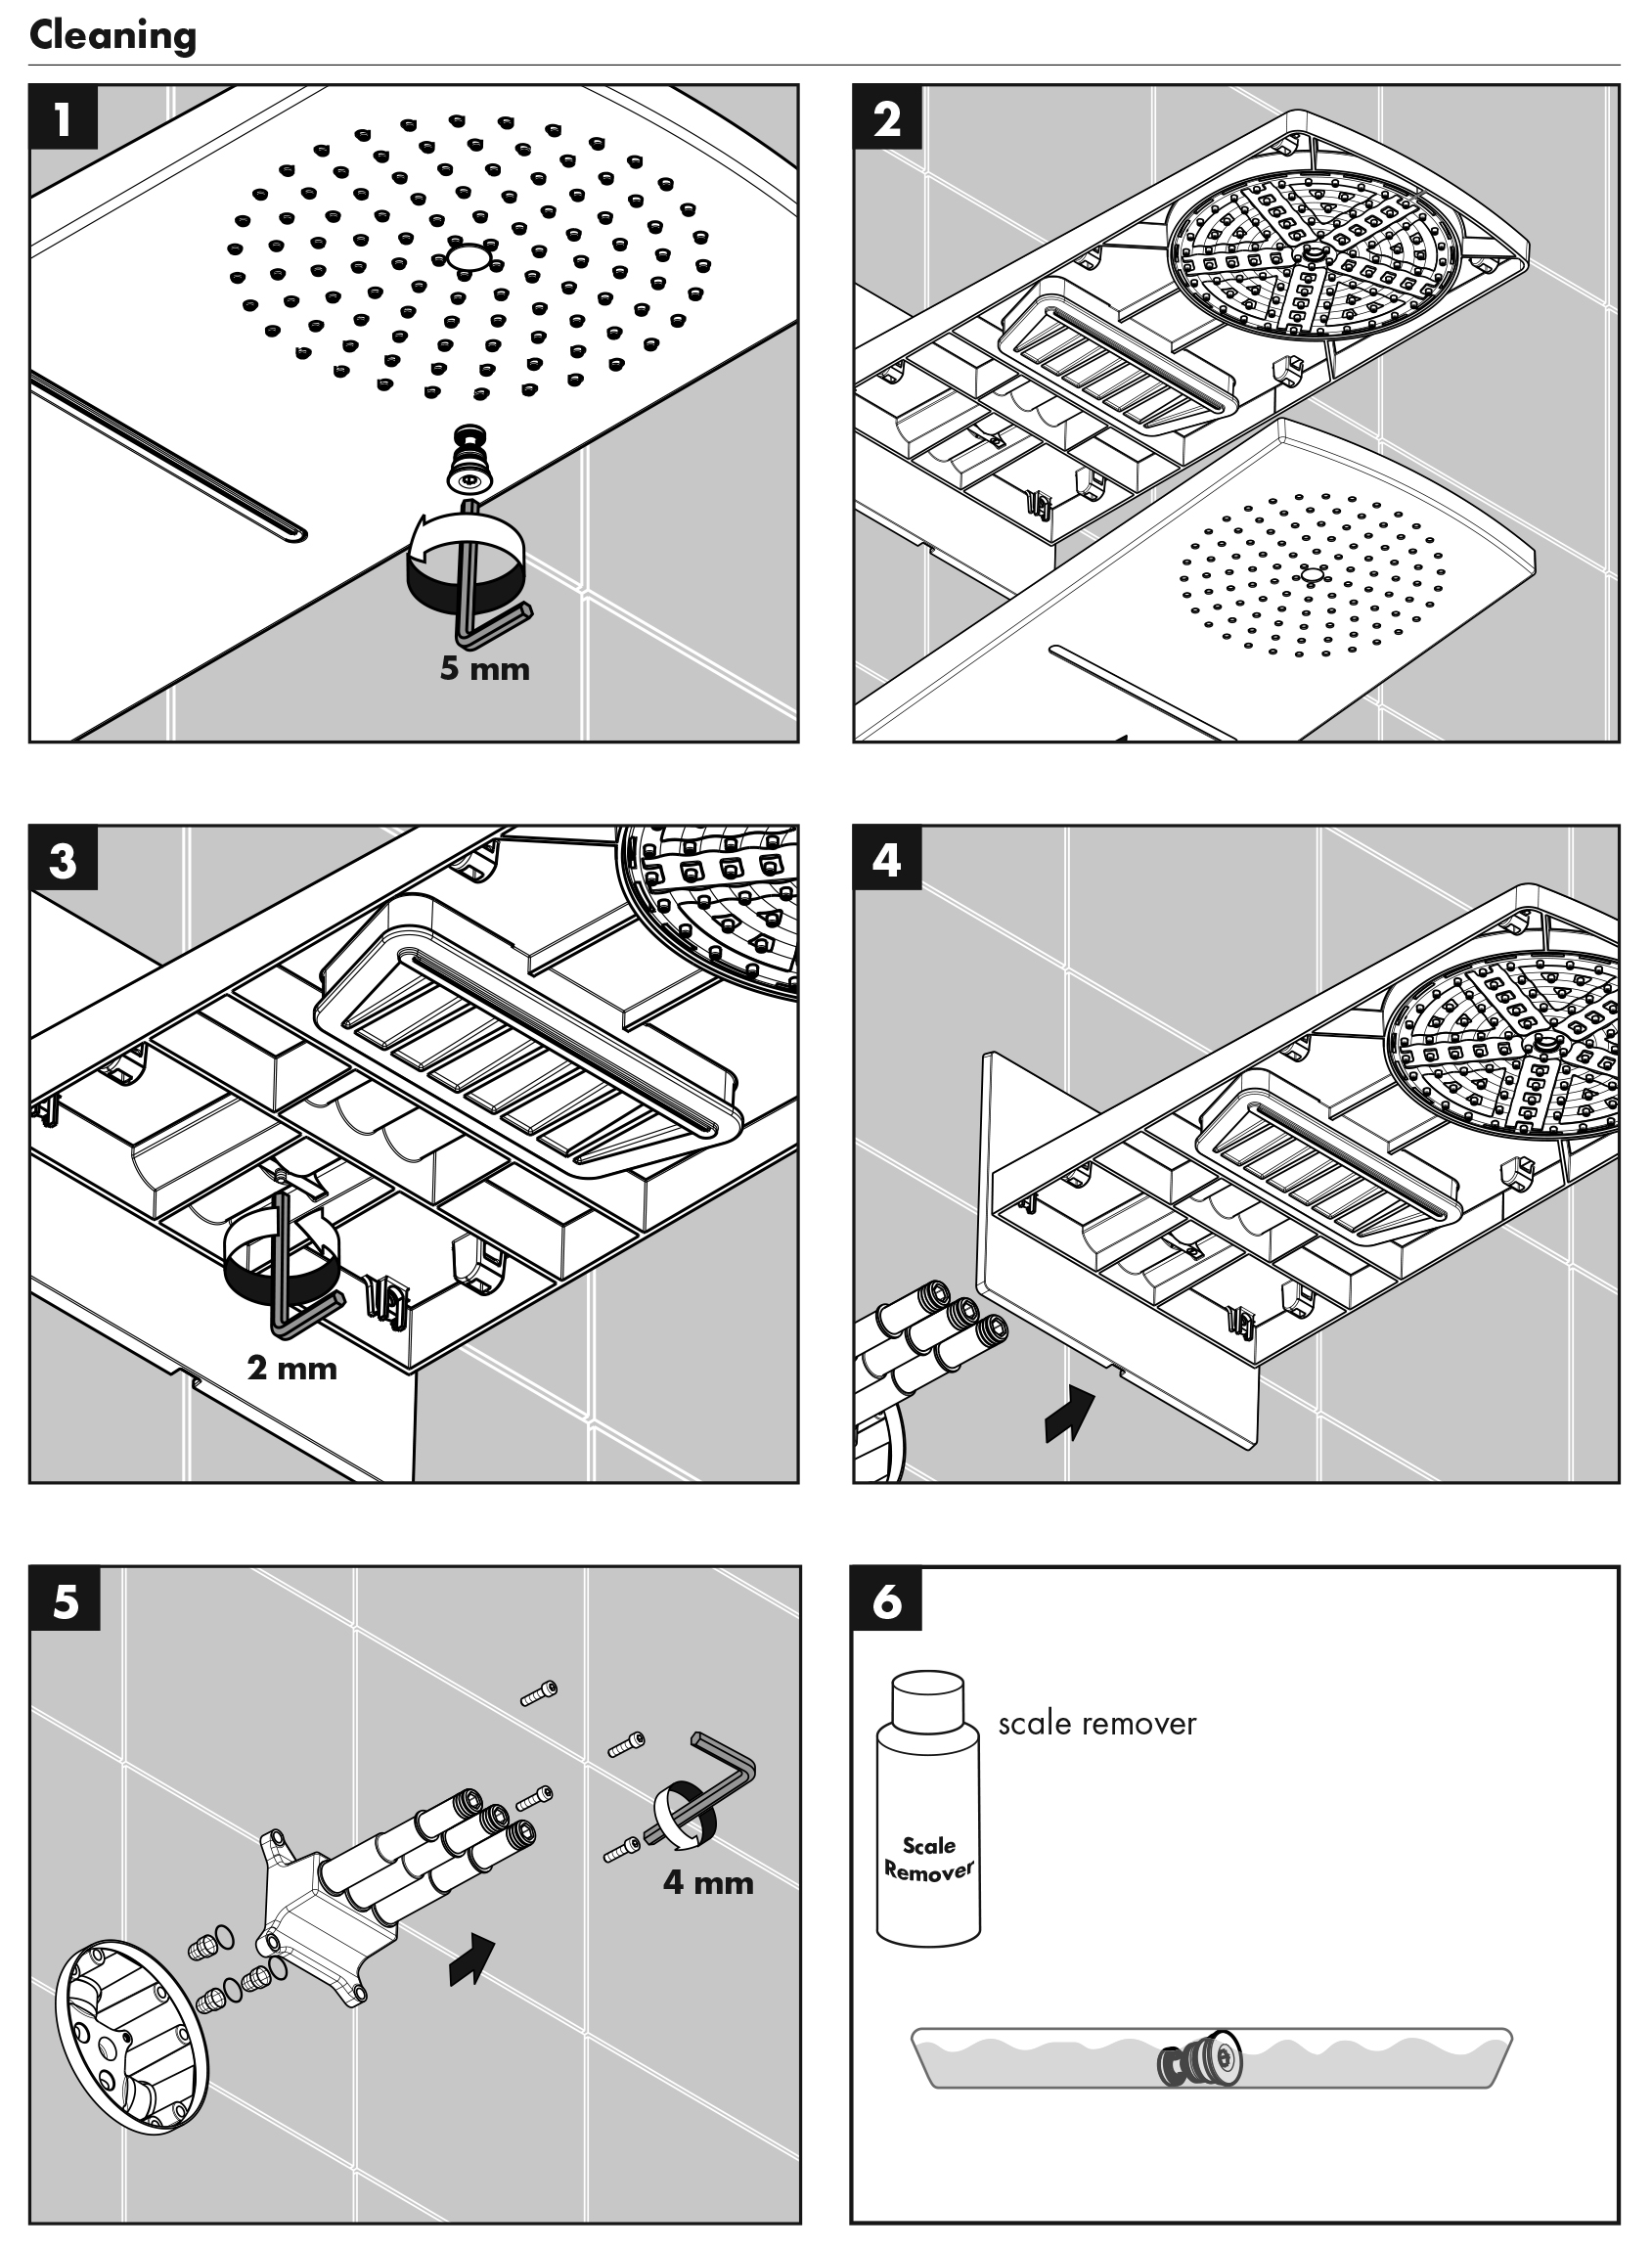
Cleaning

|