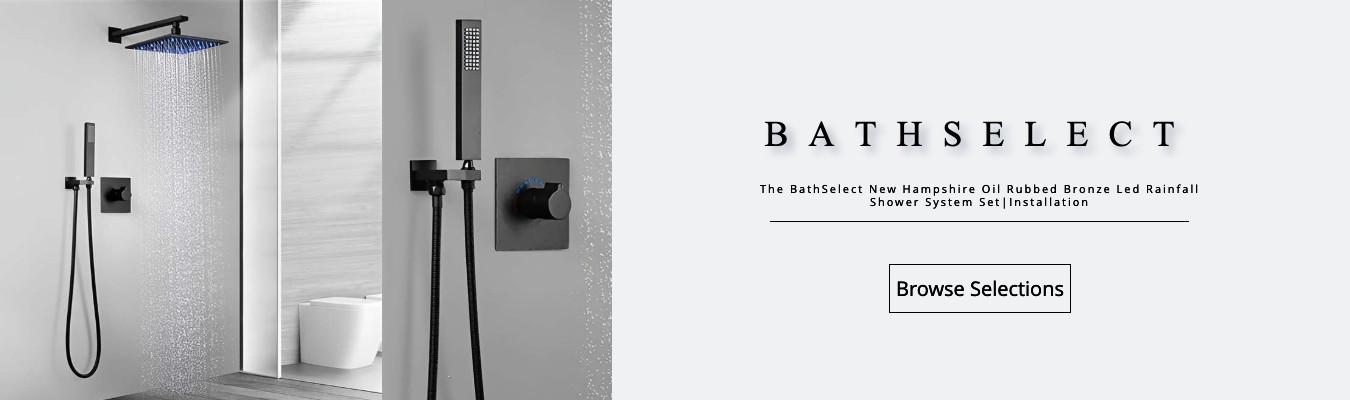
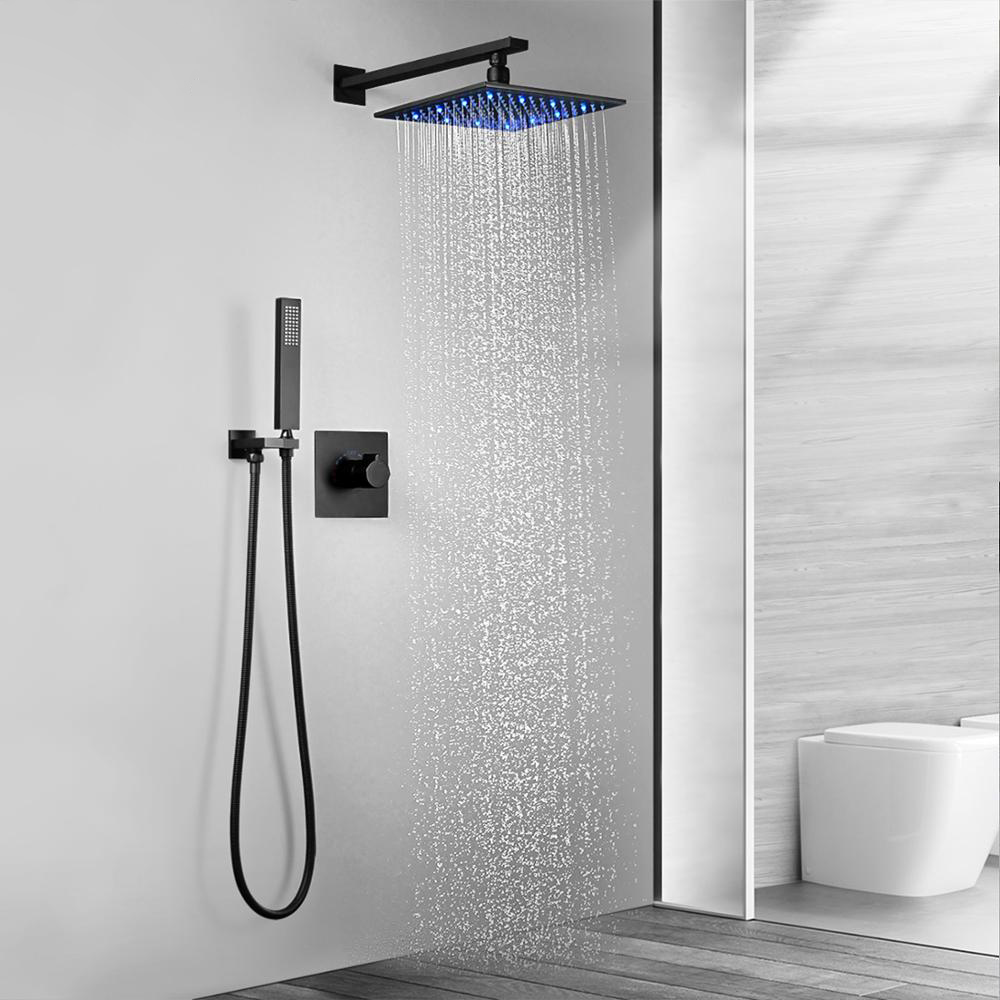
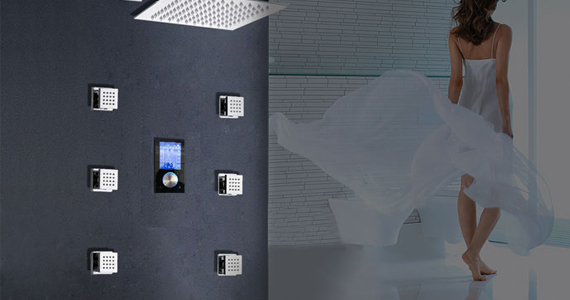
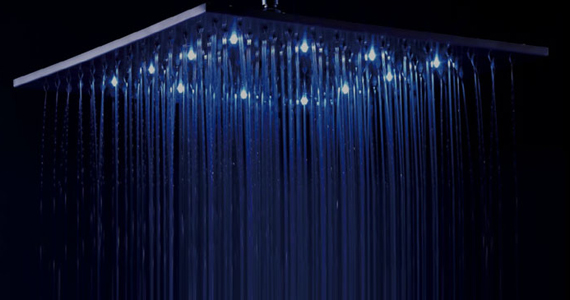
BathSelect New Hampshire Oil Rubbed Bronze LED Rainfall Shower System SetWith this square stainless steel LED rainfall shower head, you can experience a new style of showering while adjusting the showers. No electricity or batteries are needed, and no need to figure out installation since it can be installed in minutes by simply unscrewing the old showerhead and screwing in the new showerhead no connections or adapters are needed it is made to fit all US 1/2" standard fittings that are simple. This high-tech is self-powered by water pressure and will automatically turn on in a minute. The shower head has an adjustable built-in swivel connector so you can point the shower head in any direction. Simply, you can turn on the fun in your shower just by turning on the water.
BathSelect New Hampshire Oil Rubbed Bronze LED Rainfall Shower System Set Features:
- Brand Name: BathSelect
- Model Number: BST10189
- Type: Shower Head
- Function: Hot and Cold mixer
- Style: Contemporary
- Finish: Oil Rubbed Bronze
- Shower Head Material: Brass
- Shower Head Size: 10"
- Connection: G1/2 Standard
- Flow Rate: 2.2 GPM
- Material: Stainless Steel
- Mount Method: Wall Mount
- Connection :1/2" US standard (included)
- Shower Arm: Optional (purchased separately)
|
|
BathSelect® Manufacturer Warranty Information
|
|
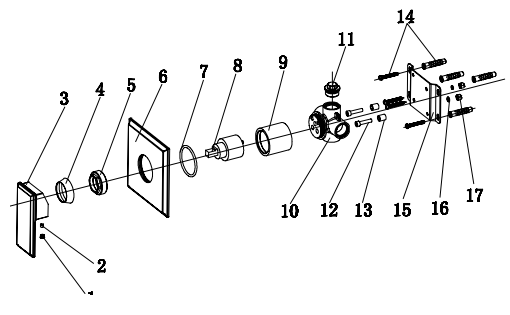
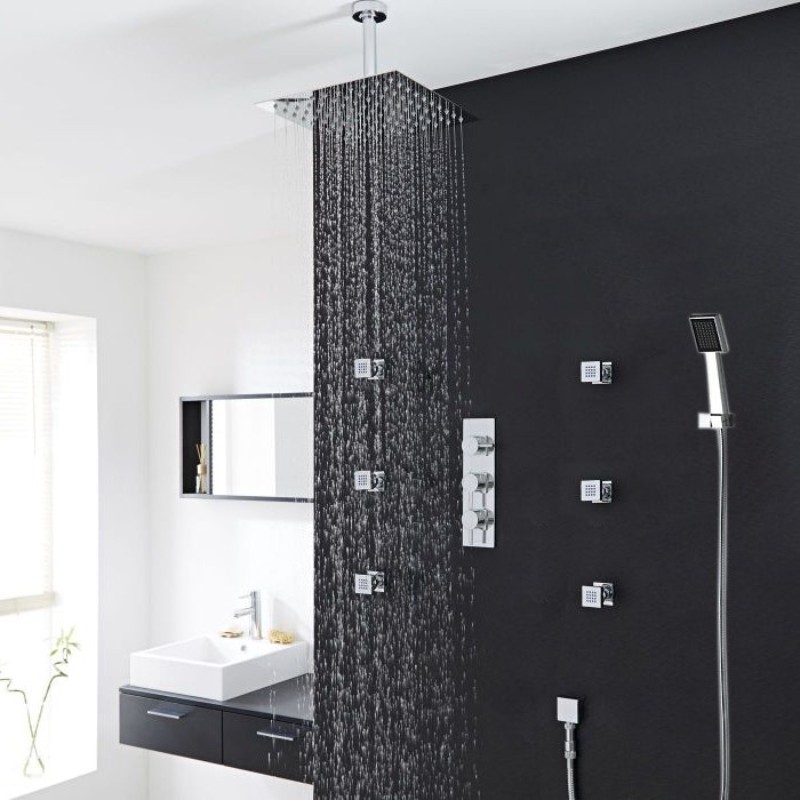
1. Install the valve body. Wrap the threaded portion of the joints in Teflon tape and connect the water inlet and outlet.
2. Put the protective cover on the valve body and finish the shower wall.
3. When the finished wall is complete, remove the protective cover.
4. Install the escutcheon, and handle. Tighten the set screw with an Allen wrench to secure.
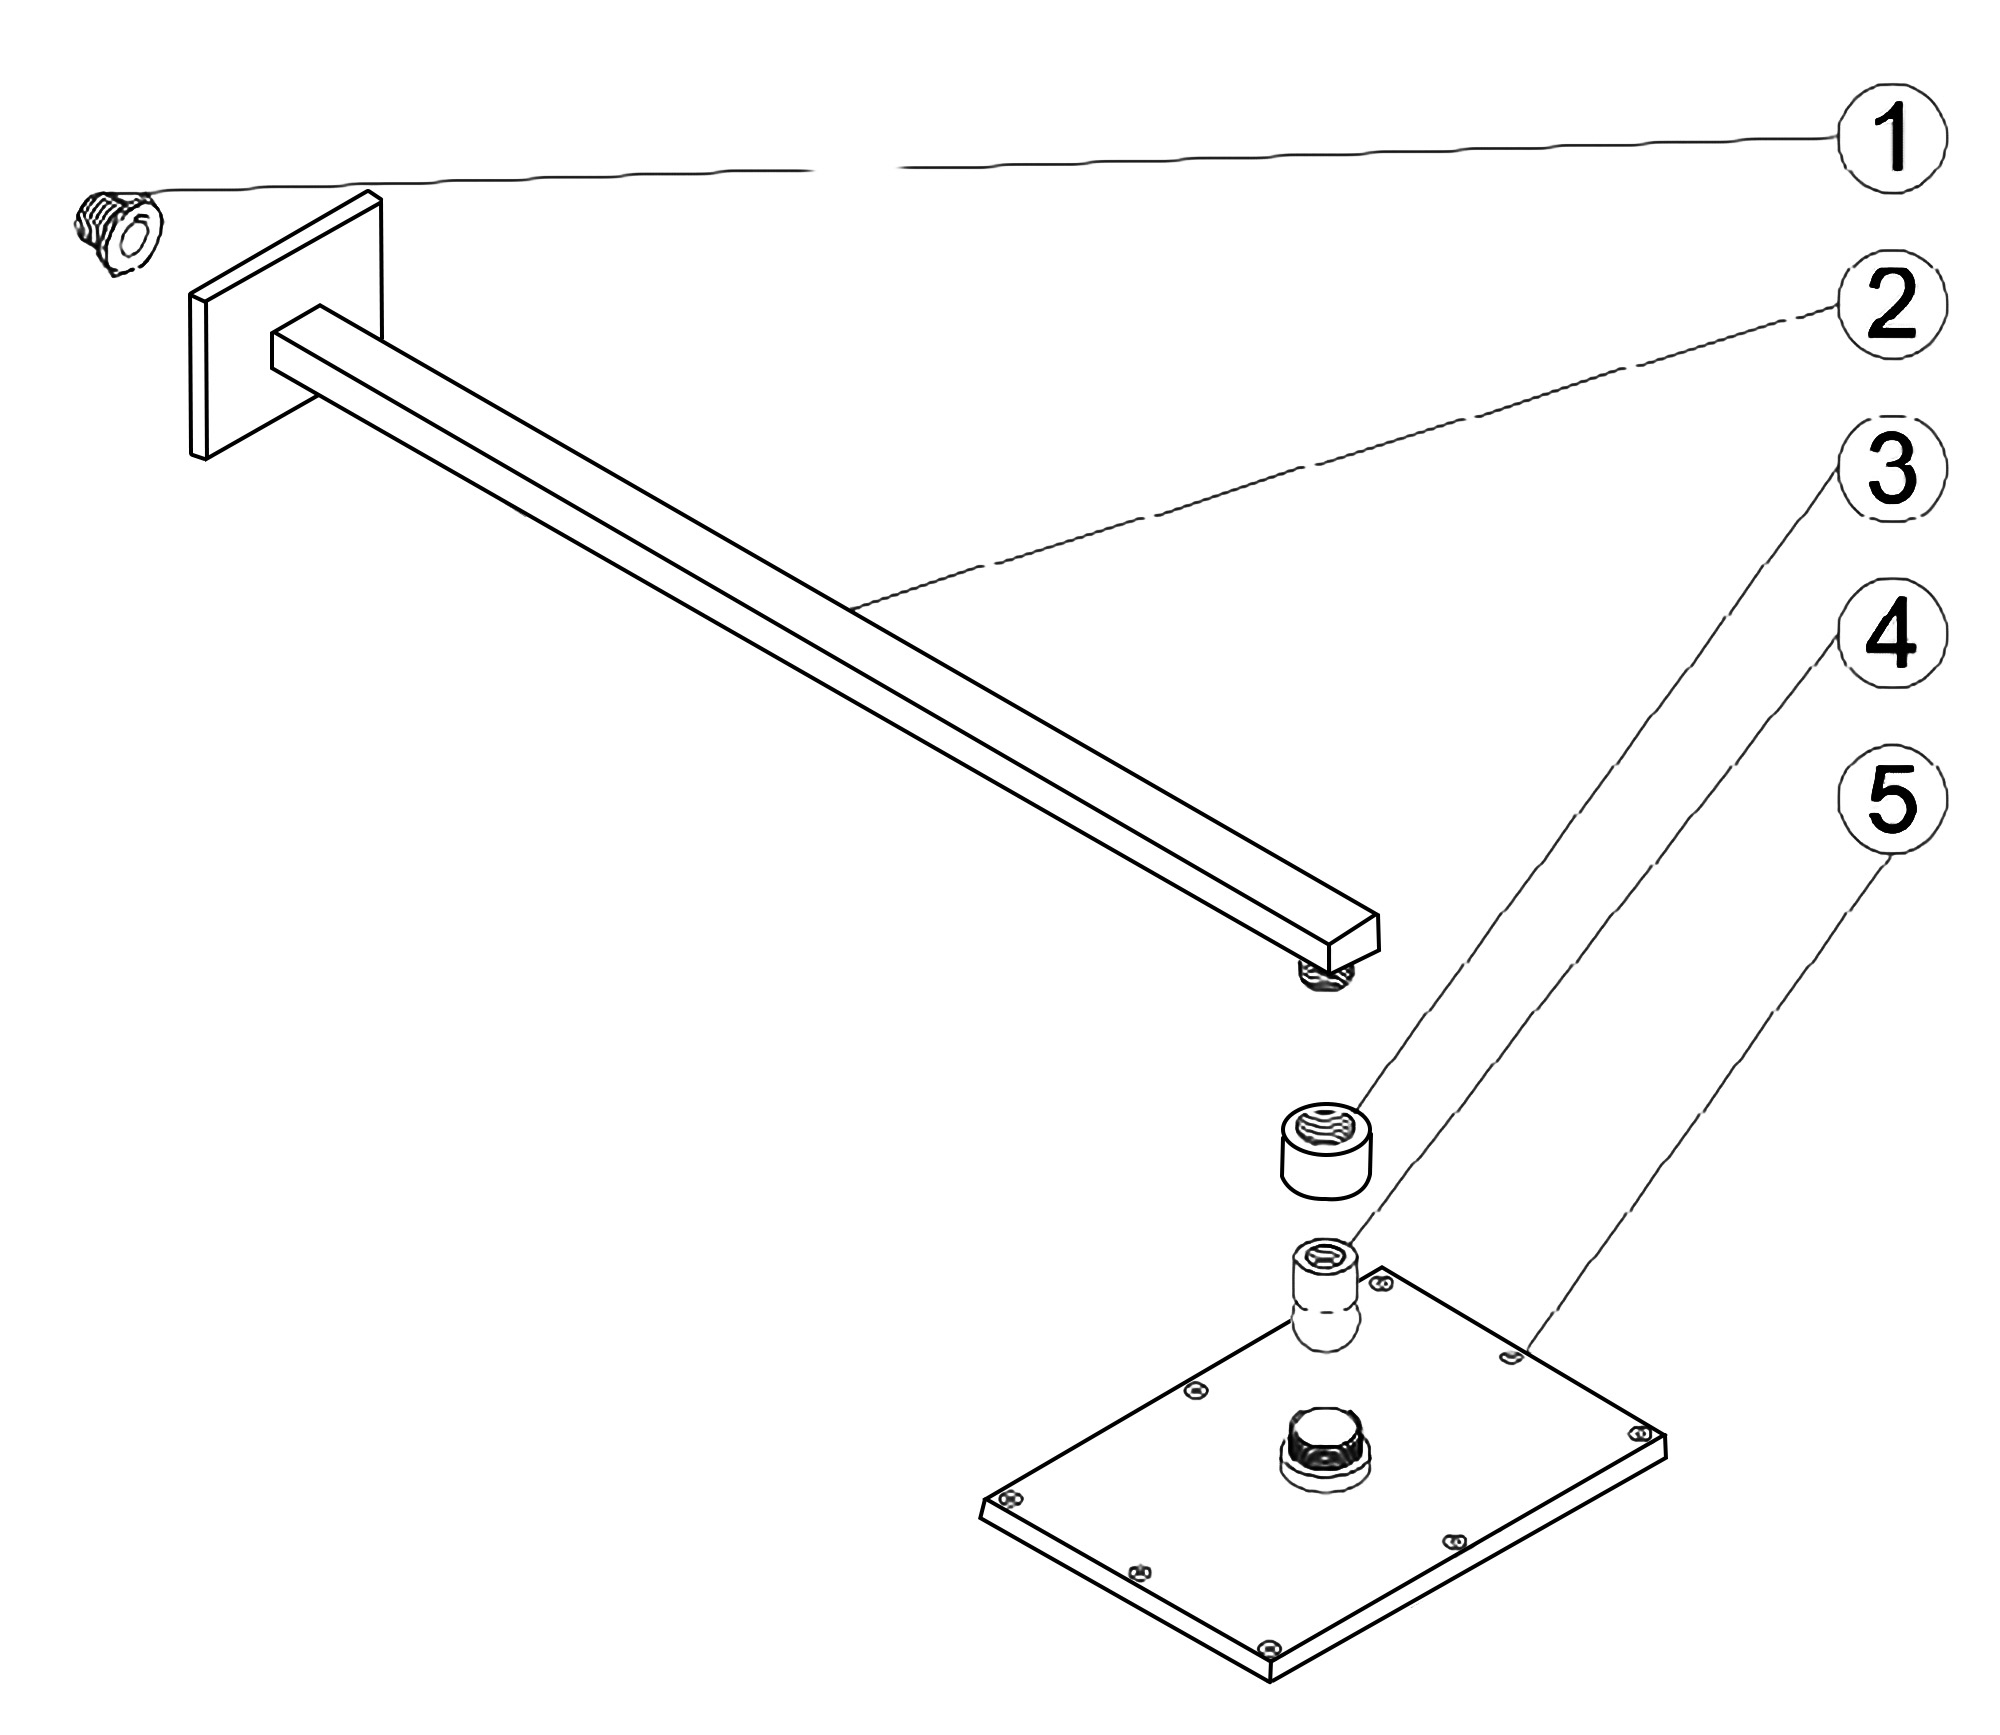
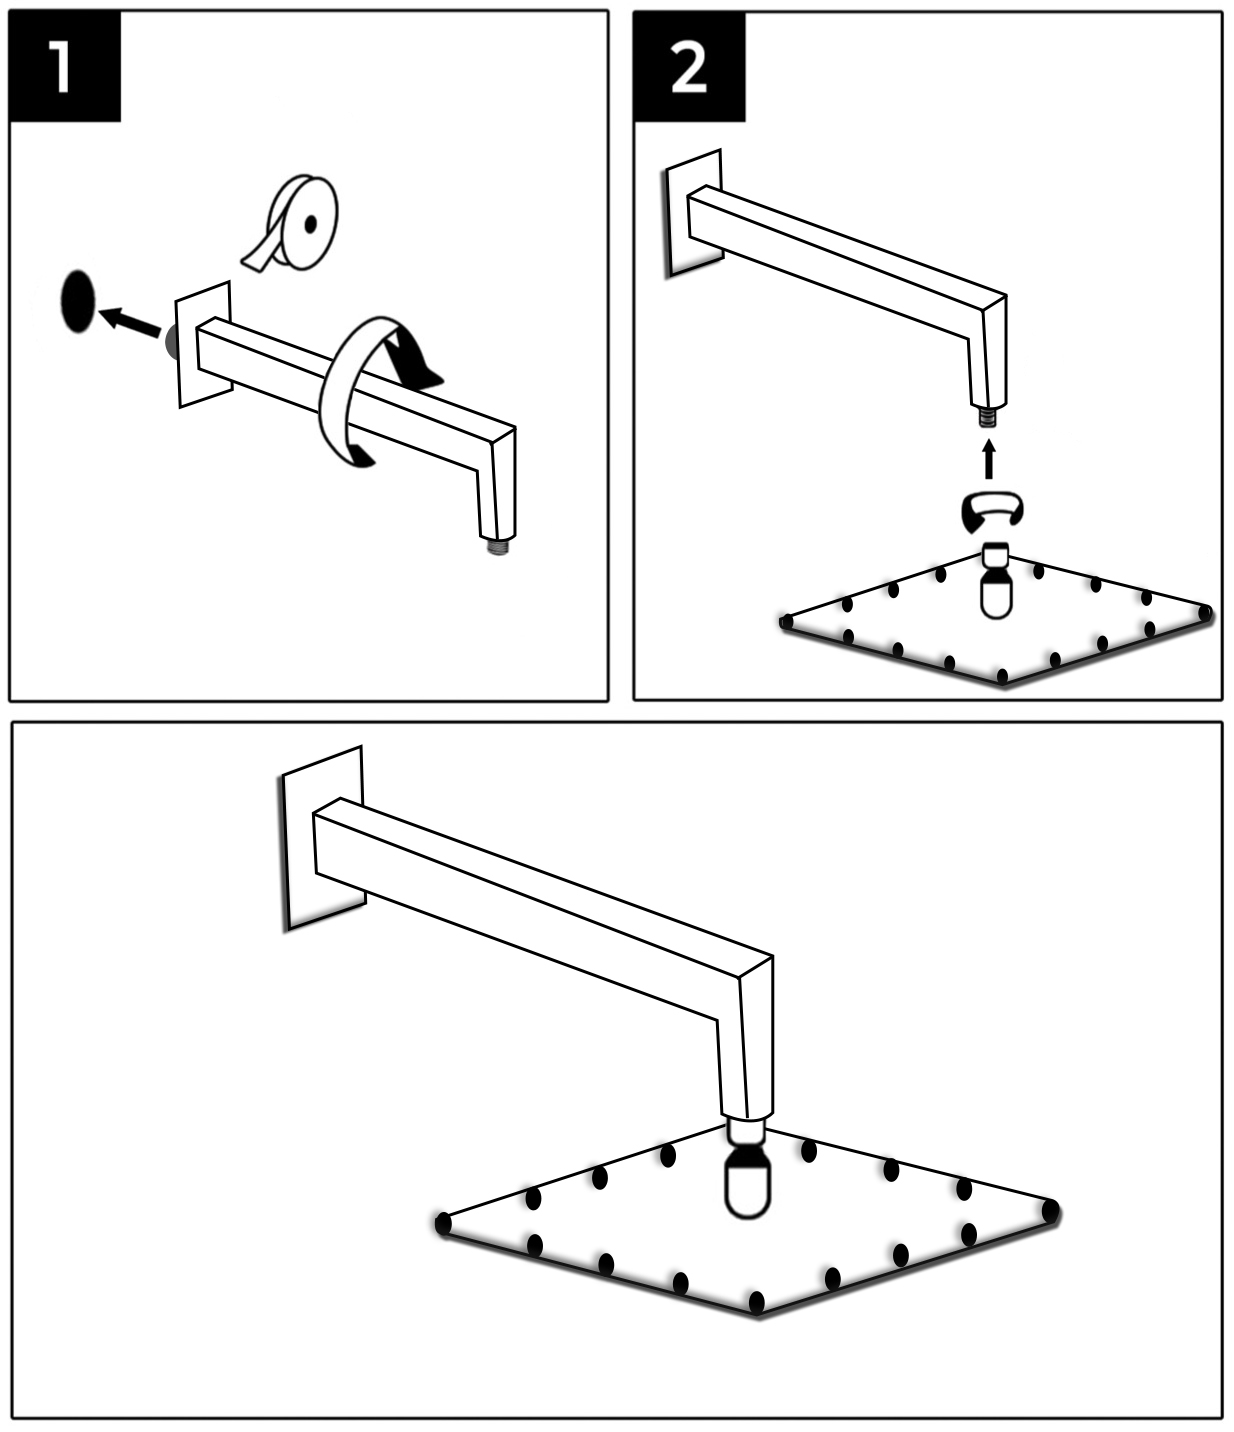
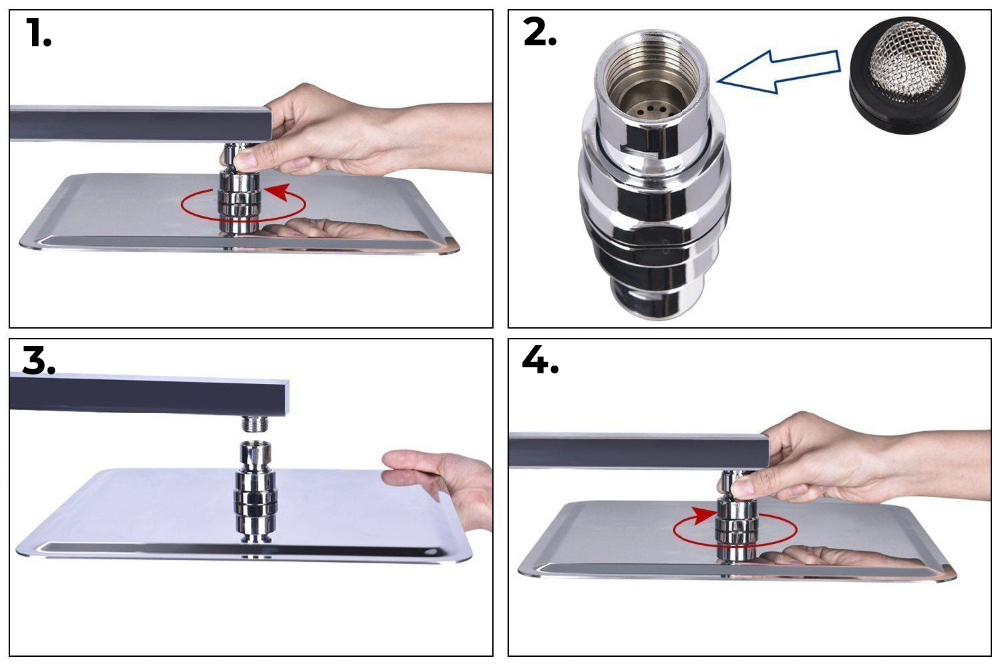
5. Attach the shower arm escutcheon to the shower arm. Wrap the threaded portions of the shower arm with Teflon tape and connect the arm to the shower inlet. Adjust the direction of the water flow as needed. Attach the rainfall shower head to the shower arm.
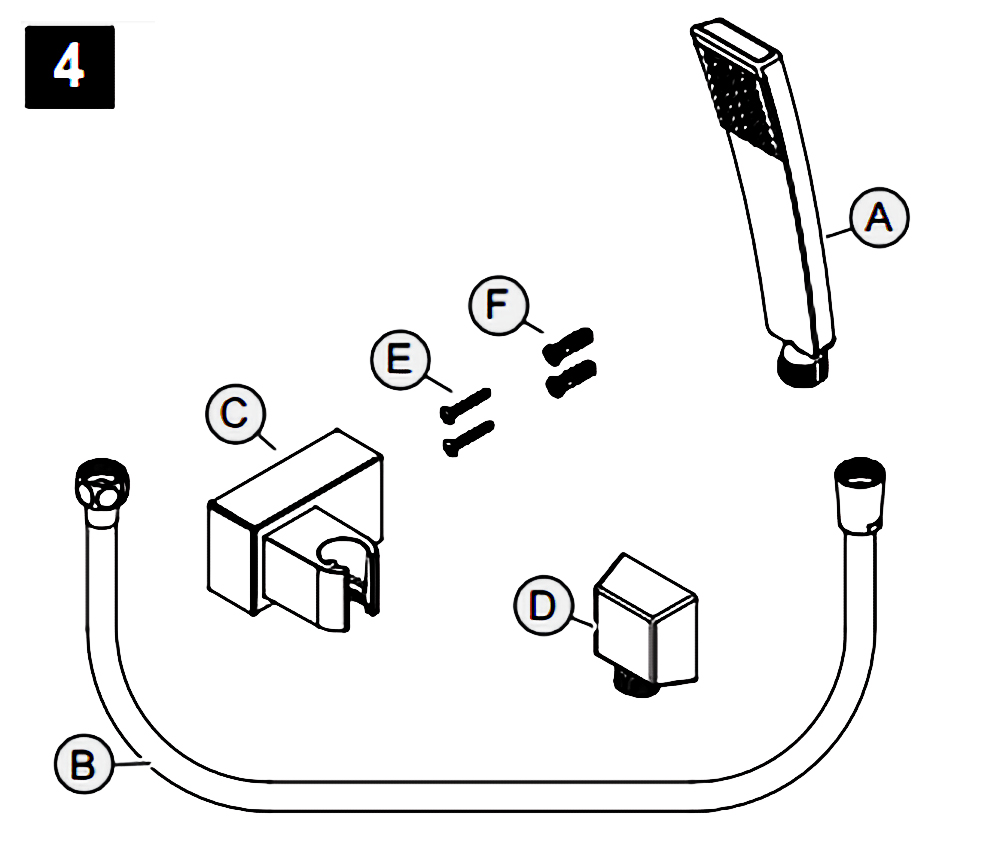
Hand-Held Shower Instructions
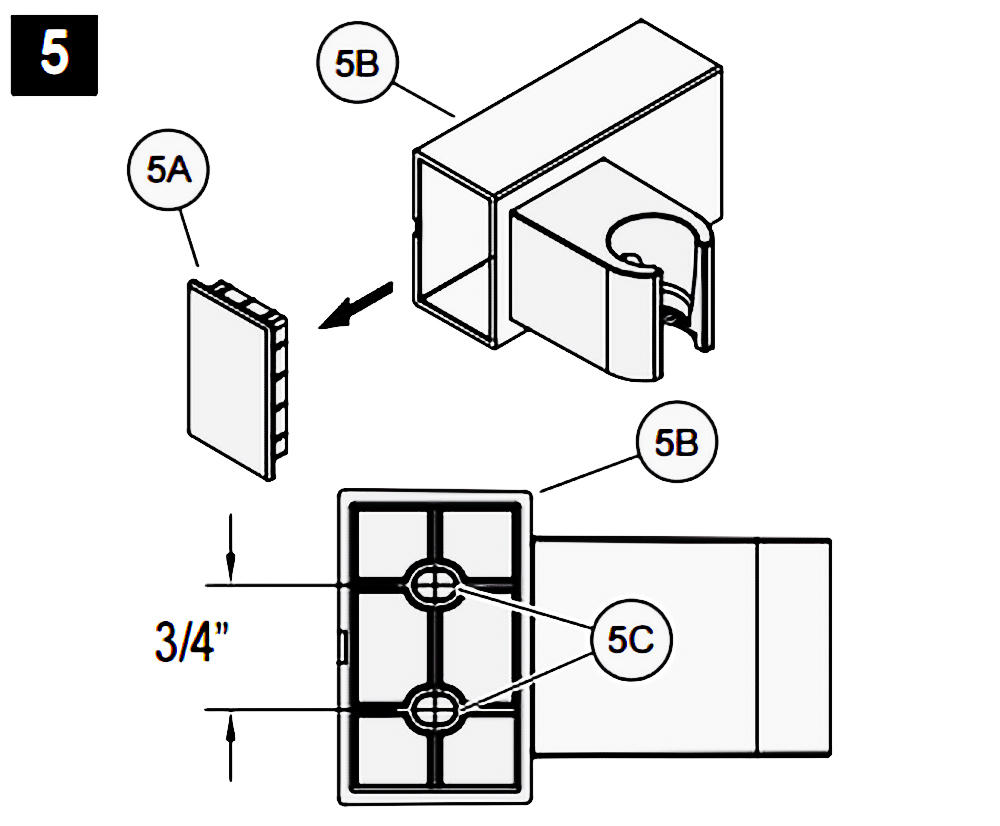
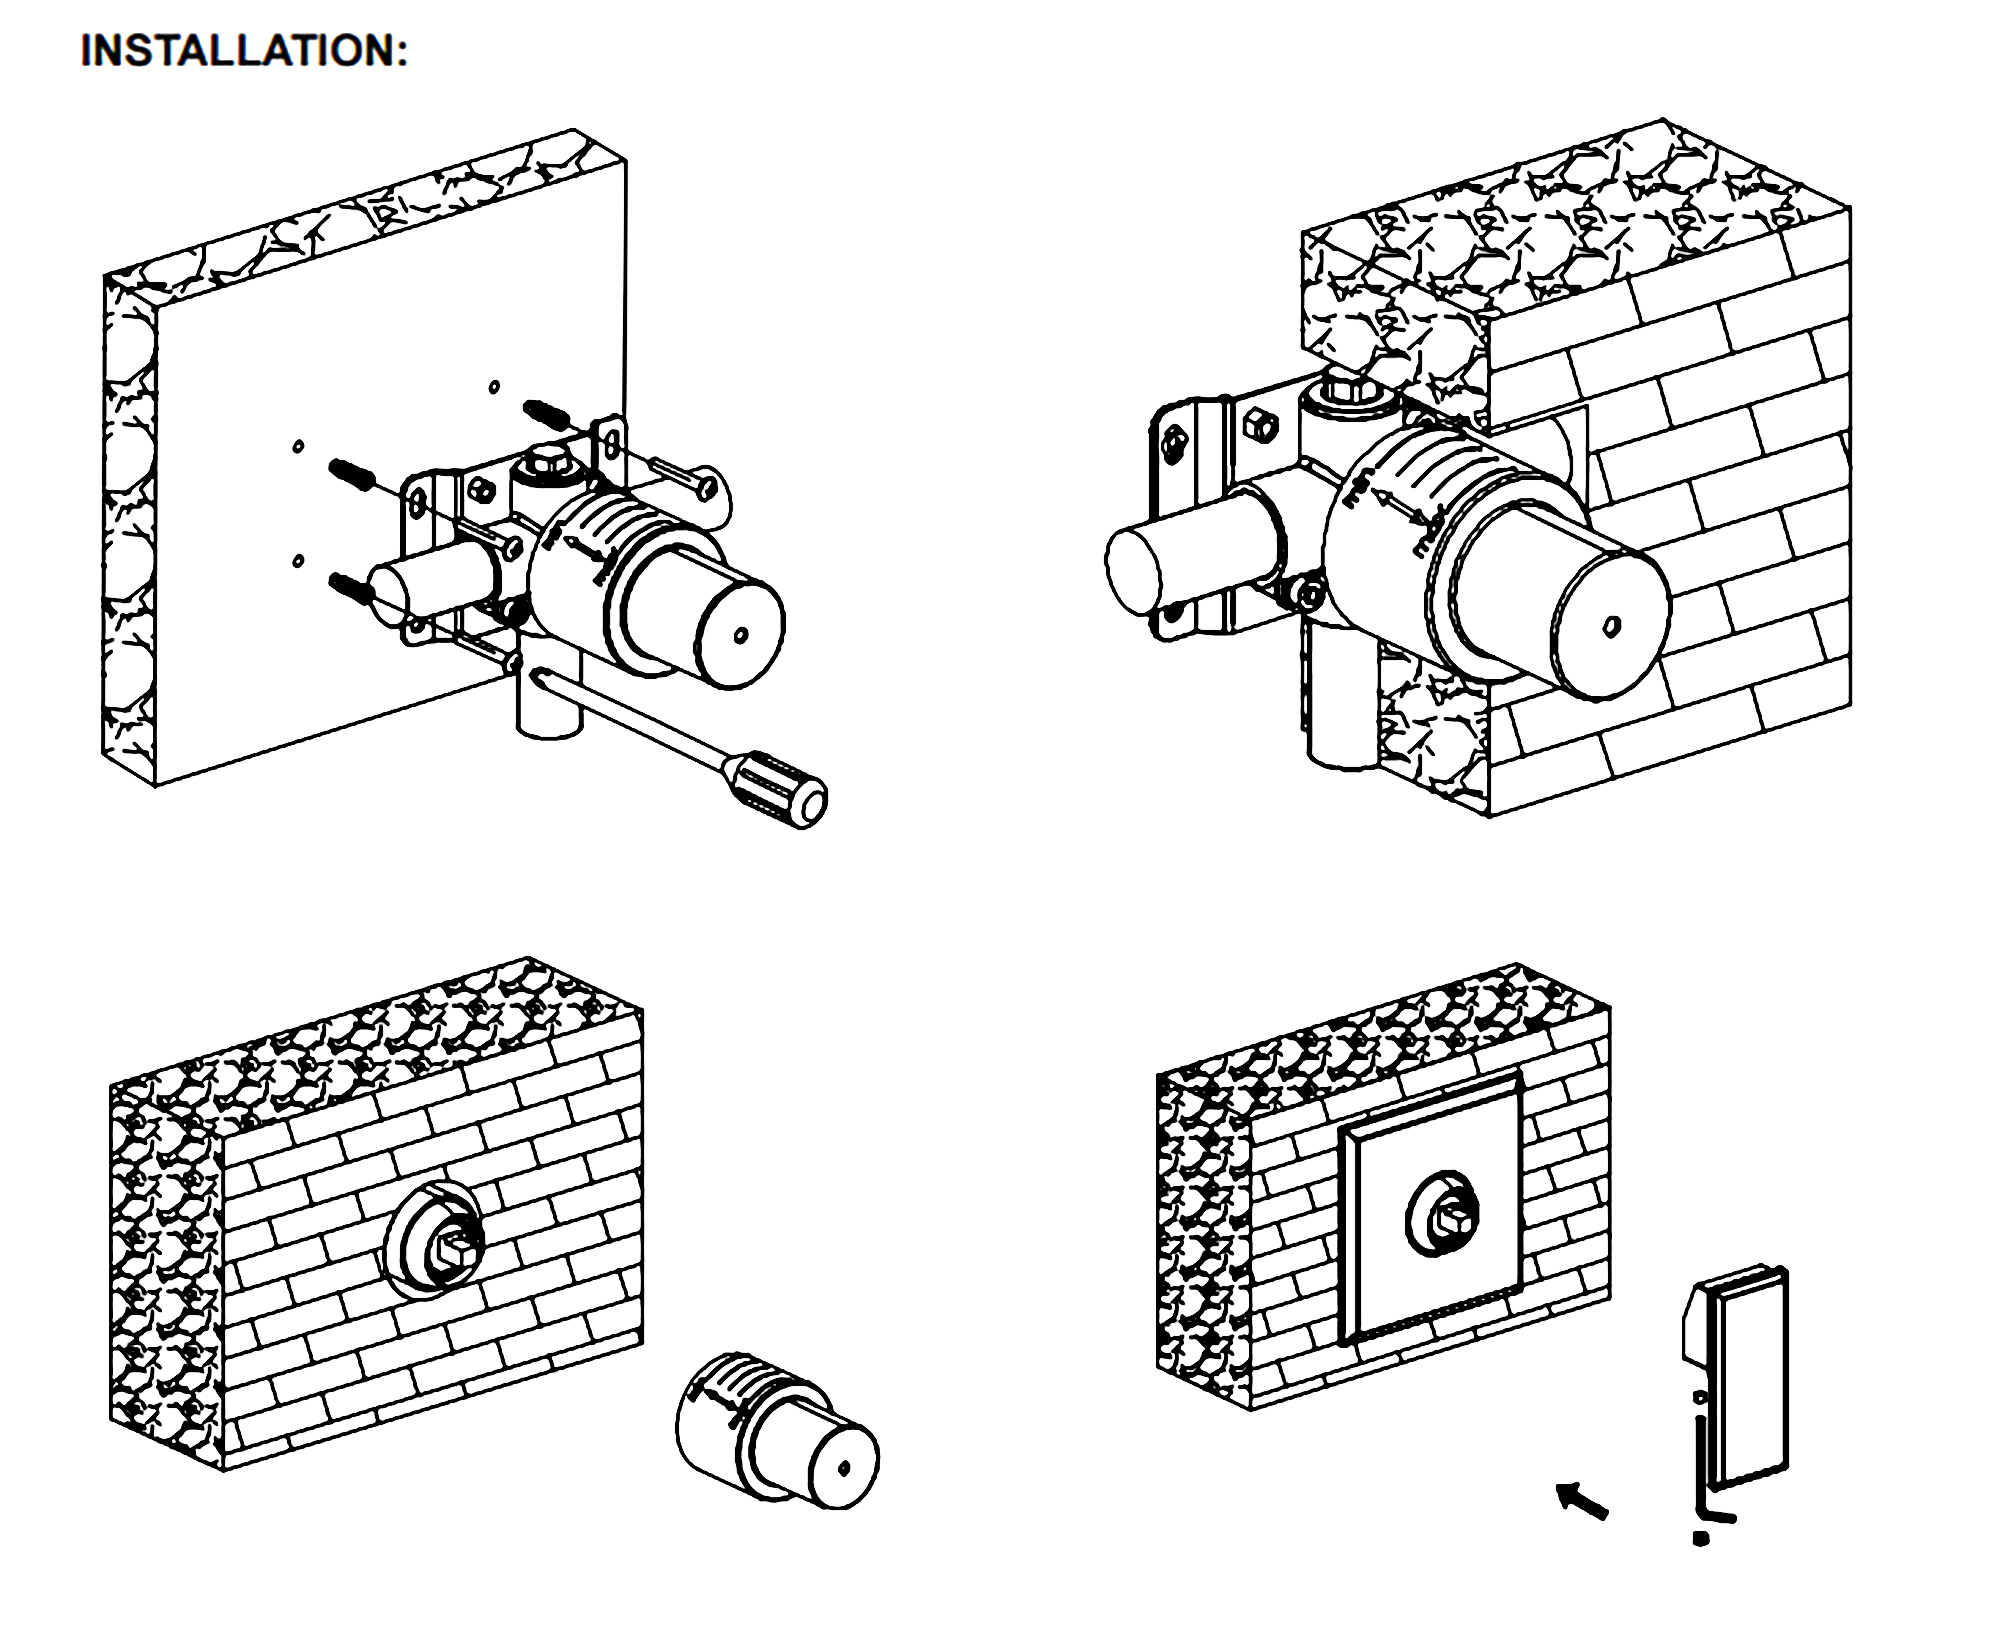
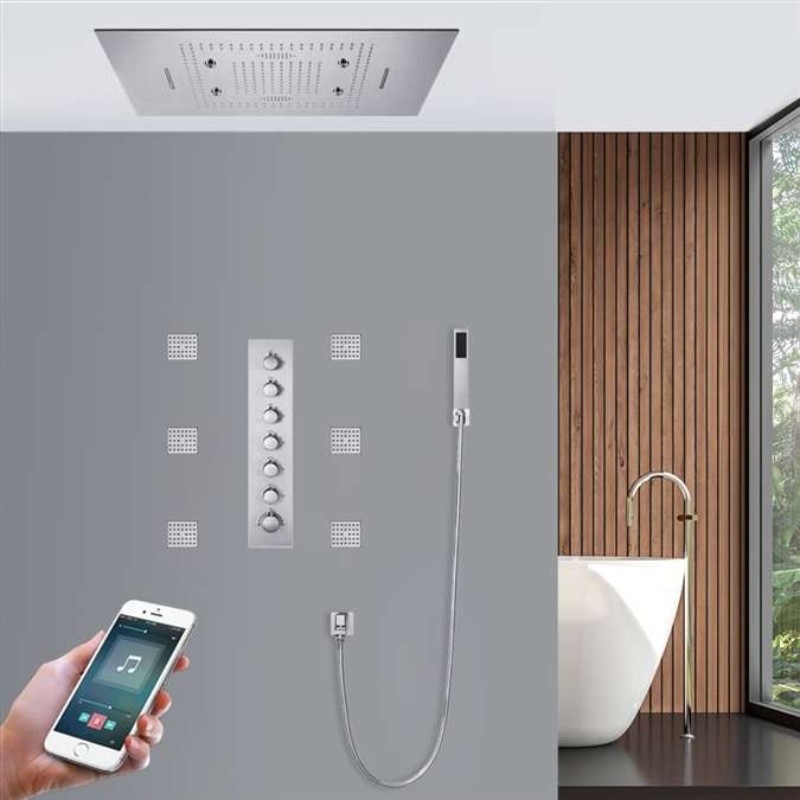
5. Hole Locations For Wall Mount
Remove Front Cover (5A) from Wall Mount (5B). Use Wall Mount Screw Holes (5C) to place the desired location. Using a punch or awl, tap the screw hole locations. Holes must be vertically aligned.

7. Wall Mount Installation
Place Wall Mount (7A) into wall and inset Mounting Screws (7B) through Wall Mount Holes (7C) and tighten until Wall Mount (7A) is flush with the wall. Do Not Over Tighten! Insert Front Cover (7D) into Wall Mount (7A).
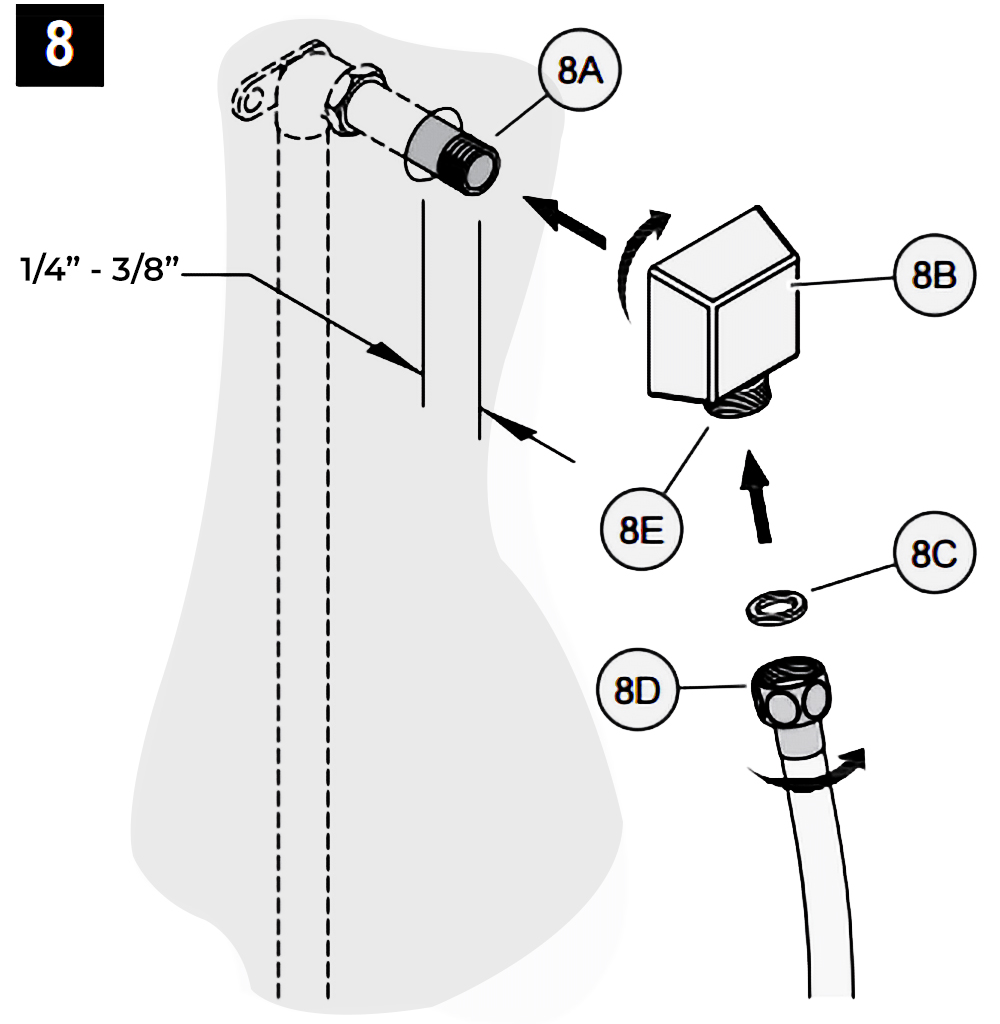
8. Drop Elbow & Hose Installation
Apply PTFE plumbers tape on both ends of Pipe Nipple (8A) (not included). Screw Pipe Nipple (8A) into the elbow inside the wall. The Pipe Nipple (8A) is to project 1/4 3/4 from the finished wall. Screw Drop Elbow (8B) onto Pipe Nipple (8A) and tighten until Drop Elbow (8B) is property positioned and flush to the finished wall.
Place Rubber Seal (8C) inside Hex Hose Fitting (8D). Connect Hex Hose Fitting (8D) into Drop Elbow Outlet (8E) by turning Hex Hose Fitting (8D).
9. Unit Start Up
Turn on hot and cold water supplies, and check al connections for leaks.
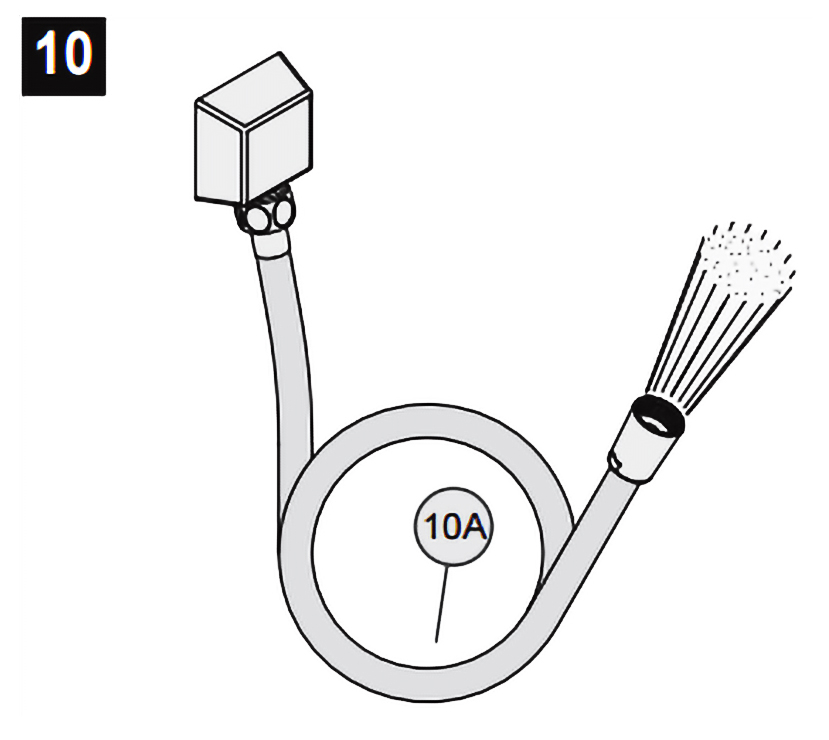
10. Final Flushing
For final flushing, turn valve on and allow water to run through the Hose (10A) for several minutes. Allow water to run for several minutes until all foreign matter clears the line.
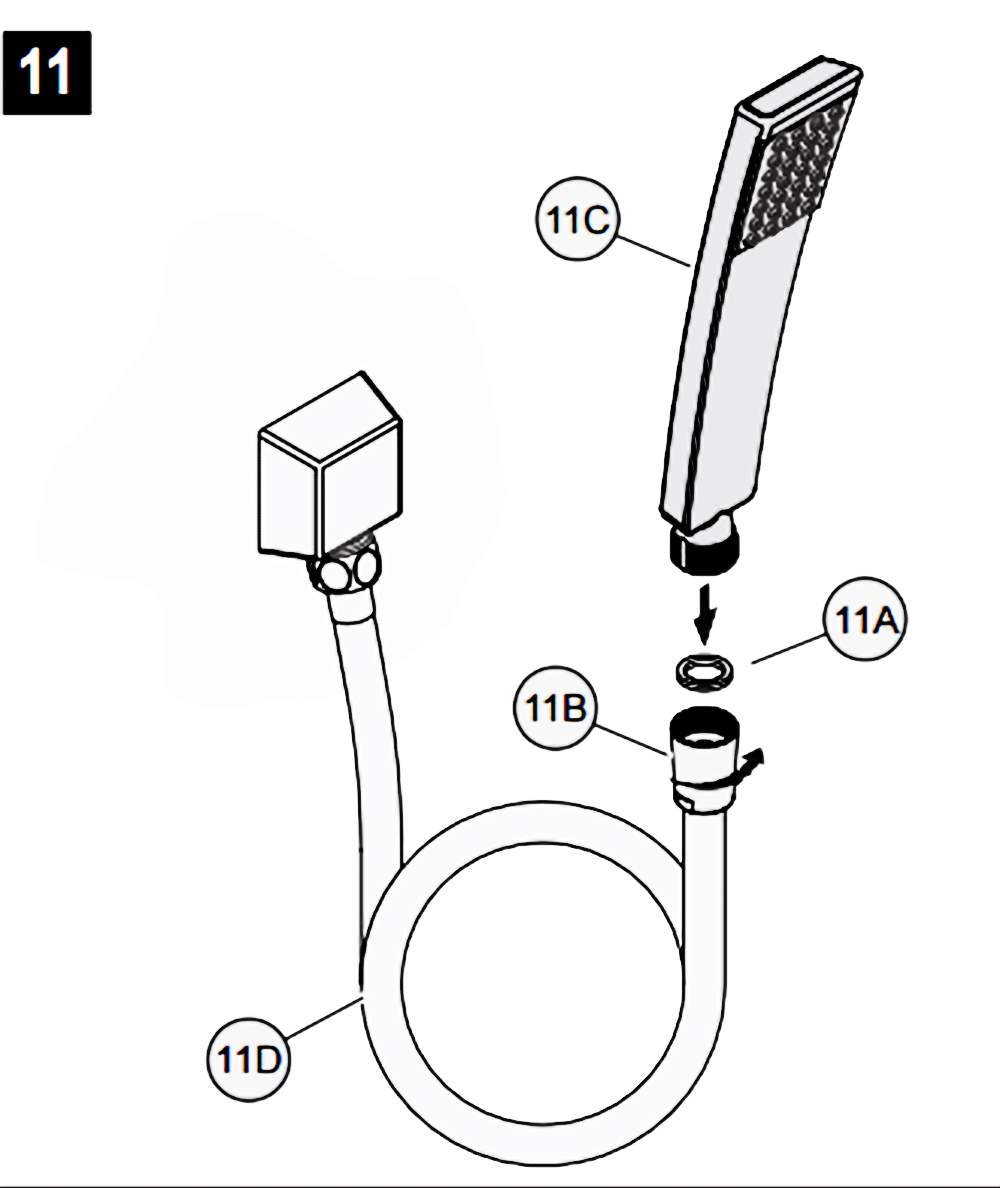
11. Shower Arm Installation
Place Rubber Seal (11A) inside Tapered Hose Fitting (11B). Conned Hand Shower (11C) to Hose (11D) by turning Tapered Hose Fitting (118) clockwise.
Warning: Make sure Hand Shower (11C) is securely tightened to Hose (11D).
|
|


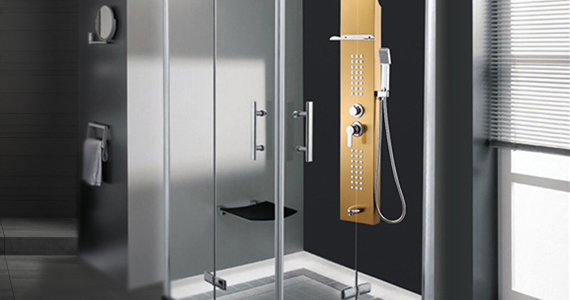
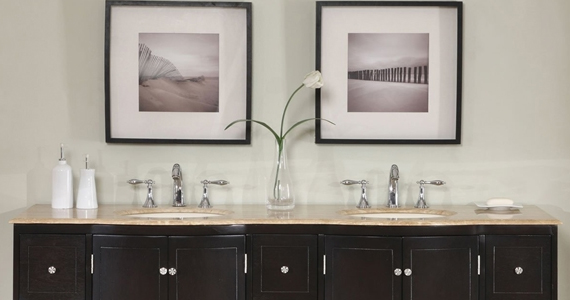
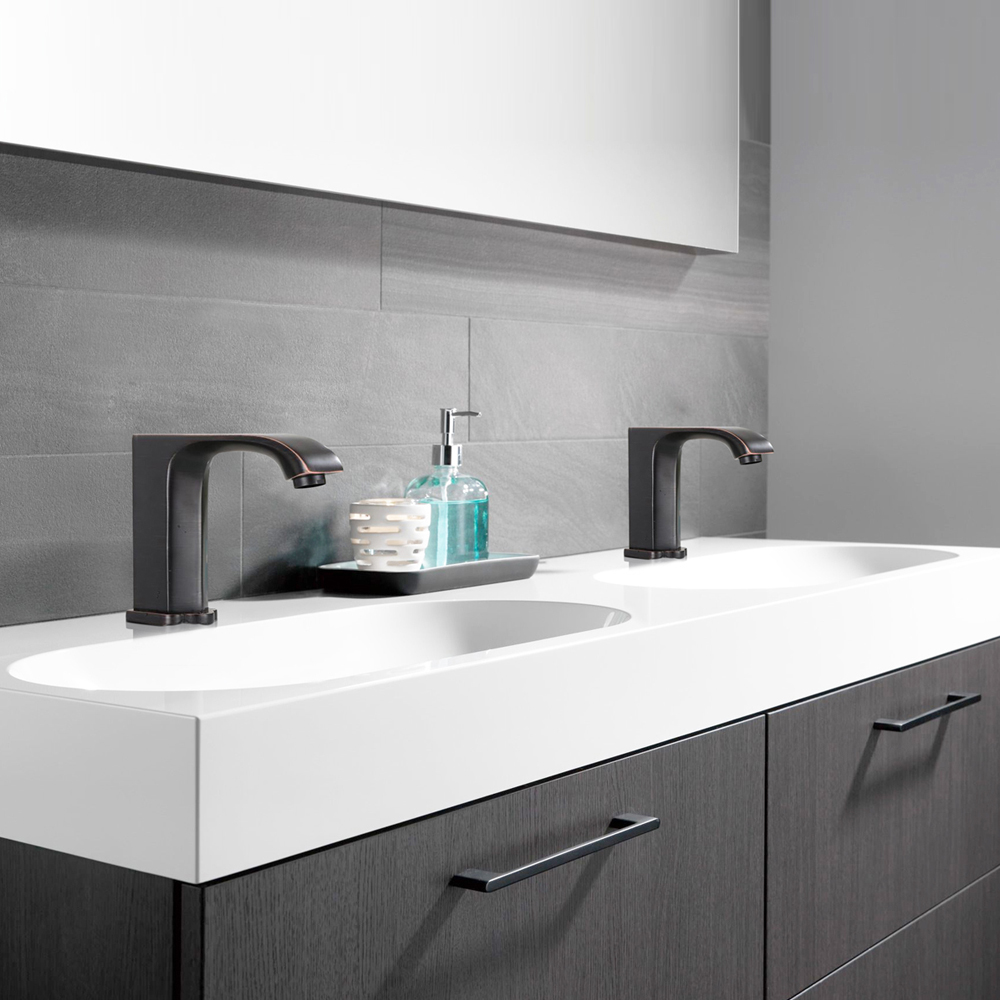
BathSelect offers a comprehensive collection of high-quality showers, flawlessly complementing any architecturally inspired bathroom.
We provide an extensive selection of unique designs and top-quality shower sets, ideally tailored for your architecturally inspired bathrooms!
Material and durability;
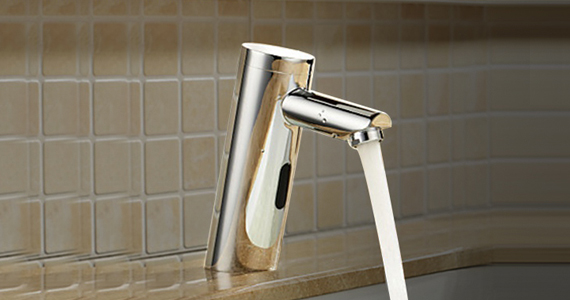
The material of the shower jets greatly impacts their durability and longevity. We provide stainless steel and brass shower jets, which are far more durable than plastic alternatives. The design of our shower jets also affects performance. Some of our showerheads are designed to create a relaxing rainfall effect, while others deliver a more targeted stream of water. Ultimately, the best shower jet for you depends on your individual preferences and needs. We invite you to explore our diverse selection of showerheads to find the perfect match for your bathroom!.BathSelect provides an extensive selection of unique design, top quality commercial for high traffic touchless bathroom faucets, ideally tailored for your architecturally-inspired commercial restroom!
|
|
|


.png)


