Installation Instructions for How to Install Salem Sensor Controlled Automatic Shower Head
BathSelect How to Install Salem Sensor Controlled Automatic Shower Head
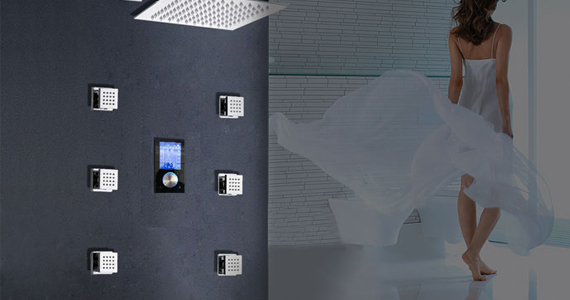
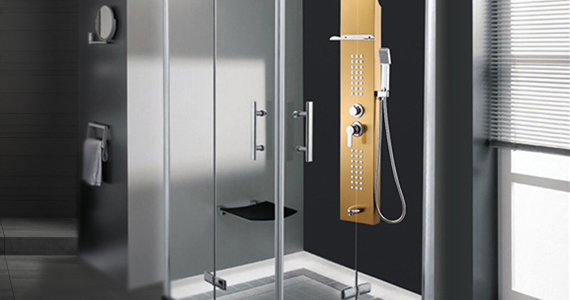
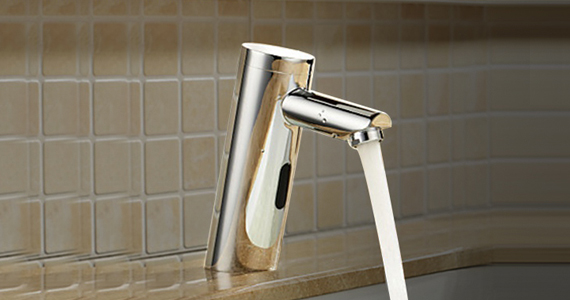
| The Salem Sensor Controlled Automatic Shower Head is a touch-free electronic shower control that is activated automatically when the user steps within the sensor range Controls sensor parts, powered by an internally mount 6V battery, filters included. Sensor range is adjustable manually. Other sensor settings (sensor range, delay in, delay out and security time according to the buyer) are programming by the maker. The shower will automatically shut off after being used for more than 2 minutes. The sensor features a low battery level indicator. Enables users to have a shower without touching the shower control, saves water, prevents cross-contamination and keeps the showers cleaner, especially ideal for spas, hotels, and care homes. | |  | | |
|
| | |
|
Features:
| |
|
- Easy to install and retrofit product
- Material: Solid all-brass construction
- 3 products in 1: replace the mixer shower, the thermostatic mixing valve and operates by an infrared sensor.
- Vandal resistant stopper cup upon request
- Hidden wall mounting screws for security
- State-of-the-art design
- Motion Touchless Operation
- Sensitive Sensor with Infrared AI Smart-Chip
- Fit for residential or commercial use applications.
- Factory set to 30-second Auto Shutoff (can be adjusted).
- Water Pressure: 0.5 - 7.0 KGS/cm, 10 - 125 psi
- Solid Brass Construction, Polished Chrome Finish
- Easy to Install - Instructions Included
- Water-resistant solenoid enclosure
- Advanced energy-saving design for long-lasting battery life
- Comes complete with Hoses & Accessories
- Power Supply: AC110V And DC6V (batteries not included)
- AC/DC power option.
- ADA Complaint
- Easily can be installed in new or retrofit applications.
| shower |
 |
Important Note:
Before you begin, please read the installation instructions below. Observe all local building and safety codes.
Unpack and inspect the product for any shipping damages. If you find damages, do not install.
Please note all showers must be installed by a professional and certified plumber otherwise warranty may be voided.
|
|
Shower Head Installation Instructions
|
Step 1:
|
|
Step 2:
|
|
|
 |
|
 |
Shower
|
|
| Shower
|
|
|
|
|
|
Step 3:
|
|
Step 4:
|
|
|

|
|

|
|
|
|
|
|
|
|
|
| Step 5: |
|
Step 6: |
|
|
 |
|
 |
|
|
| | | | |
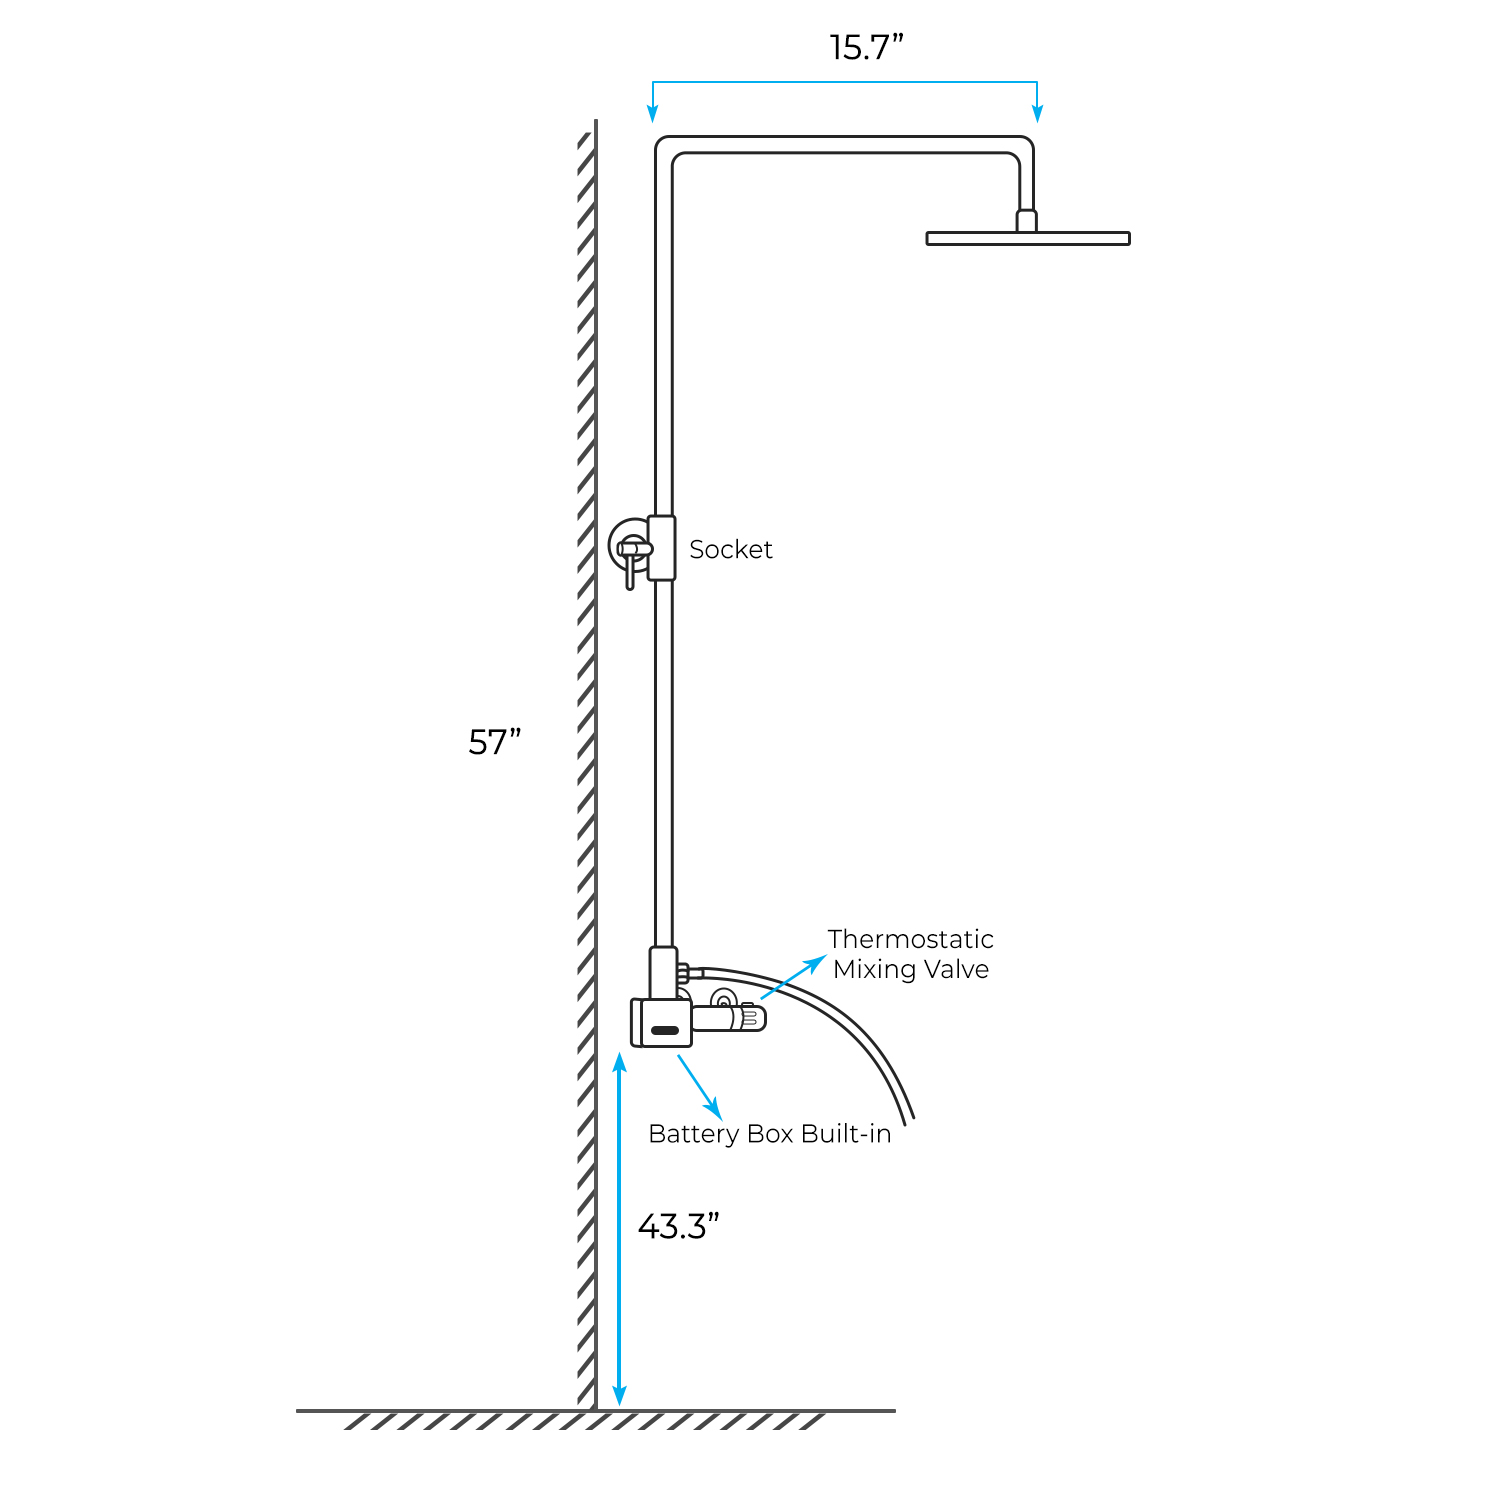
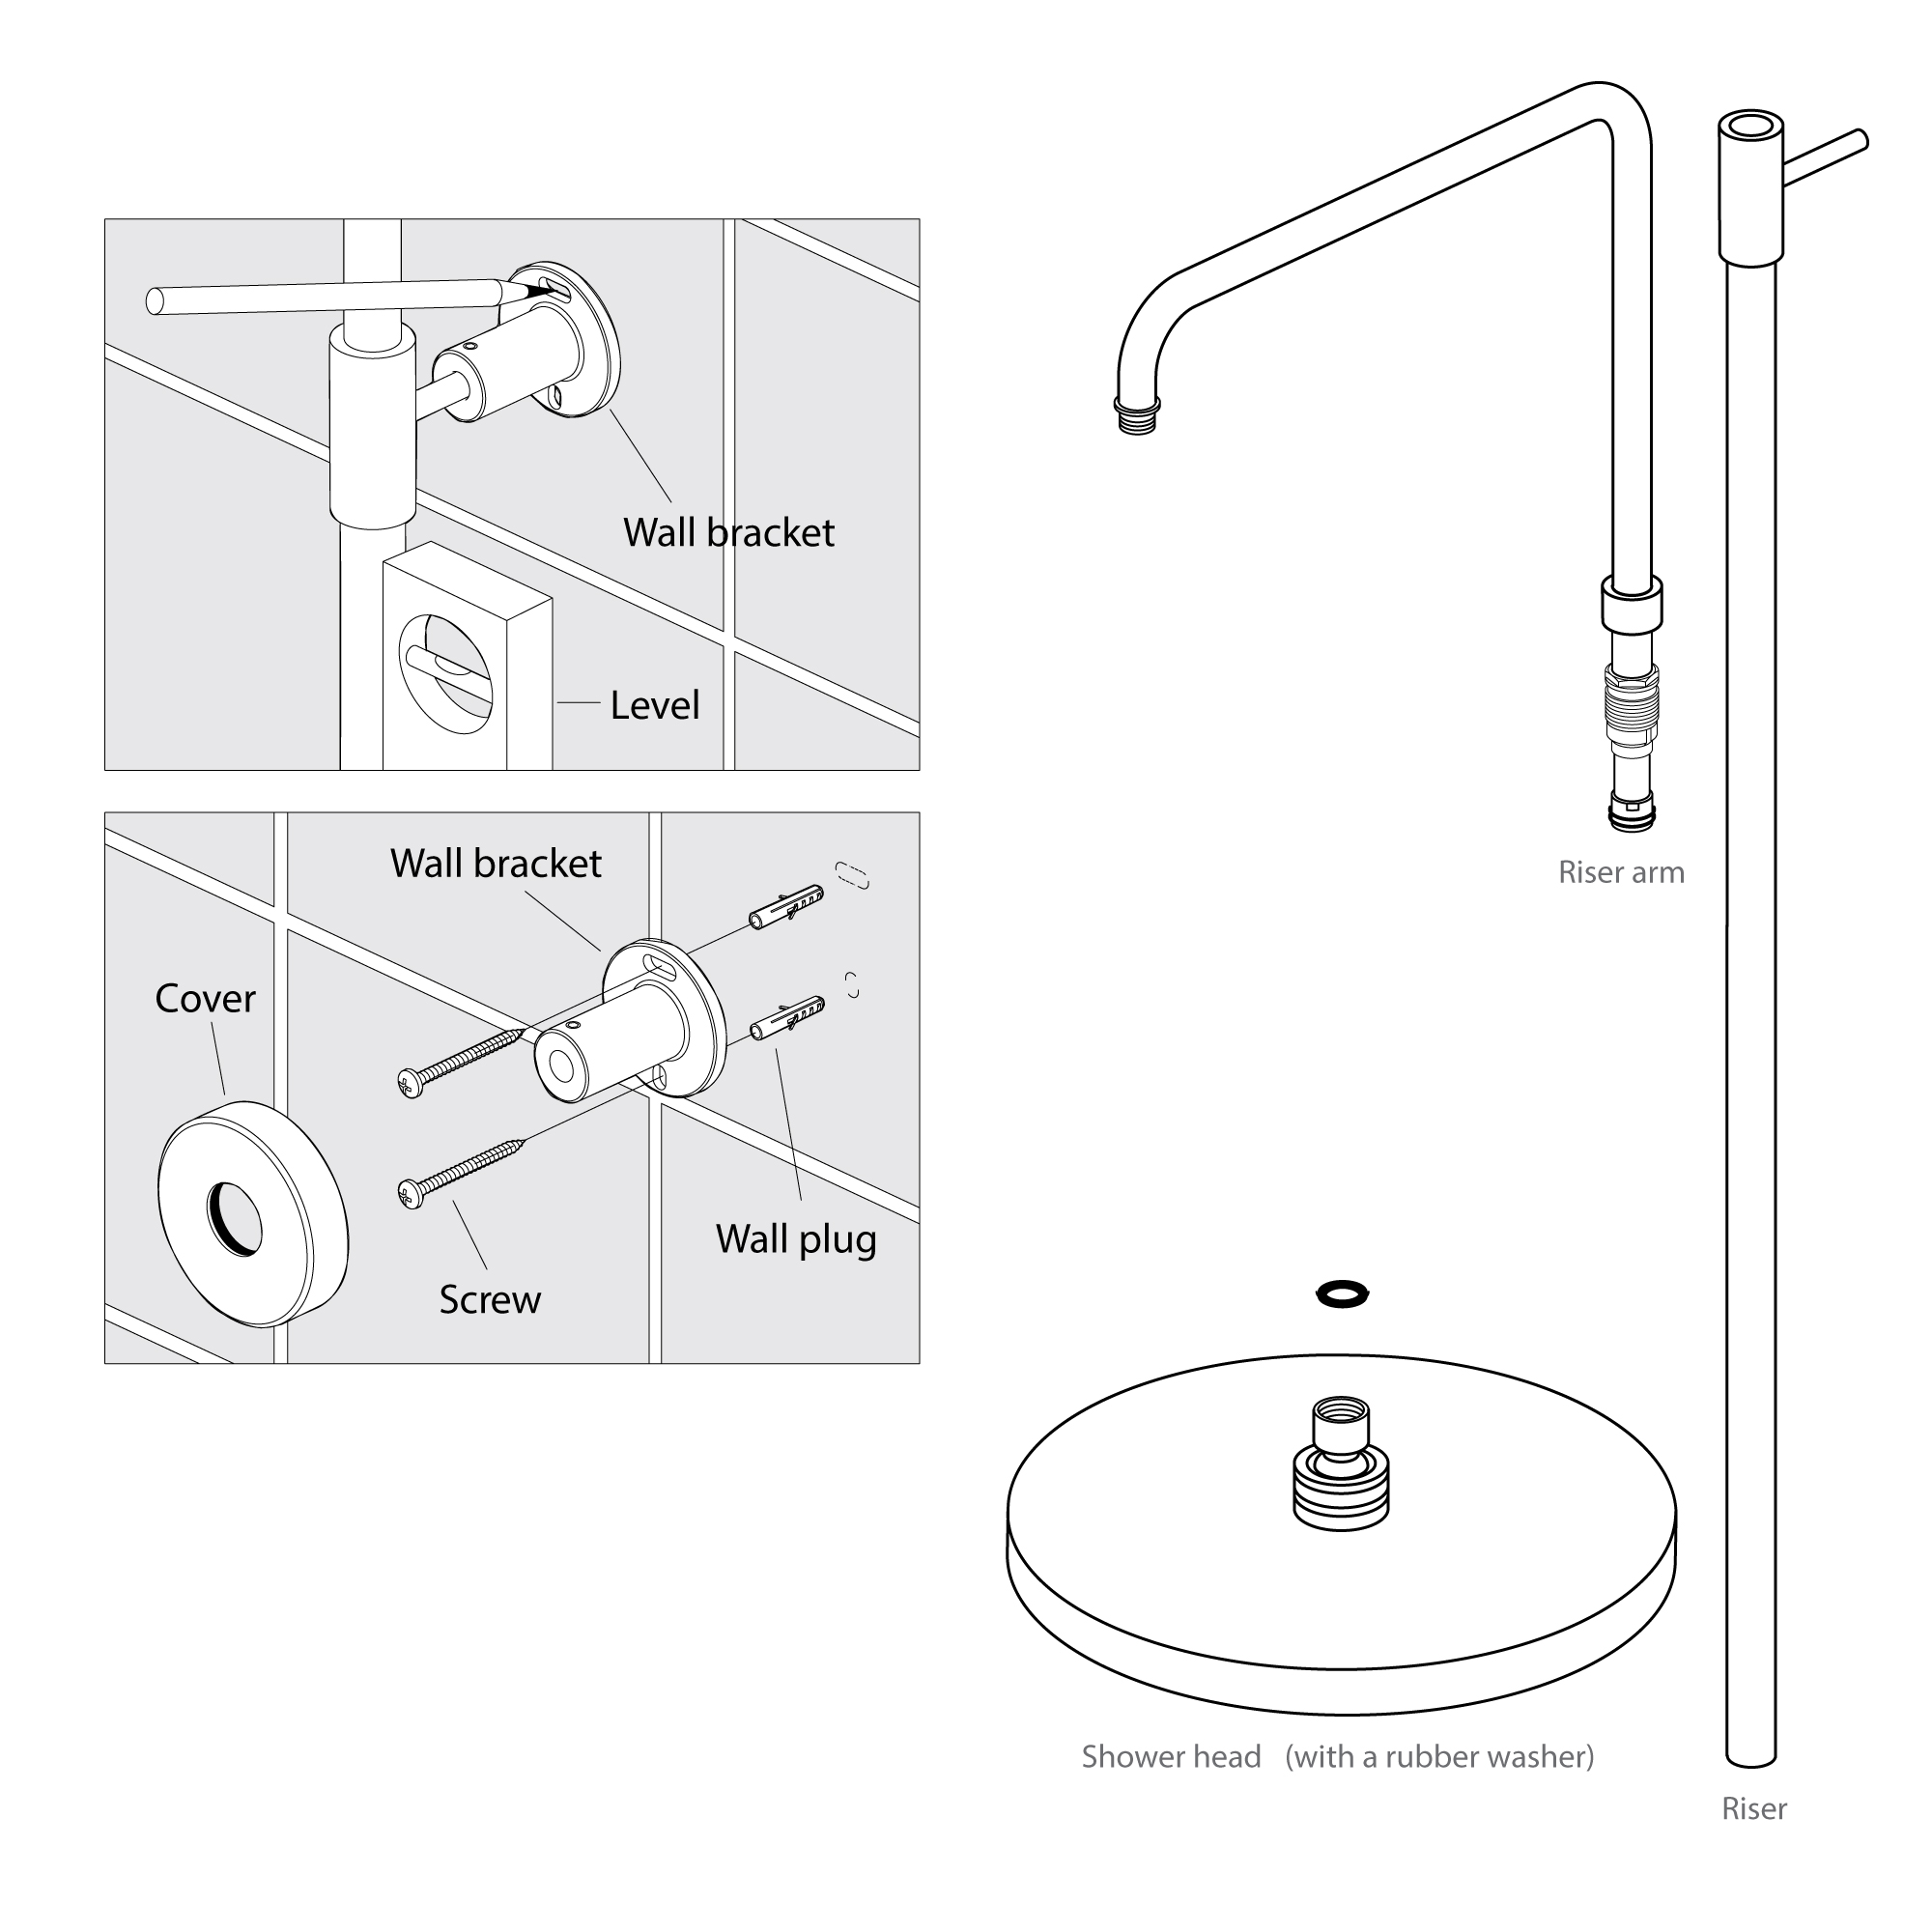
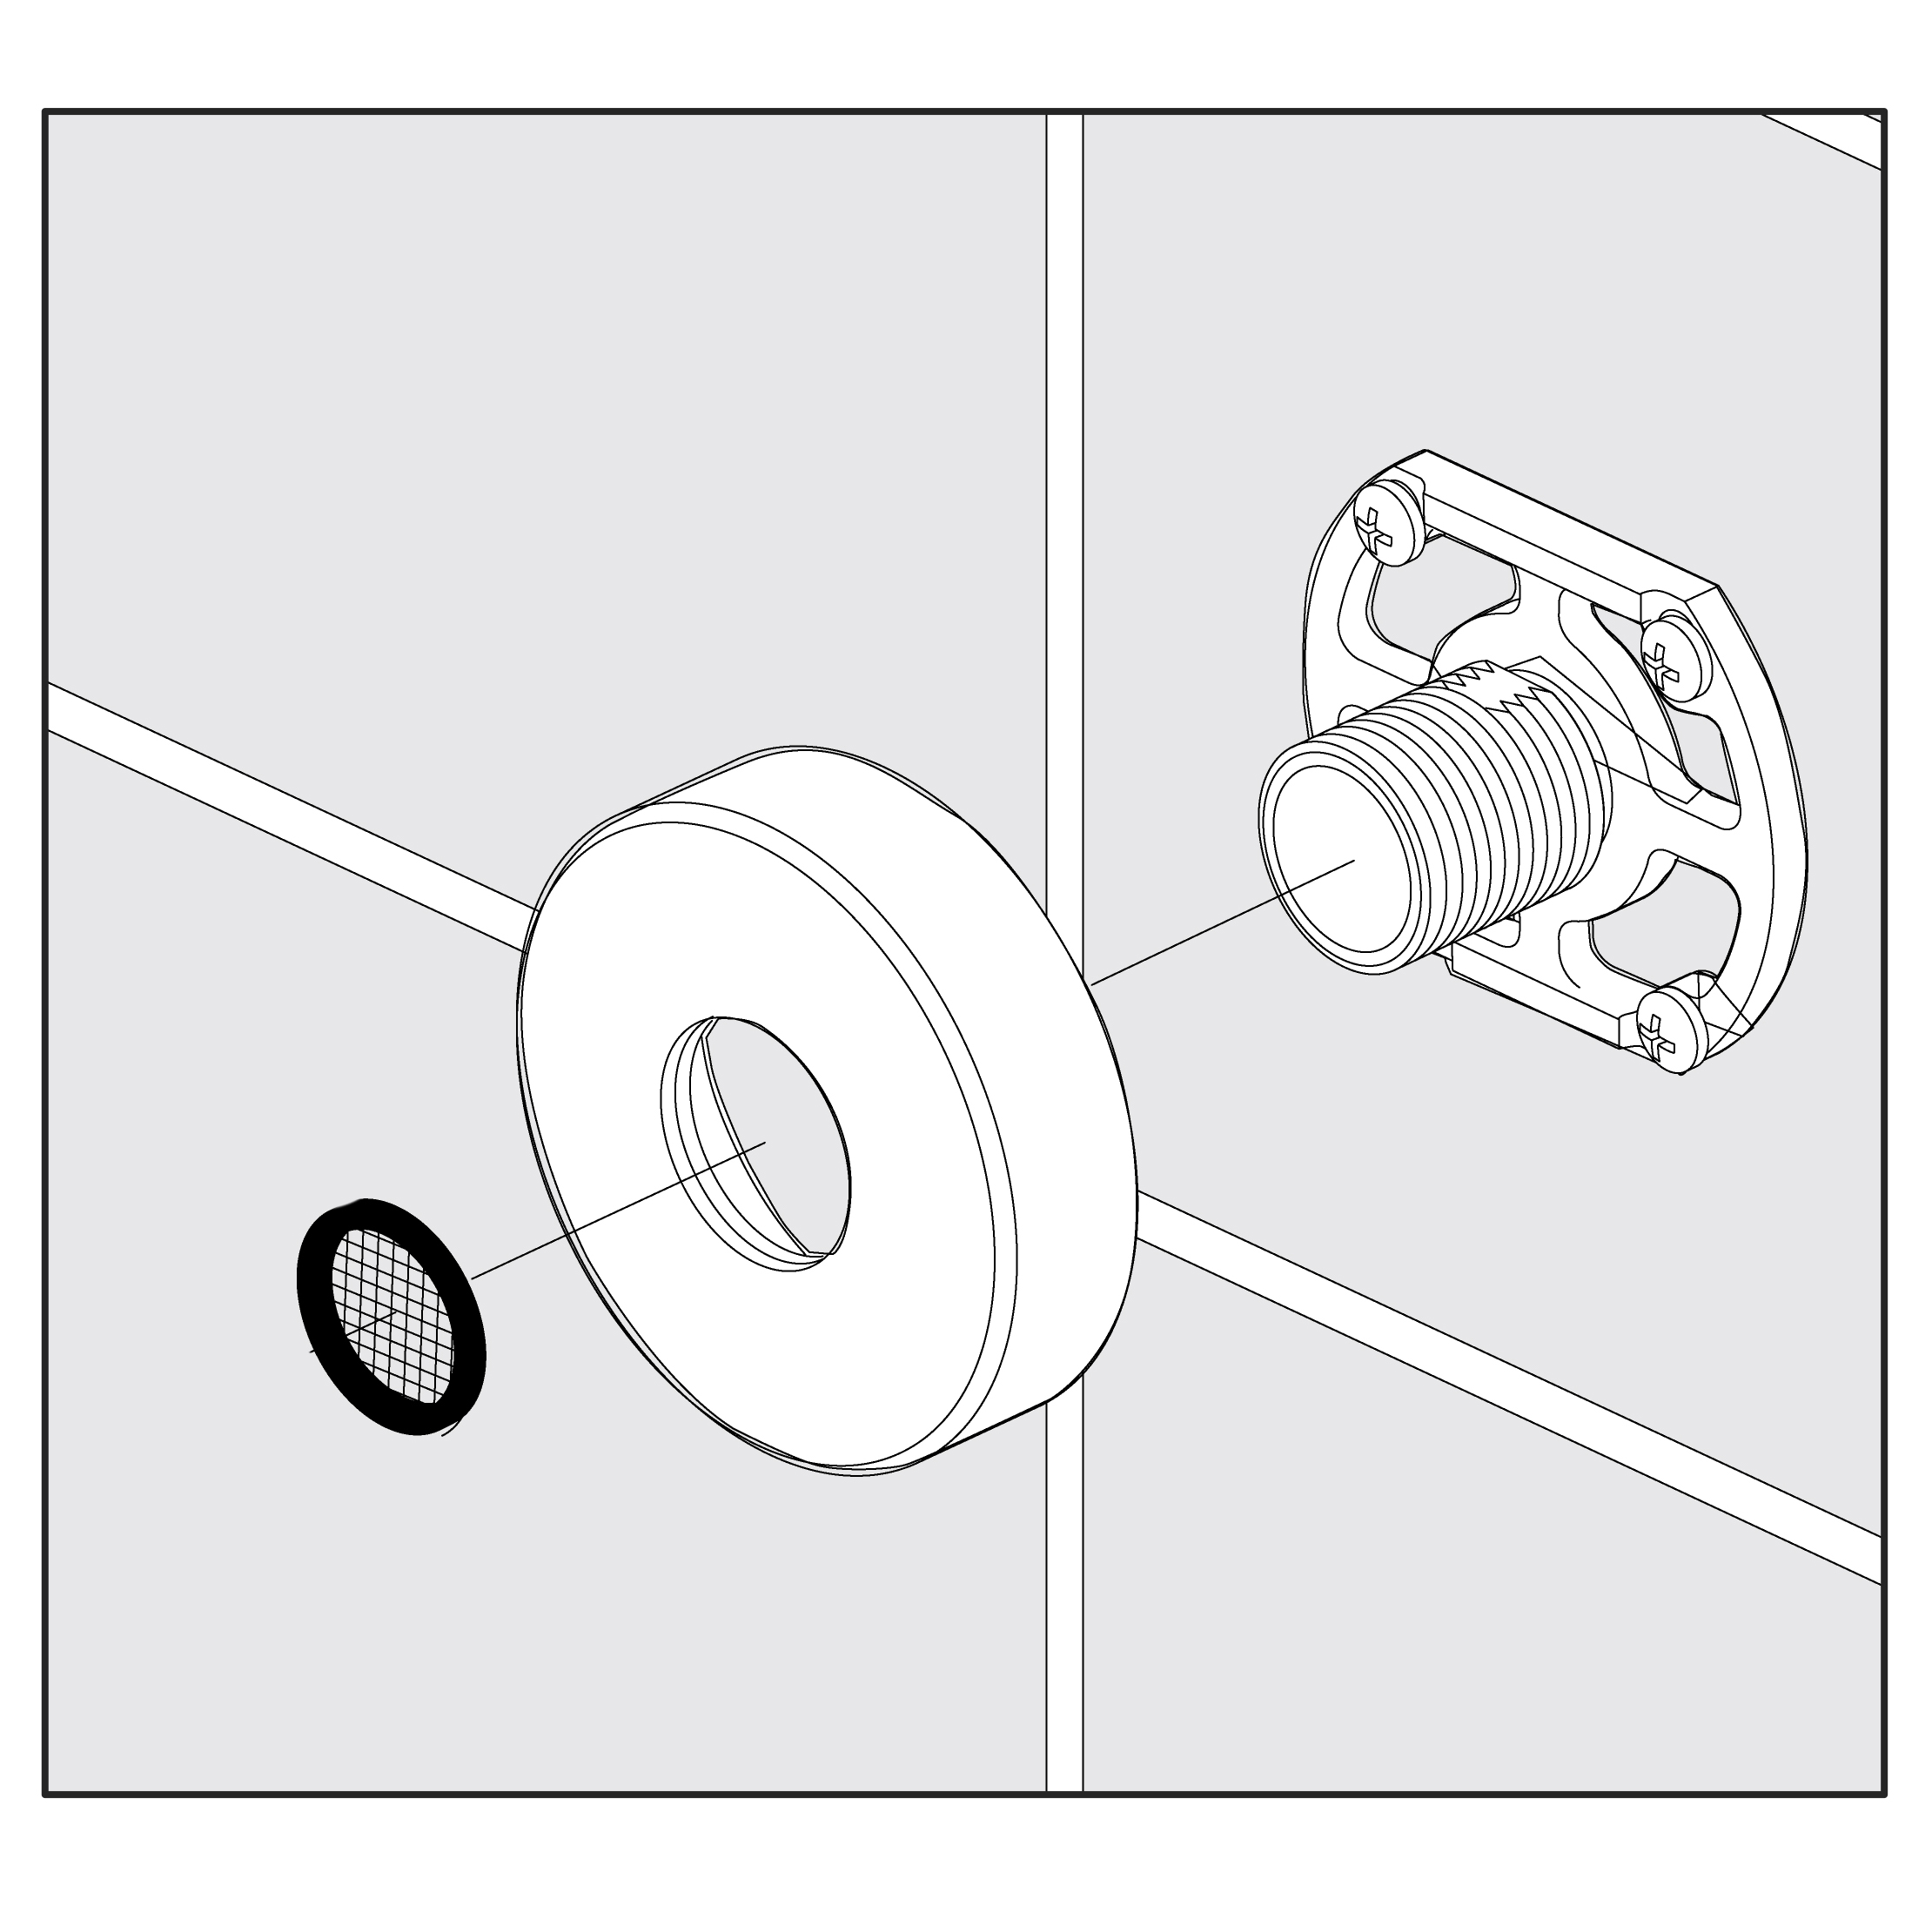
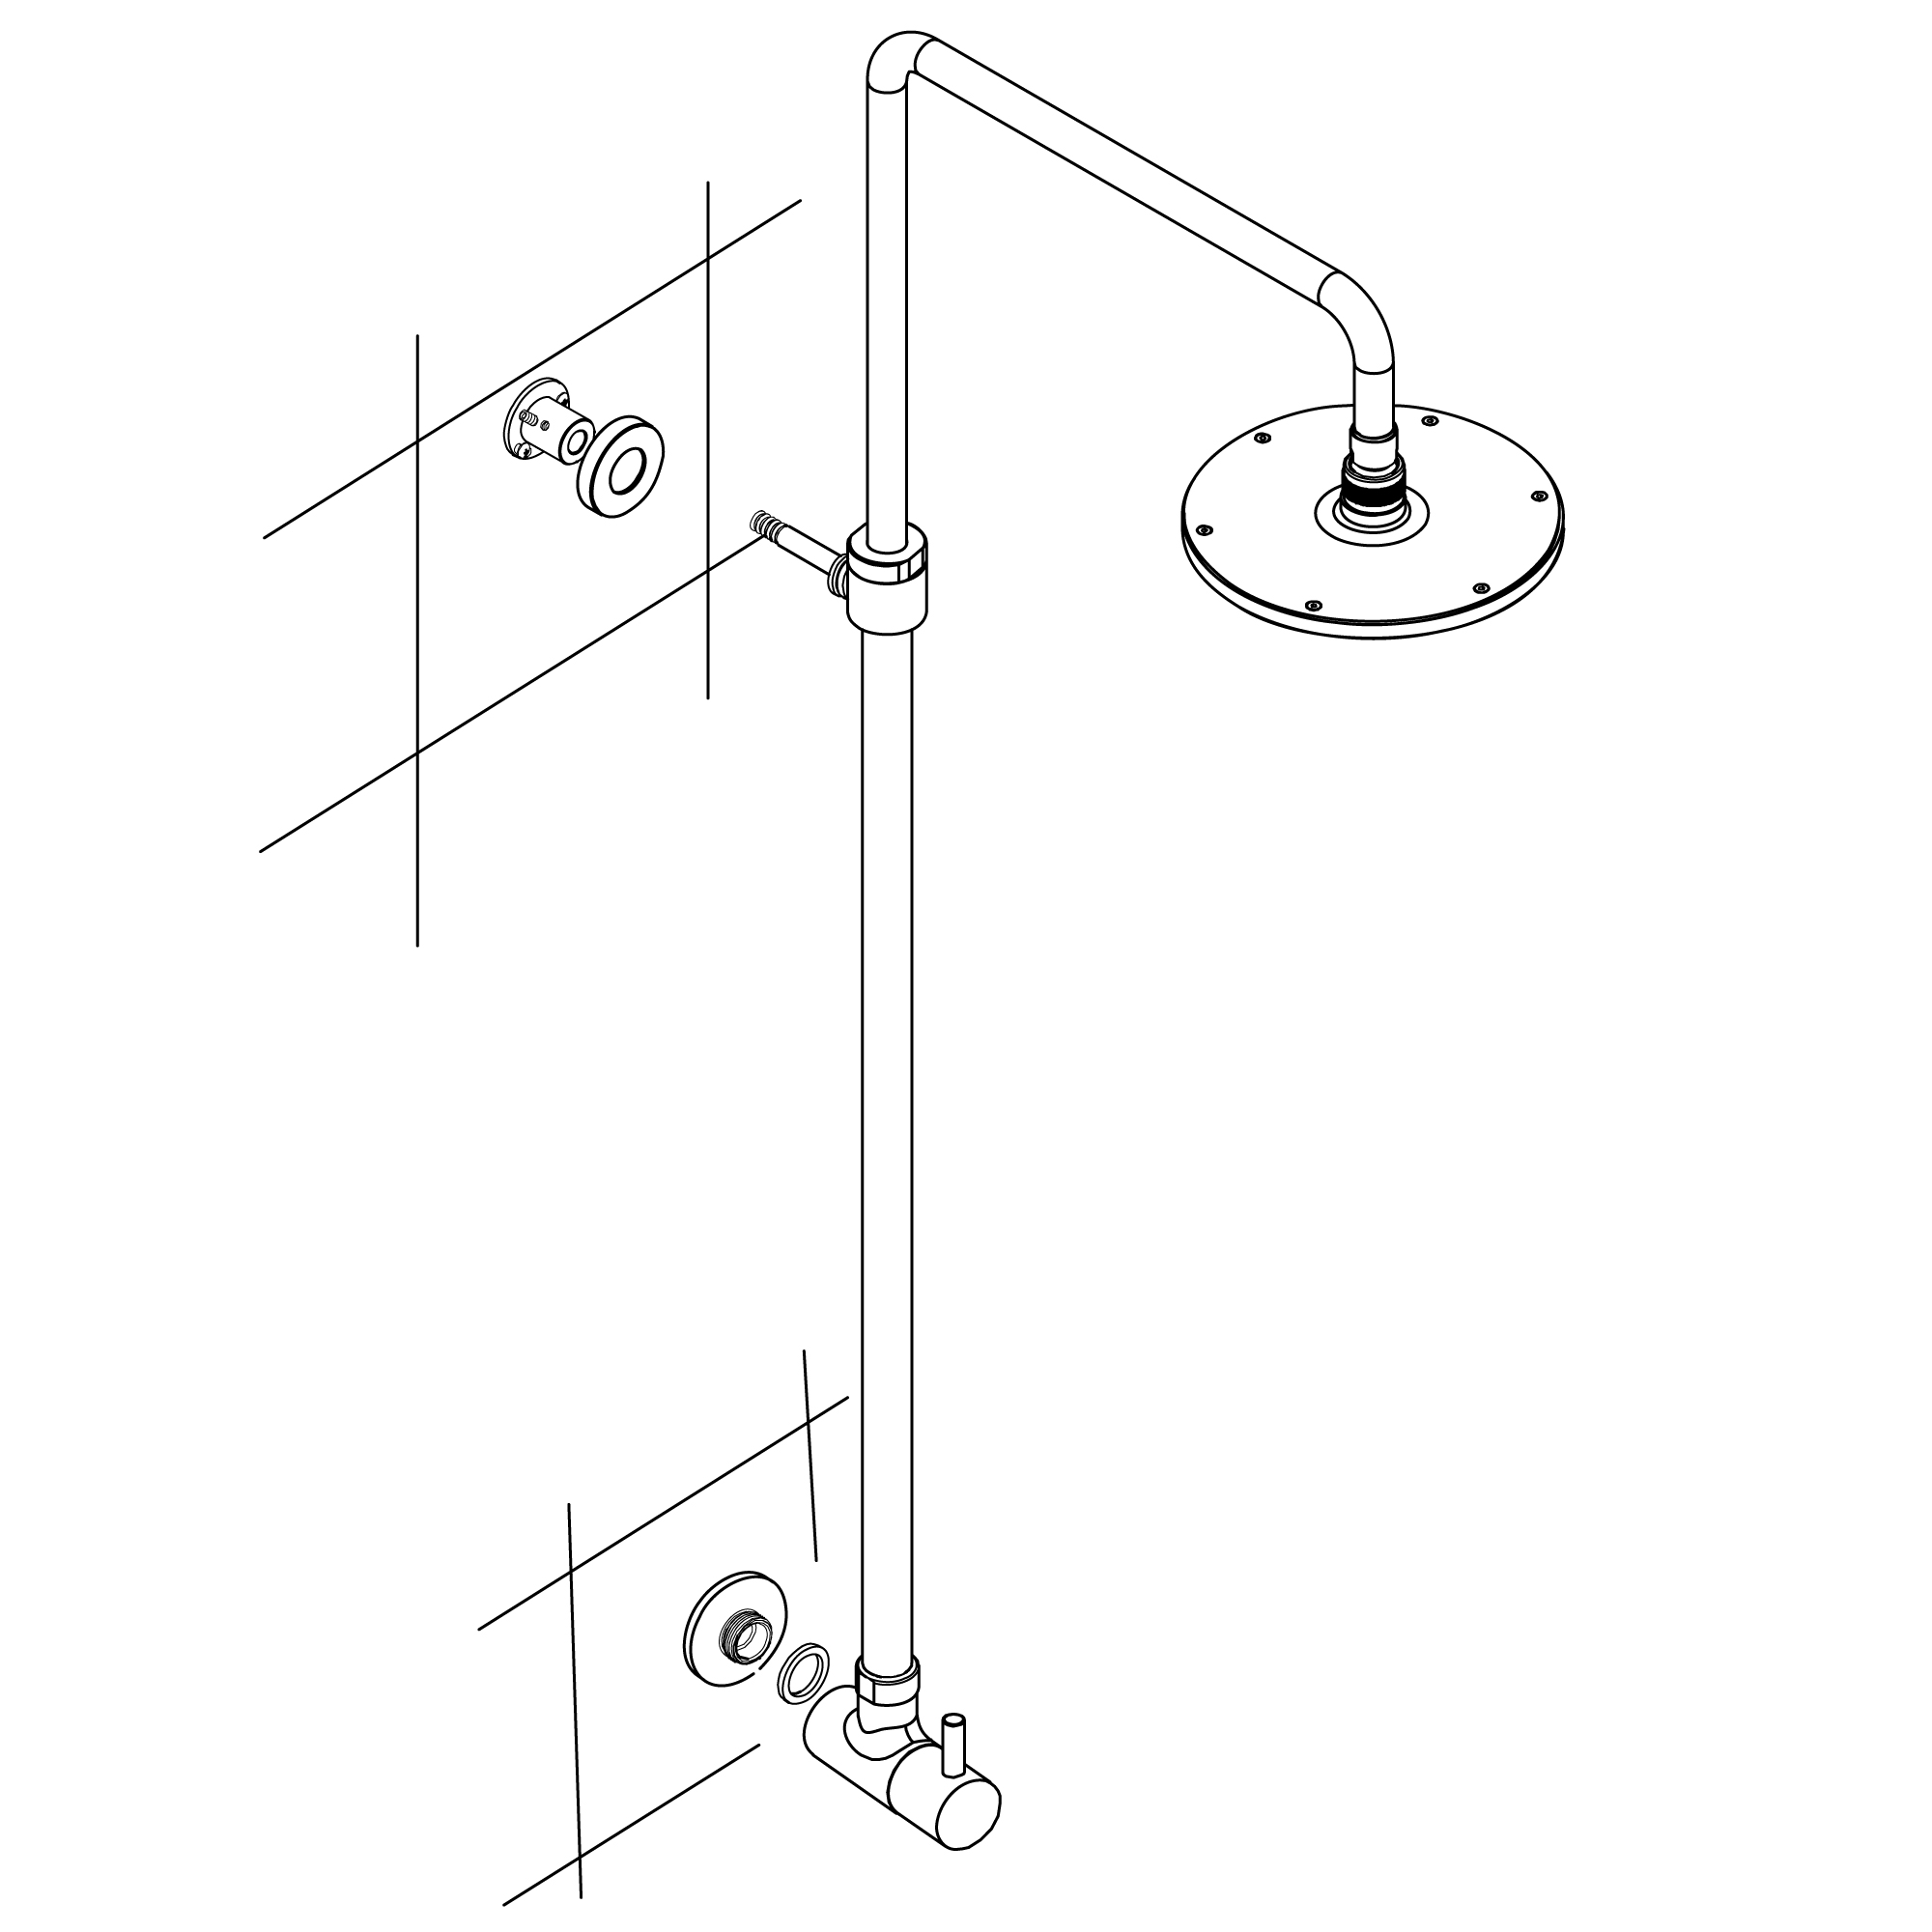
1. Loosen the set screw on the wall support loop with the Allen wrench provided. Slide the loop up the riser to the appropriate location and re-tighten the set screw to secure.
2. Thread the wall flange onto the wall support loop.
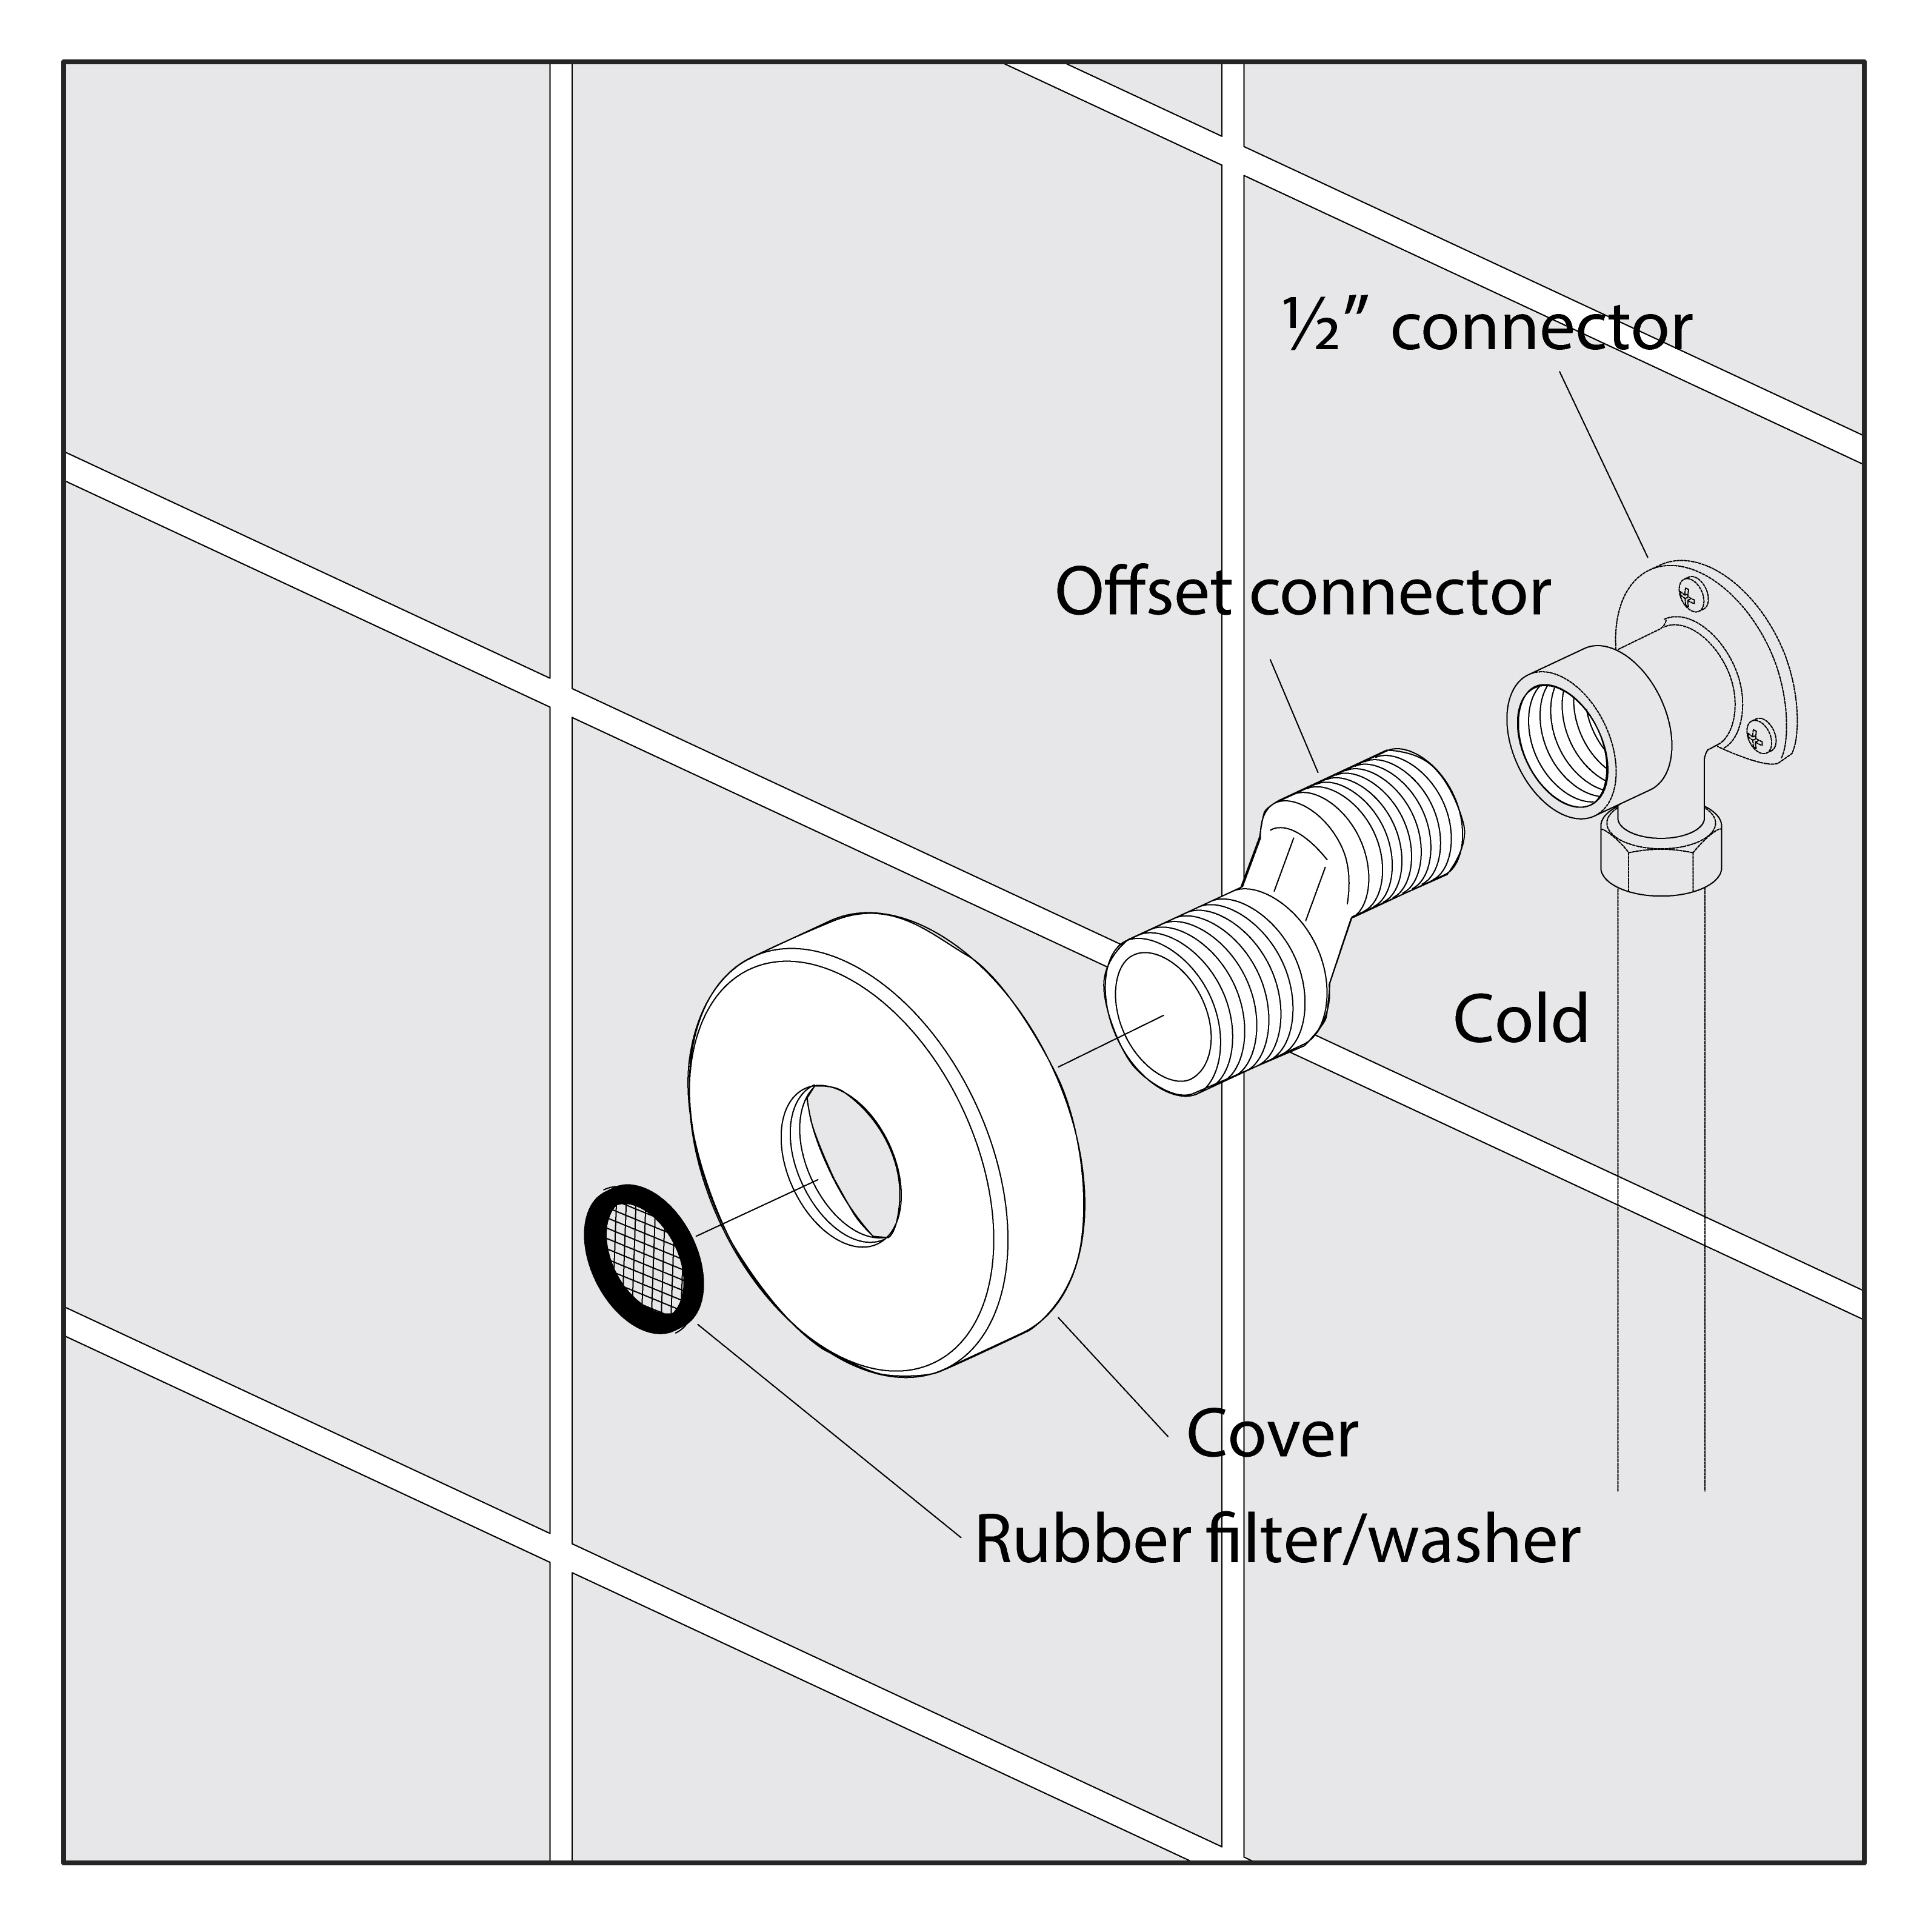
3. Place the decorative escutcheon on the handle valve and thread the valve directly onto the water supply line.
4. Slide the riser nut up the shower riser. 5. Insert the bottom of the riser into the handle valve. Slide the riser nut back down and tighten.
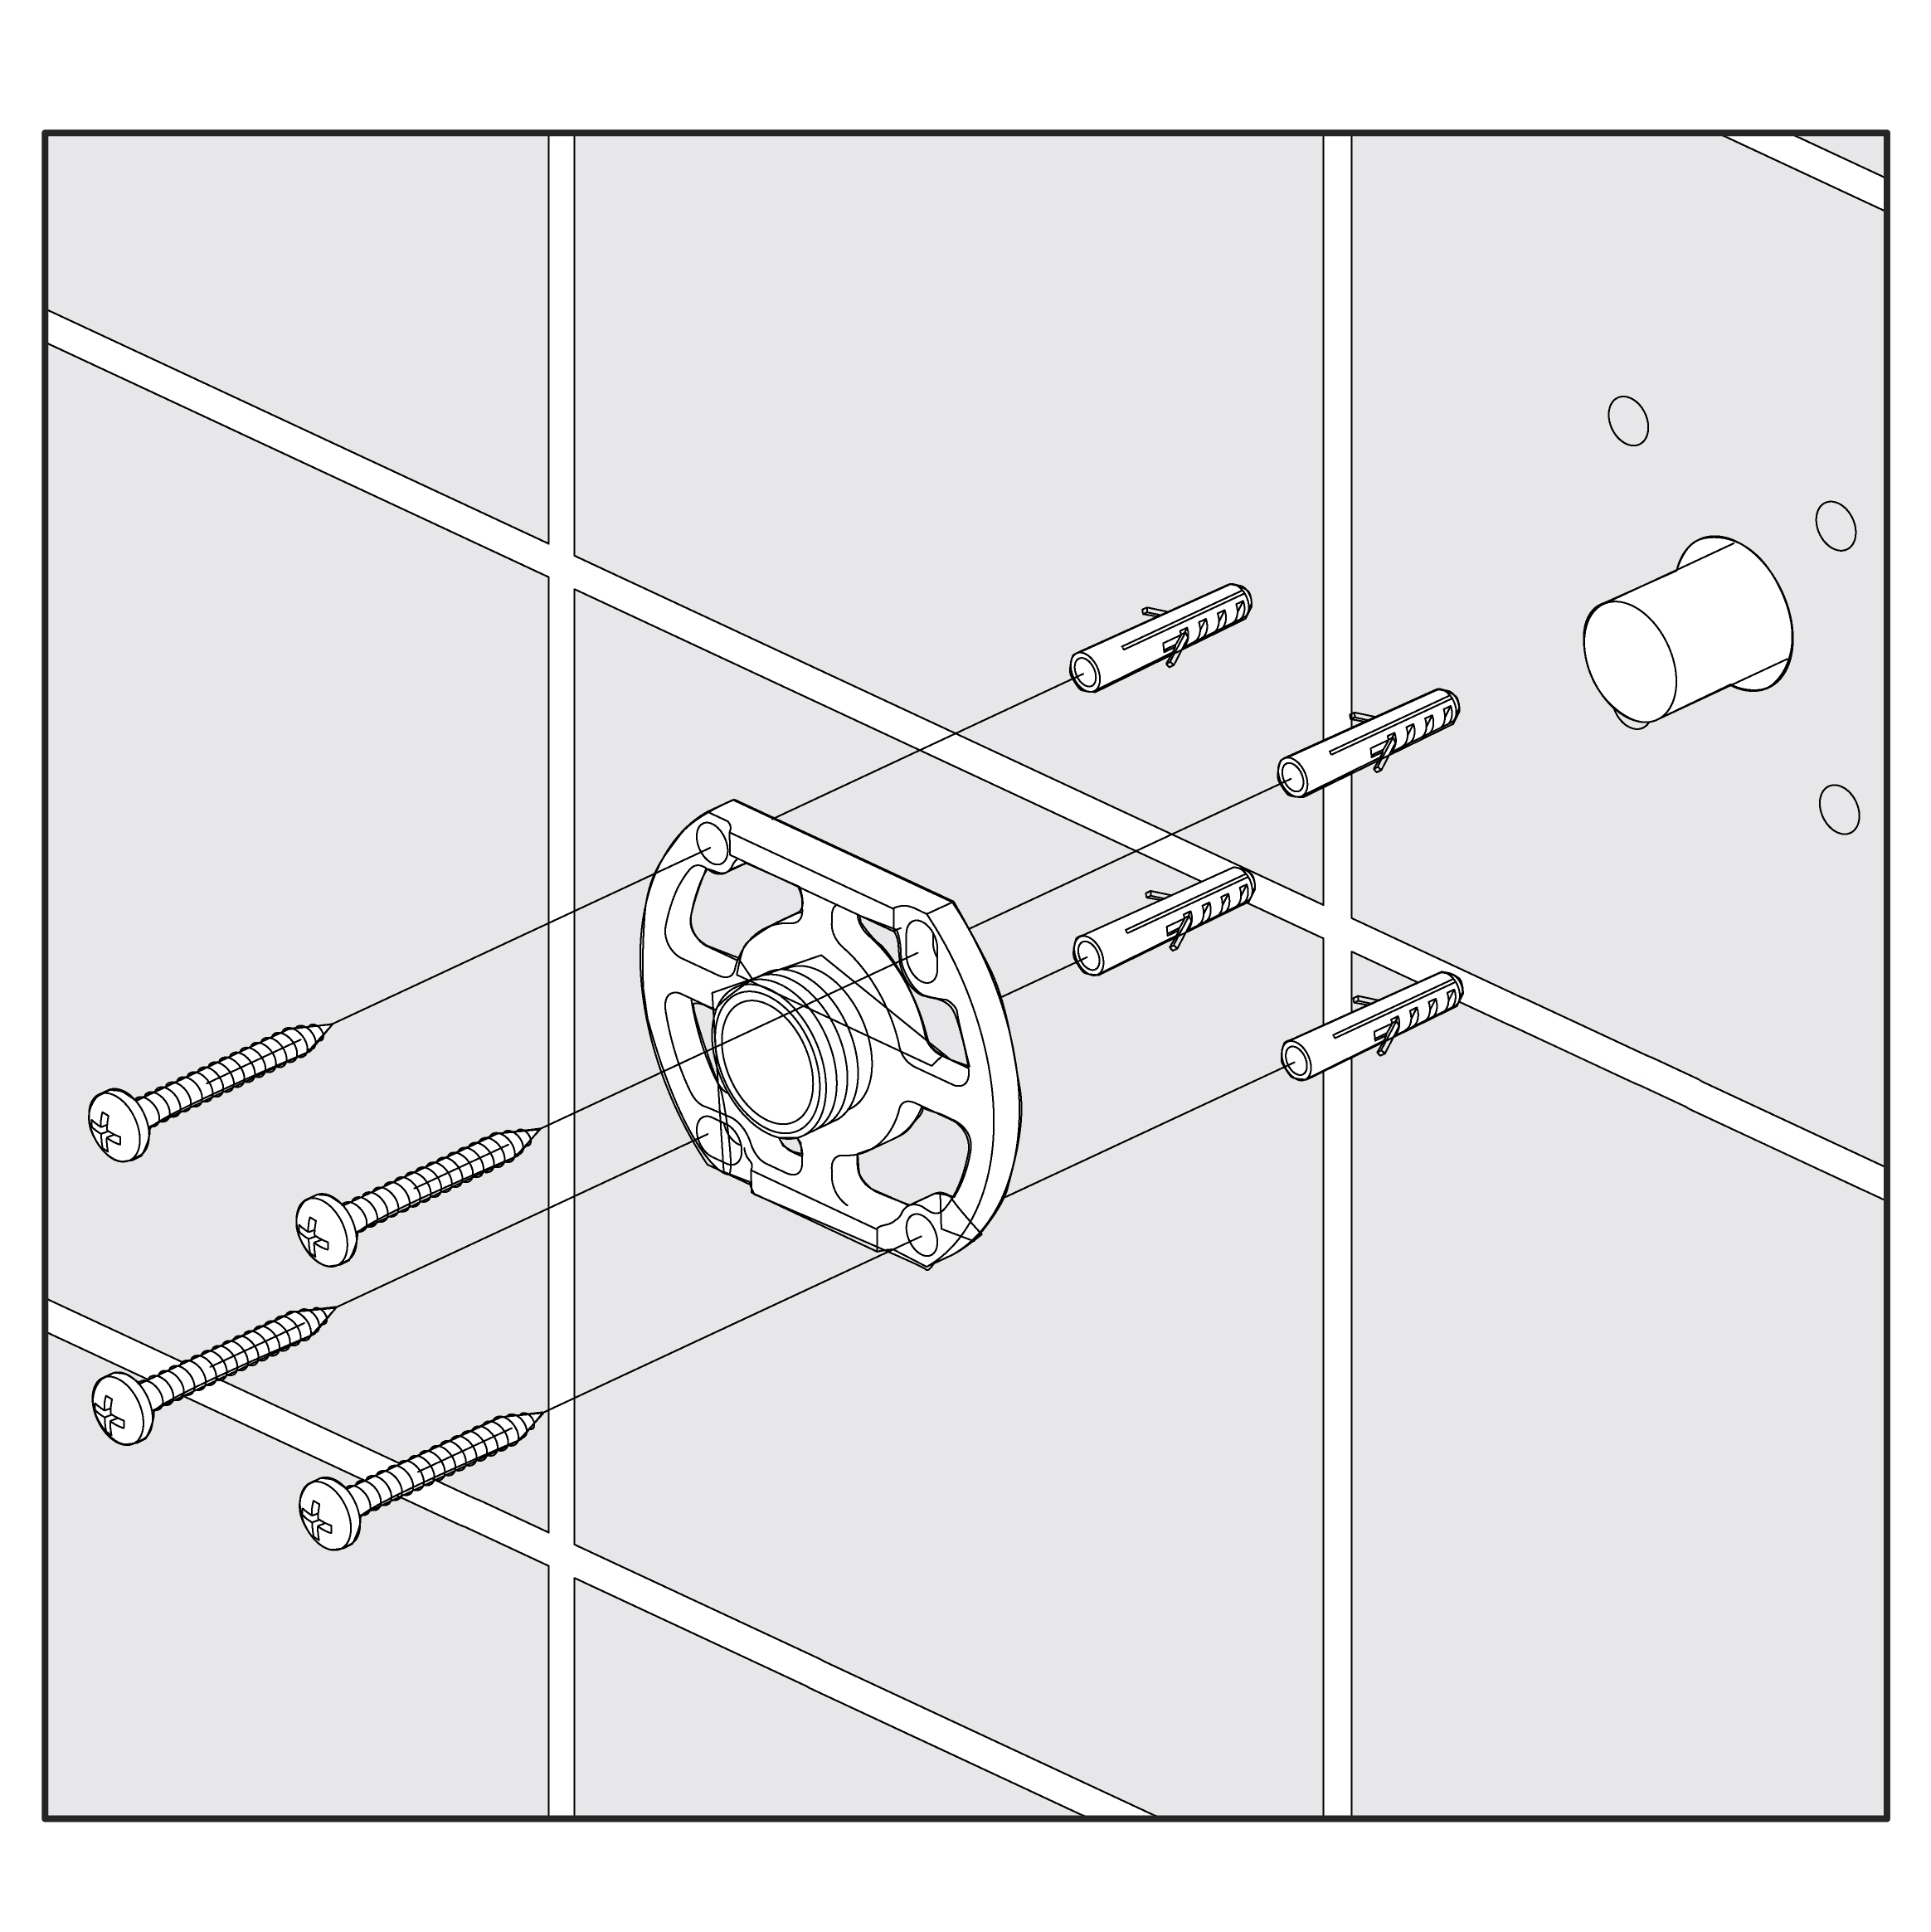
6. Mark the location of the mounting holes in the wall support flange and attach the shower to the mounting surface with the appropriate mounting hardware.
7. Attach the shower head.
8. Turn on the water supply to check for leaks. Let the water flow through the showerhead for approximately 30 seconds to clear out debris and dirt. | | |
|
|
|
|
|
|