How to Install Contemporary Wall Mount Waterfall Bathtub Shower Faucet Chrome Shower Mixer Tap | BST6104MT
|
|
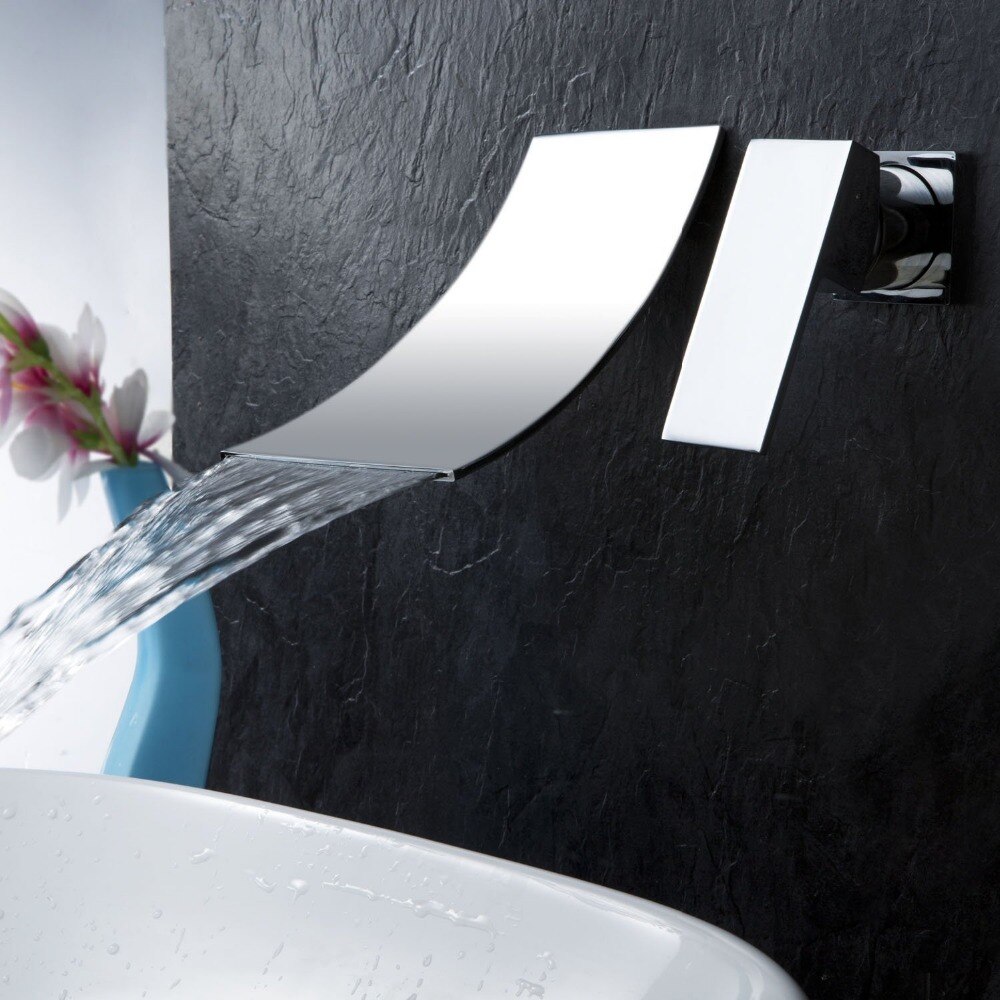
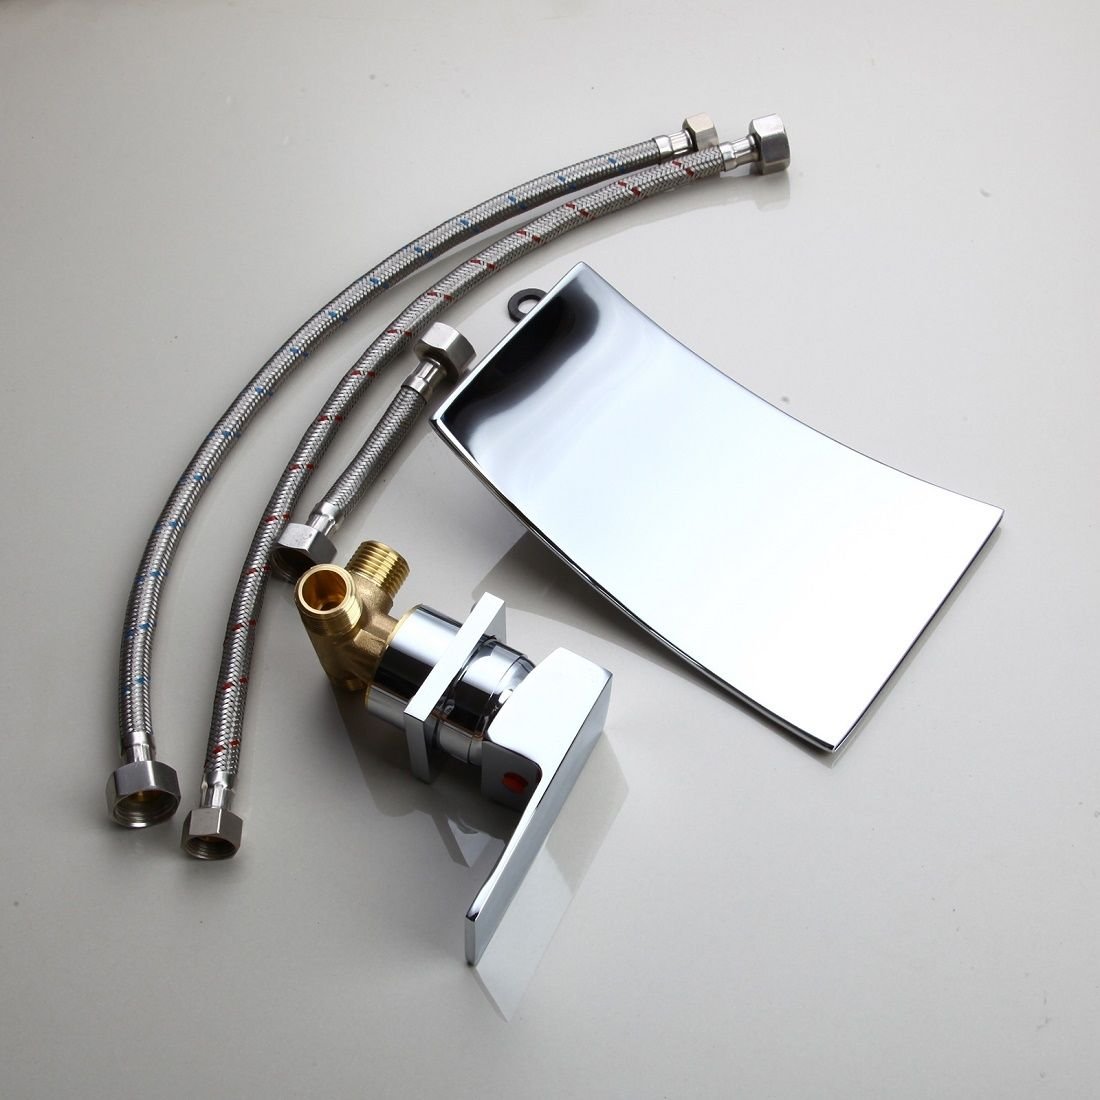
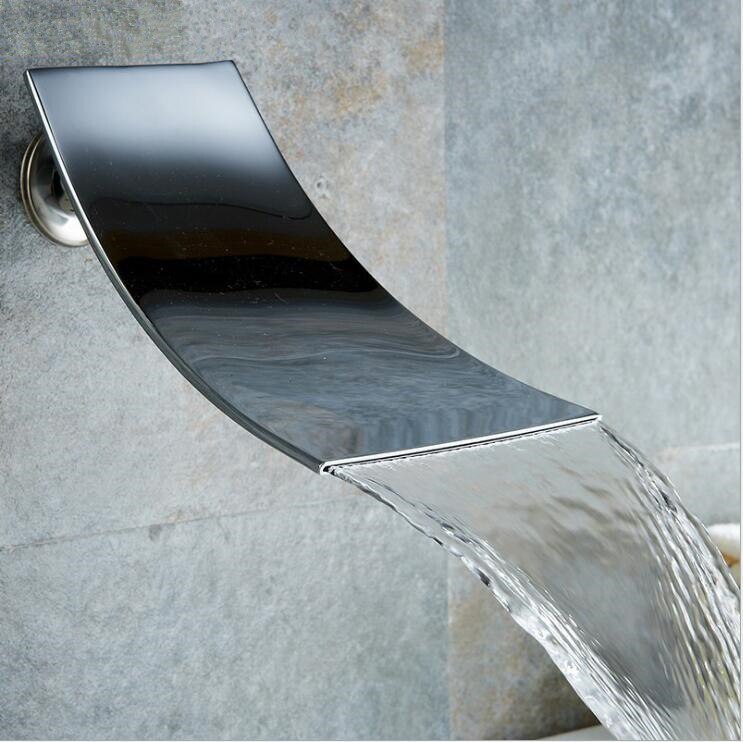
Wall Mount Waterfall Bathtub Shower Faucet - 2 pc
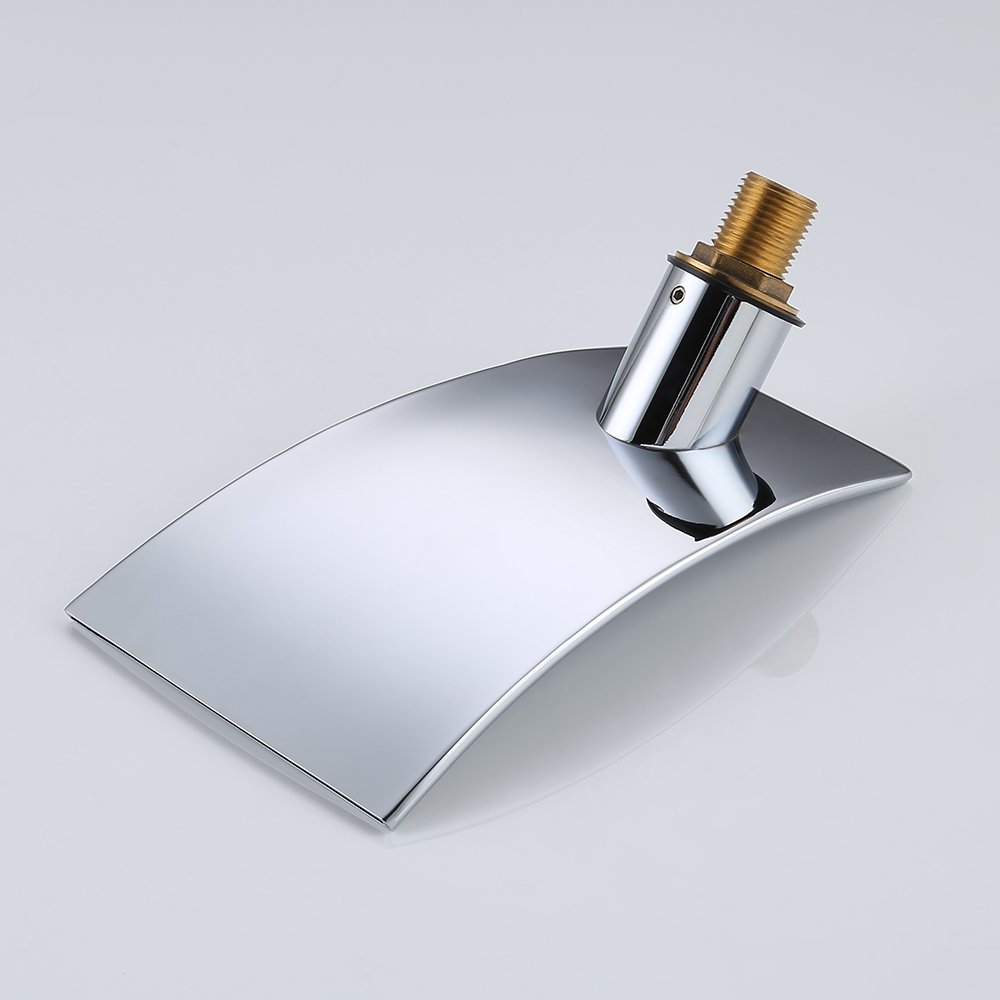
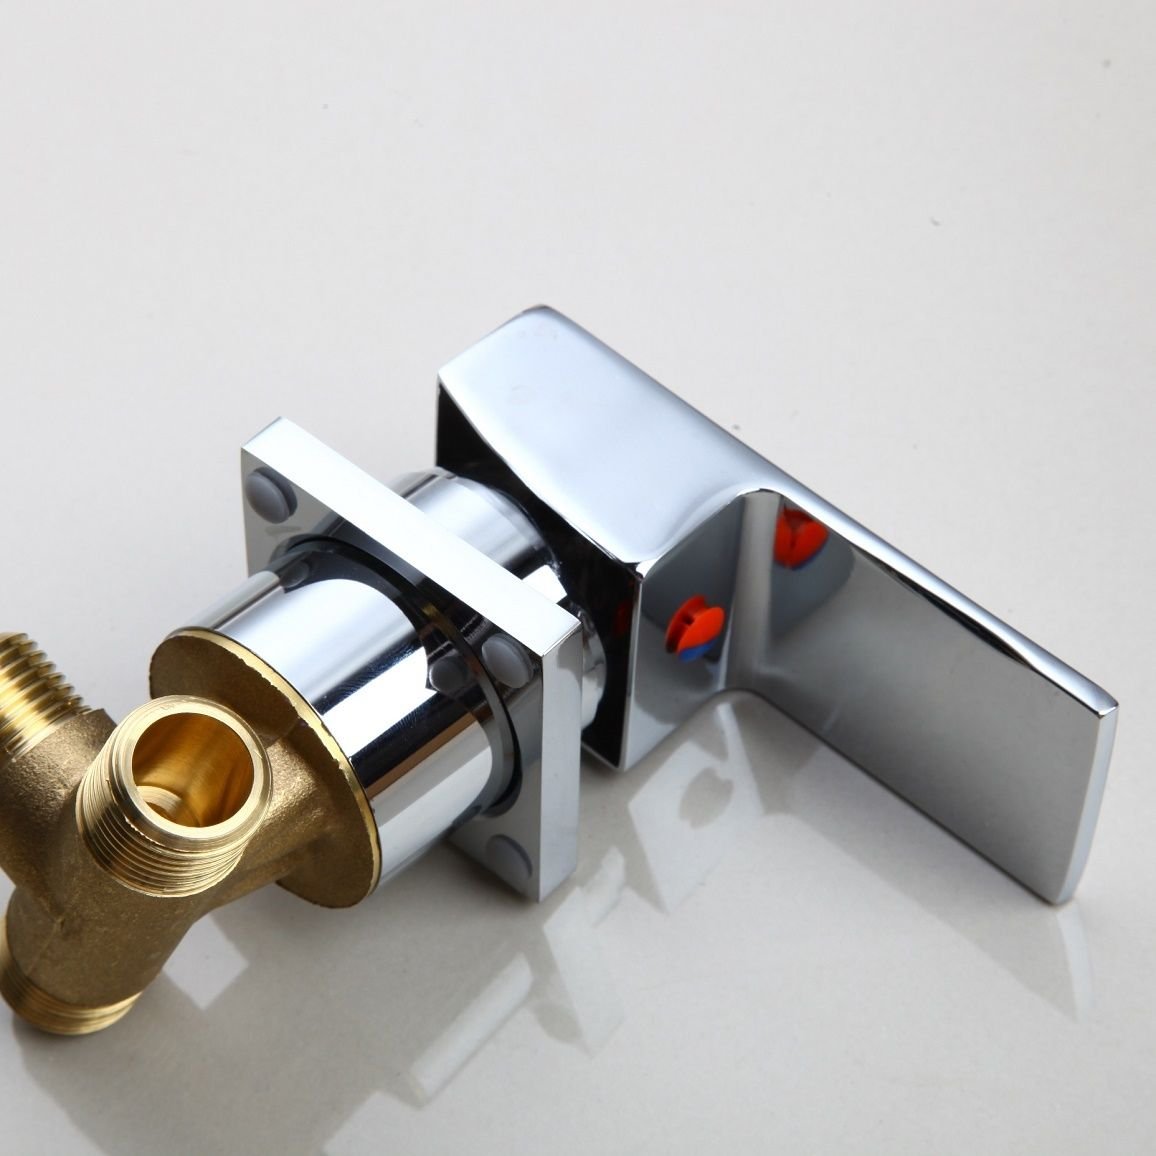
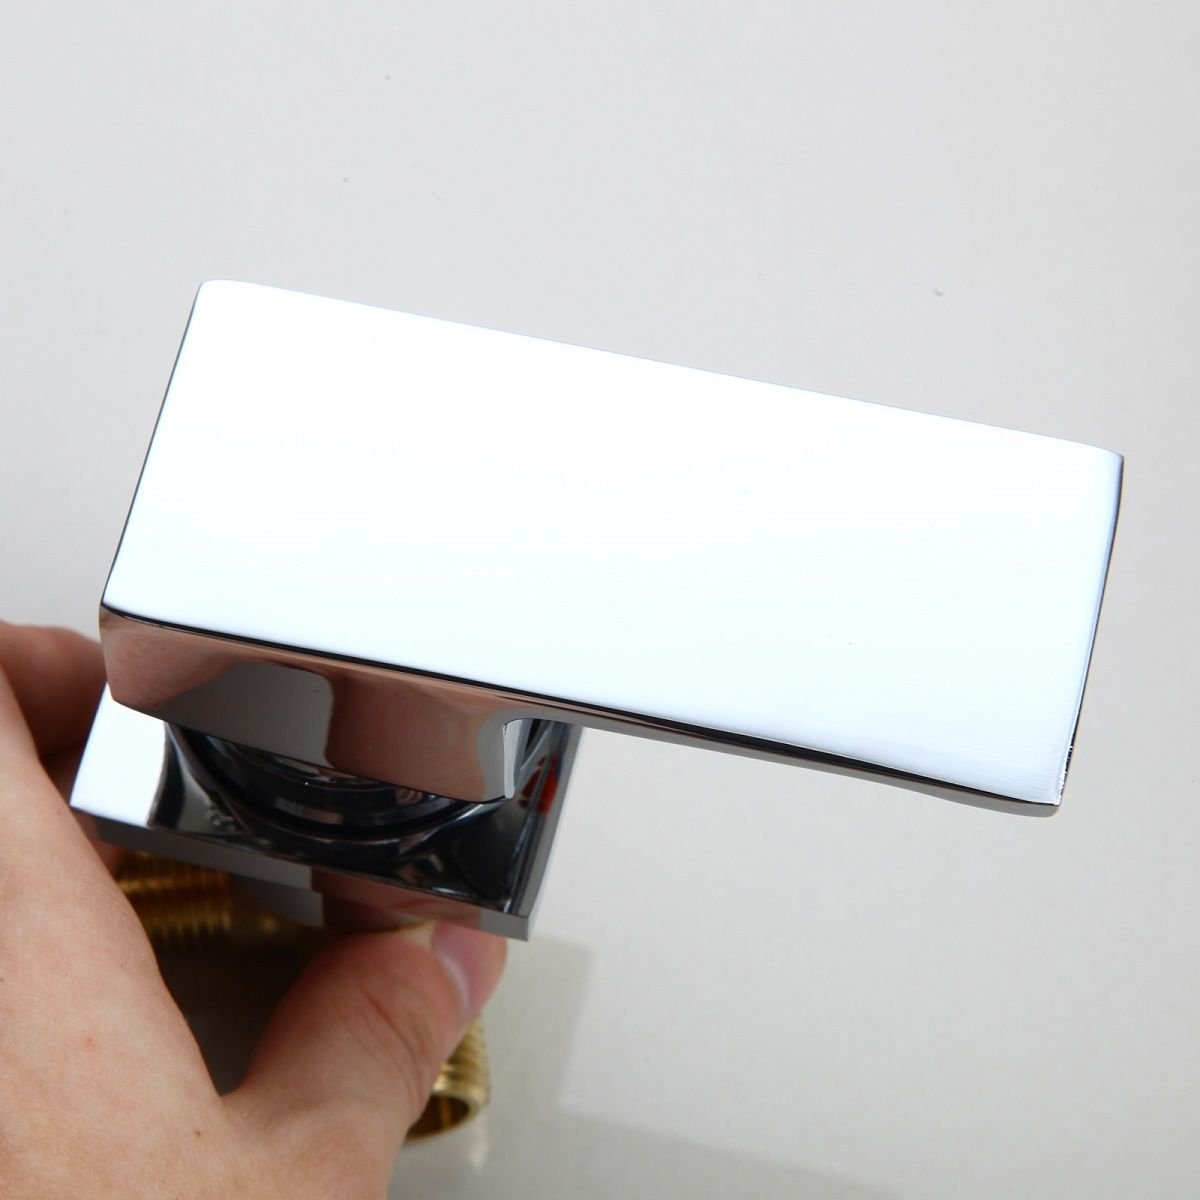
A modern wall mount waterfall Sink faucets bathroom with an elegant chrome finish this is what you get from this amazing faucet, that can easily work on the bathroom sink or bathtub, as you prefer. It is wall mount, with a single handle, with built-in hot and cold water mixer for your convenience. The stylish design with simple lines and smooth shapes makes it the best choice of faucet for modern bathrooms. Only the best materials have been used: the body and spout are made of solid brass, the handle is made of zinc alloy and the valve core material is ceramic, for improved functionality and long lasting life time. It comes complete with mounting accessories and installation instructions.it's top rated modern waterfall faucet.
|
|
|
|
|
|
|
|
Features:
|
|
|
|
Function
|
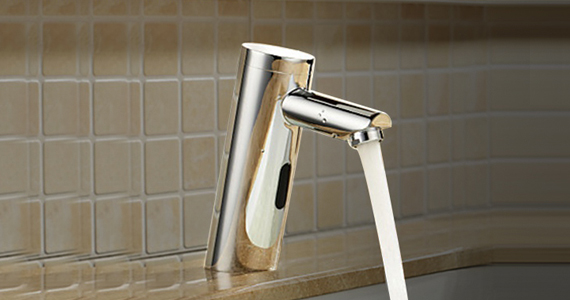
BathSelect® Sink Faucet
|
|
Feature
|
Wall Mount, Widespread, Waterfall
|
|
Style
|
Contemporary
|
|
Finish
|
Chrome
|
|
Installation Holes
|
Two Holes
|
|
Number of Handle
|
Single Handle
|
|
Spout Length
|
7.48 " (190 mm)
|
|
Spout Width
|
4.6 " (118 mm)
|
|
Faucet Center
|
3 to 6 Inches
|
|
Valve Type
|
Ceramic Valve
|
|
Faucet Body Material
|
Brass
|
|
Faucet Spout Material
|
Brass
|
|
Faucet Handle Material
|
Zinc Alloy
|
|
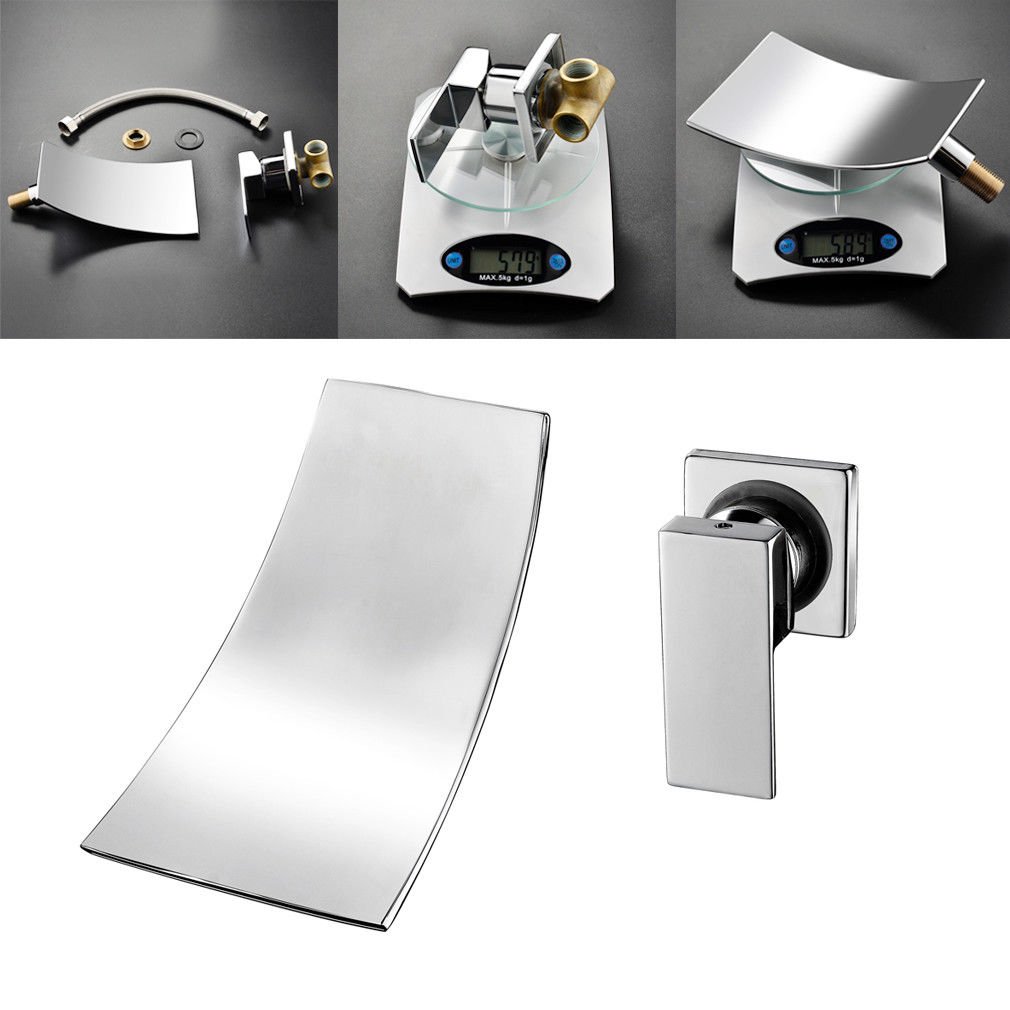
Net Weight (kg)
|
1.4
|
|
Shipping Weight (kg)
|
1.5
|
|
Flow Rate
|
1.0 GPM
|
|
faucet
|

|
Bath Faucet Installation Instructions
|
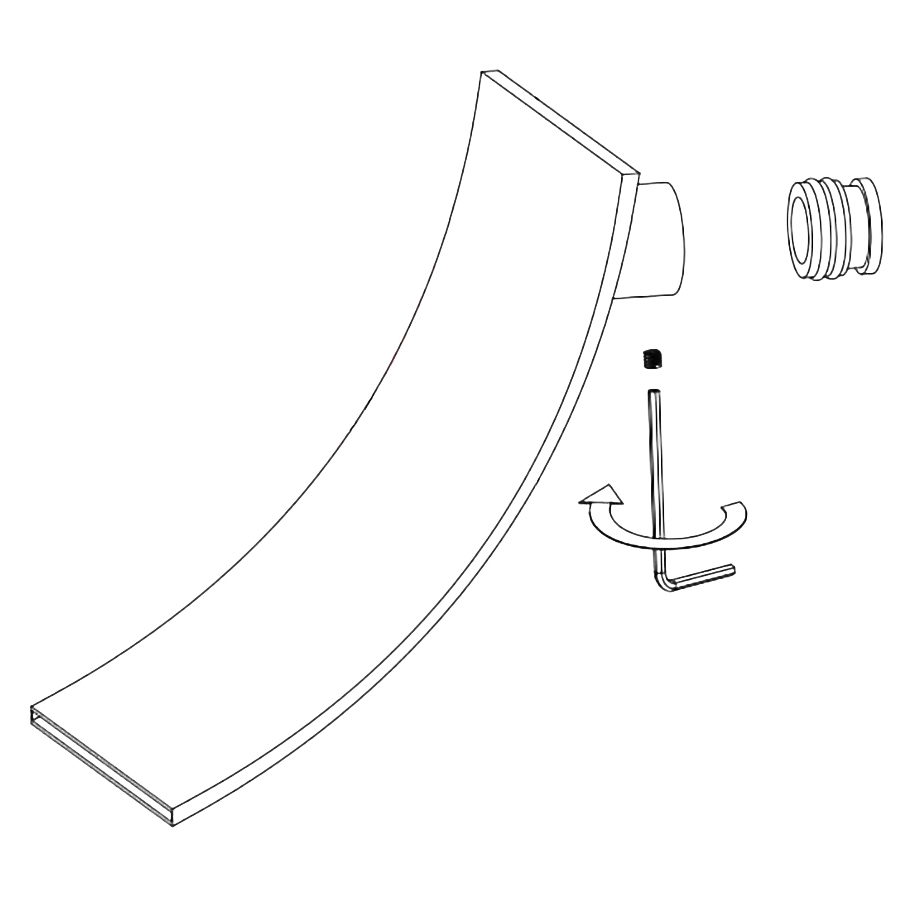
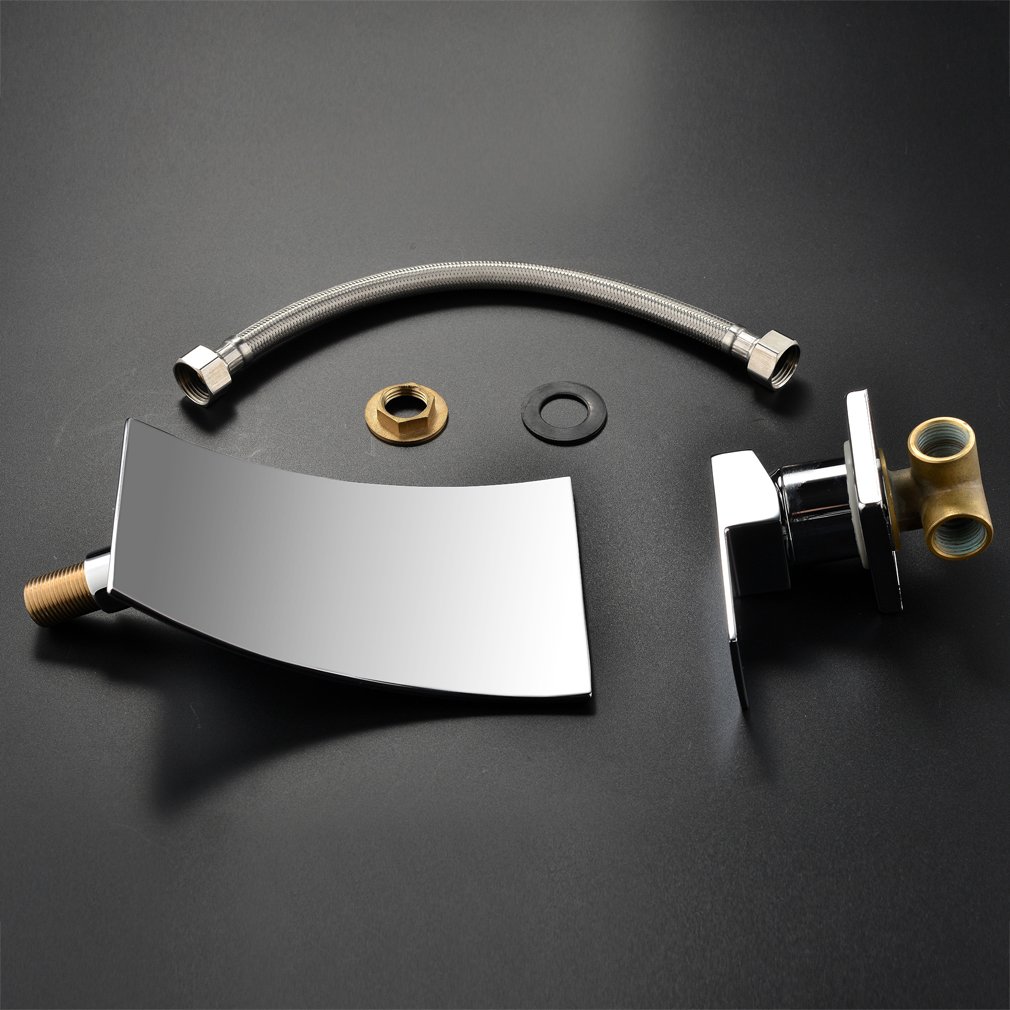
Parts:
|
|
|

|
|
|
|
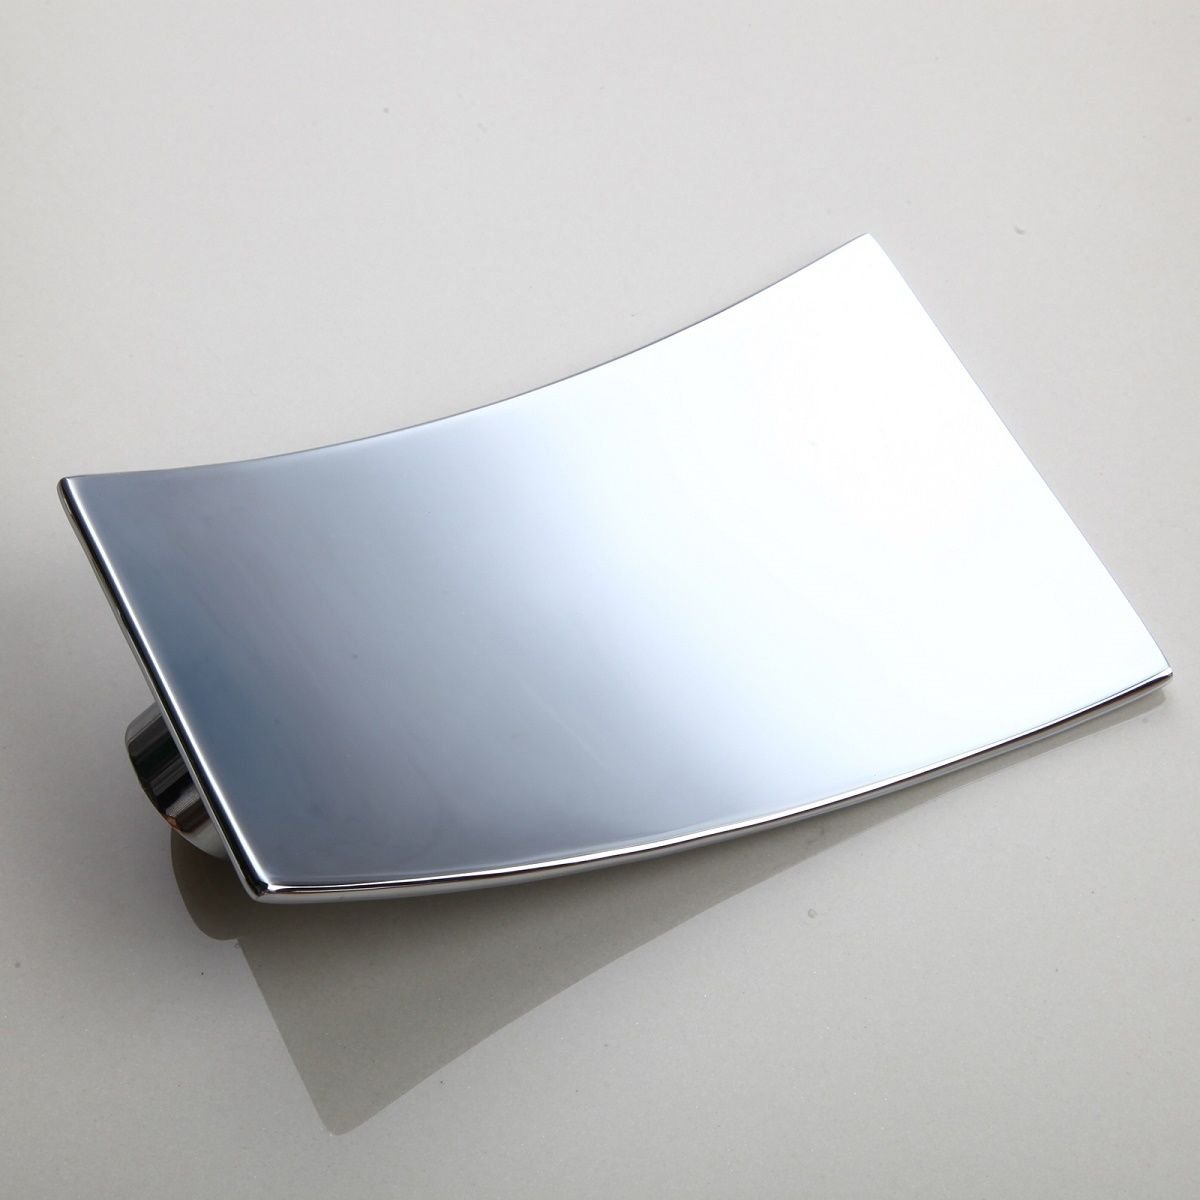
Step 1: Faucet Size
|
bath faucet
|
Step 2:
|

|
|
 |
|
|
|
|
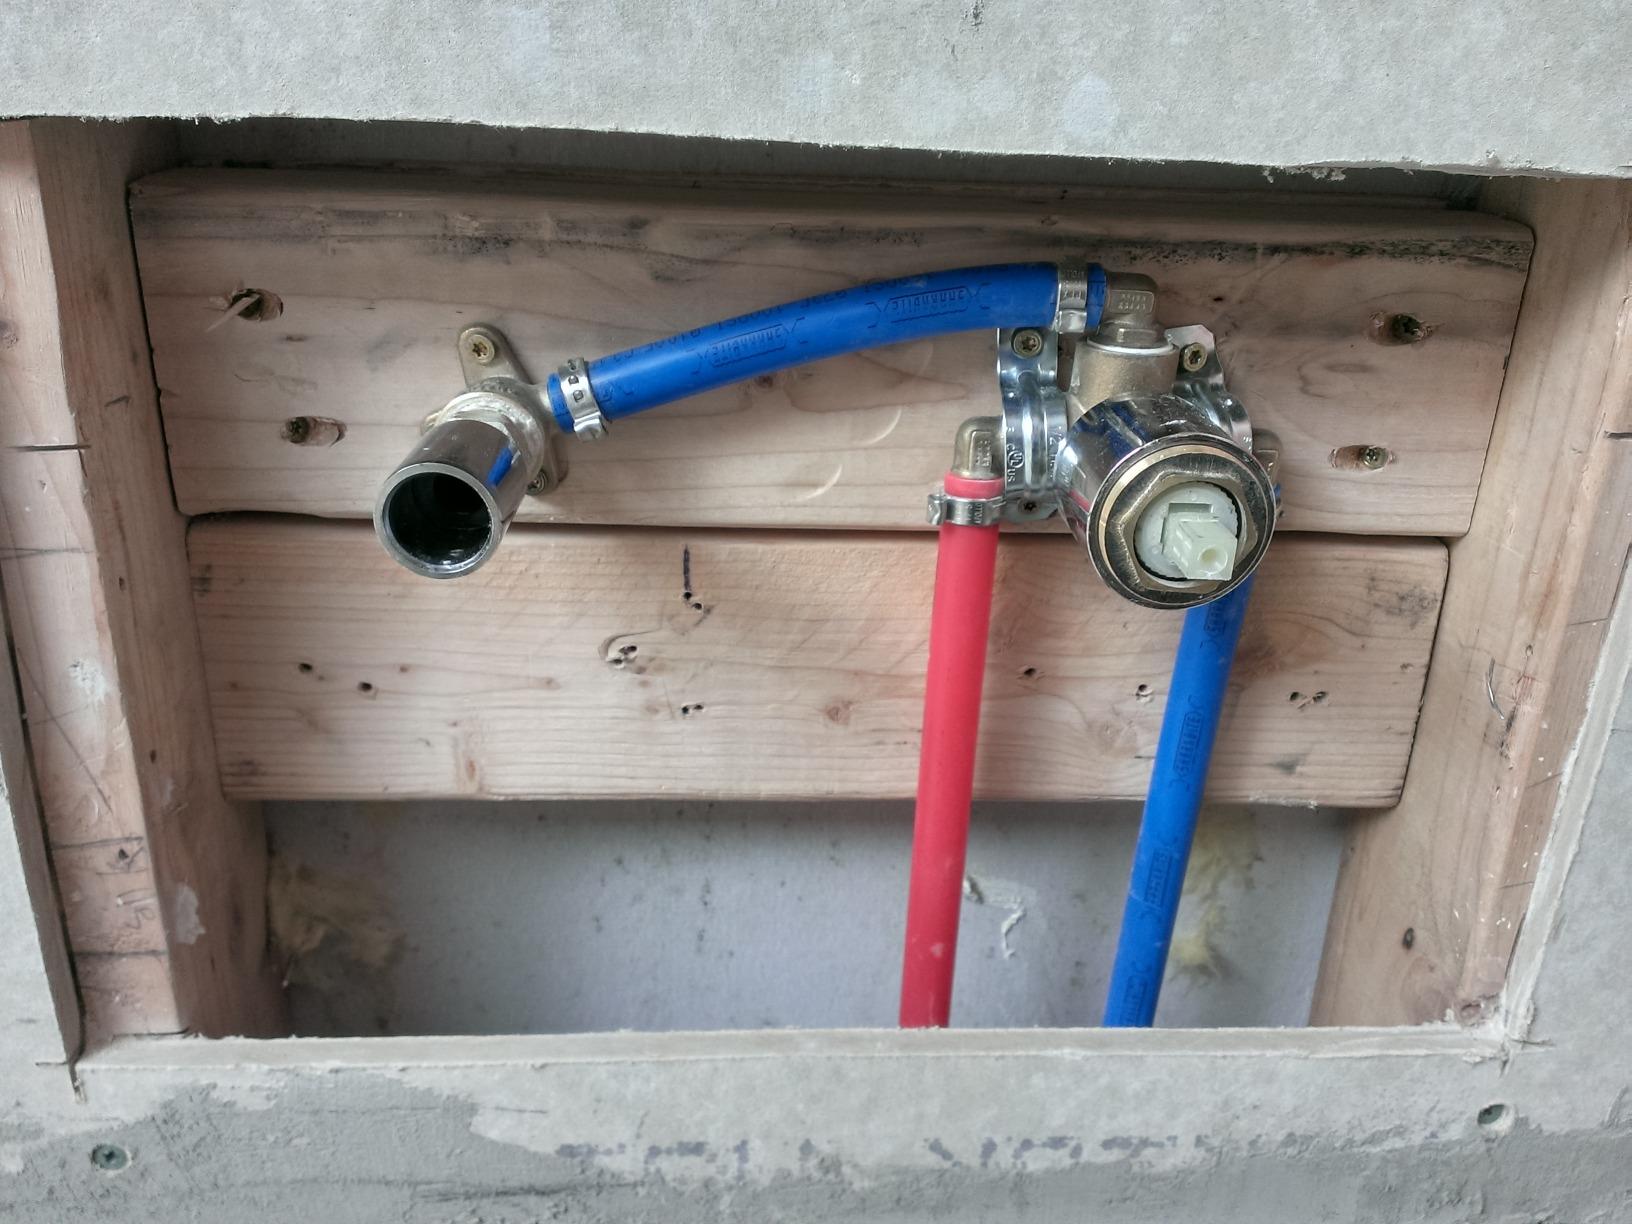
Step 3: Connect Hot & Cold Waterpipe lines |
|
Step 4: |
 |
|
 |
|
|
|
|
Step 5:
|
|
Step 6:
|
 |
|
 |
| | |
Installation Instruction
Before installing your new mixer, flush through the pipework to ensure the removal of debris, turn off the water supply.
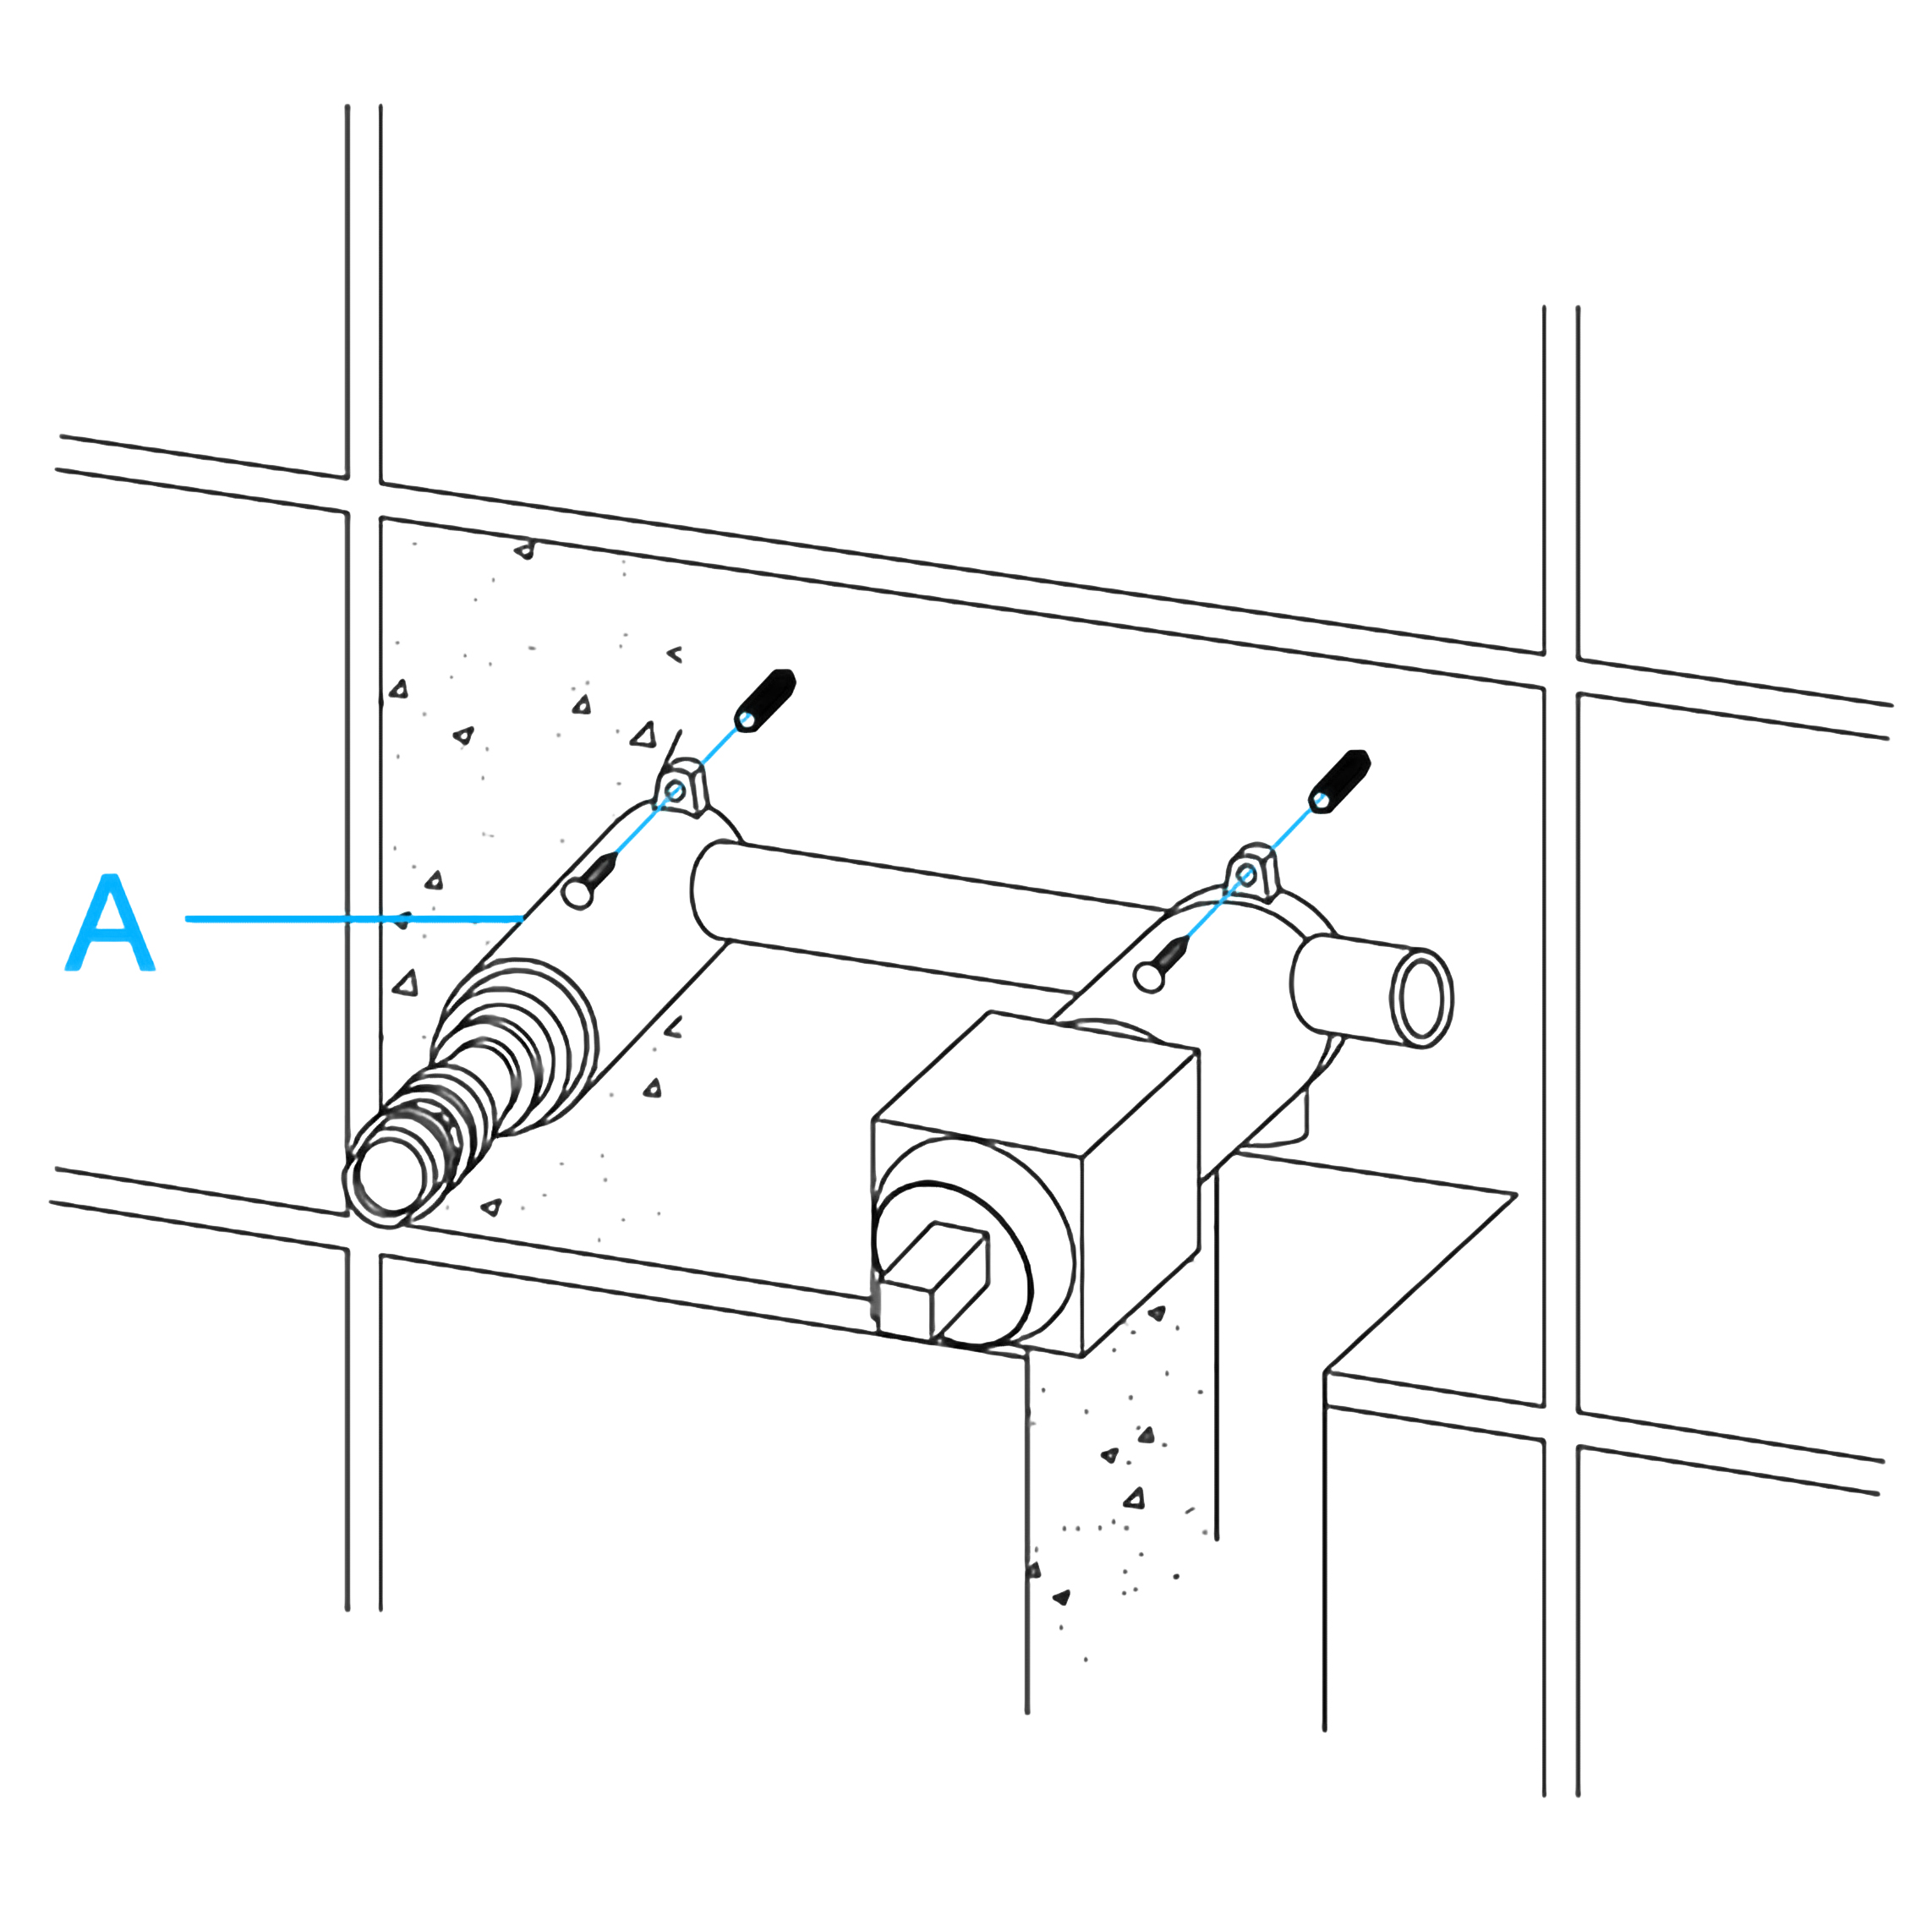
The valve must be set into the wall.
Mark a horizontal line on the wall at the required height, mark the position of the valve and the spout, drill the holes.
Mark the position of the valve and drill 2 holes to take suitable wall plugs and screws.
Connect the water supply to the inlet pipes. The hot water should be connected to the left-hand tap.
Screw the cover plate over the valve and up to the wall, push the O ring onto the splines, push on the control handle in a horizontal position and fix in place using the hexagonal key.
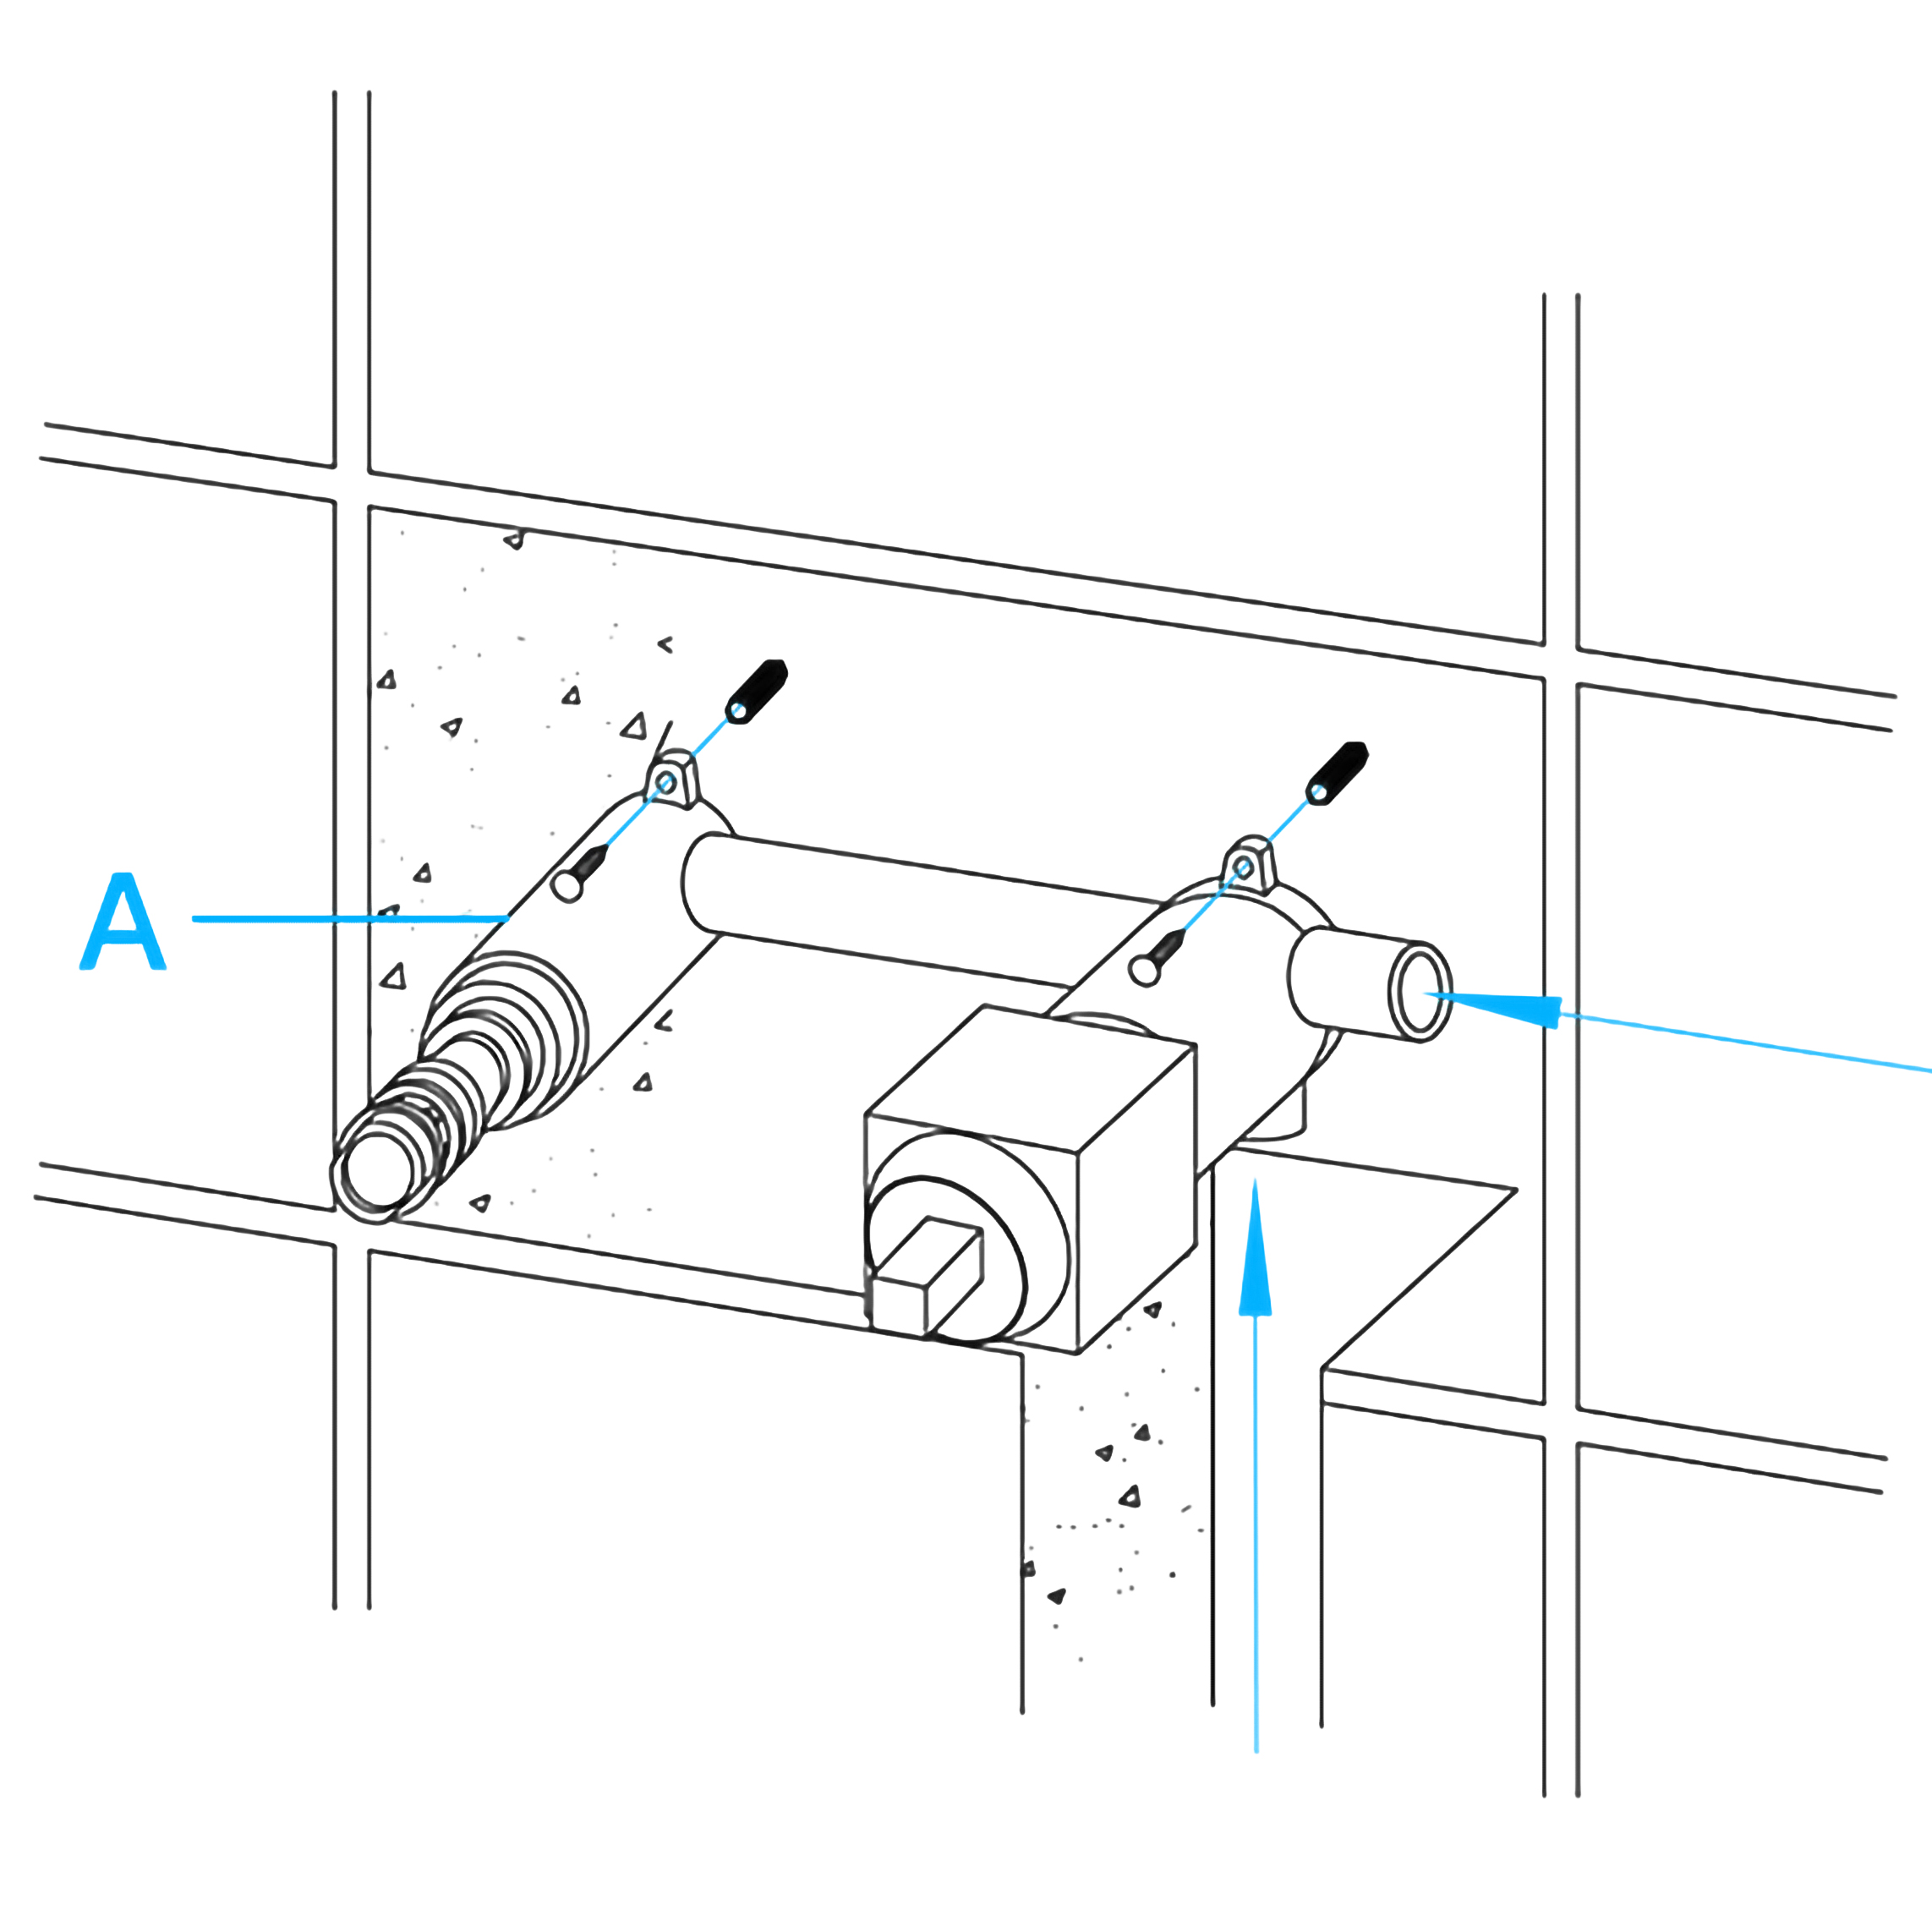
Screw on the spout up to the wall.
1. Fix the valve body into the wall with screws. Make sure the valve body is completely level.
2. Connect the hot and cold water inlets of the valve body to the main water supply.
3. Apply teflon tape to the threaded pipe and screw it into the valve outlet. Then, put rubber washer to the spout body and screw the spout body into the threaded pipe.
4. Fix the handle escutcheon onto the valve firmly against the finished wall. Install the handle to the valve, then tighten the set screw with Allen key and place the indication button on the handle.
|
|

|
|
|
|
|
Cleaning & Maintenance
To keep product clean and shiny follow the instruction below.
1. Flush with clean water and dry with soft cloth only.
2. Do not use any detergent, polisher, sane-cloth, or a scraper.
3. Do not use acid detergent.
|
|
|
Product Images
|
|
|